How to complete The Hunted quest in Roblox’s Pressure
As part of Roblox’s The Hunt: Mega Edition, here’s how to complete The Hunted quest in Pressure, and claim the Mega Token.
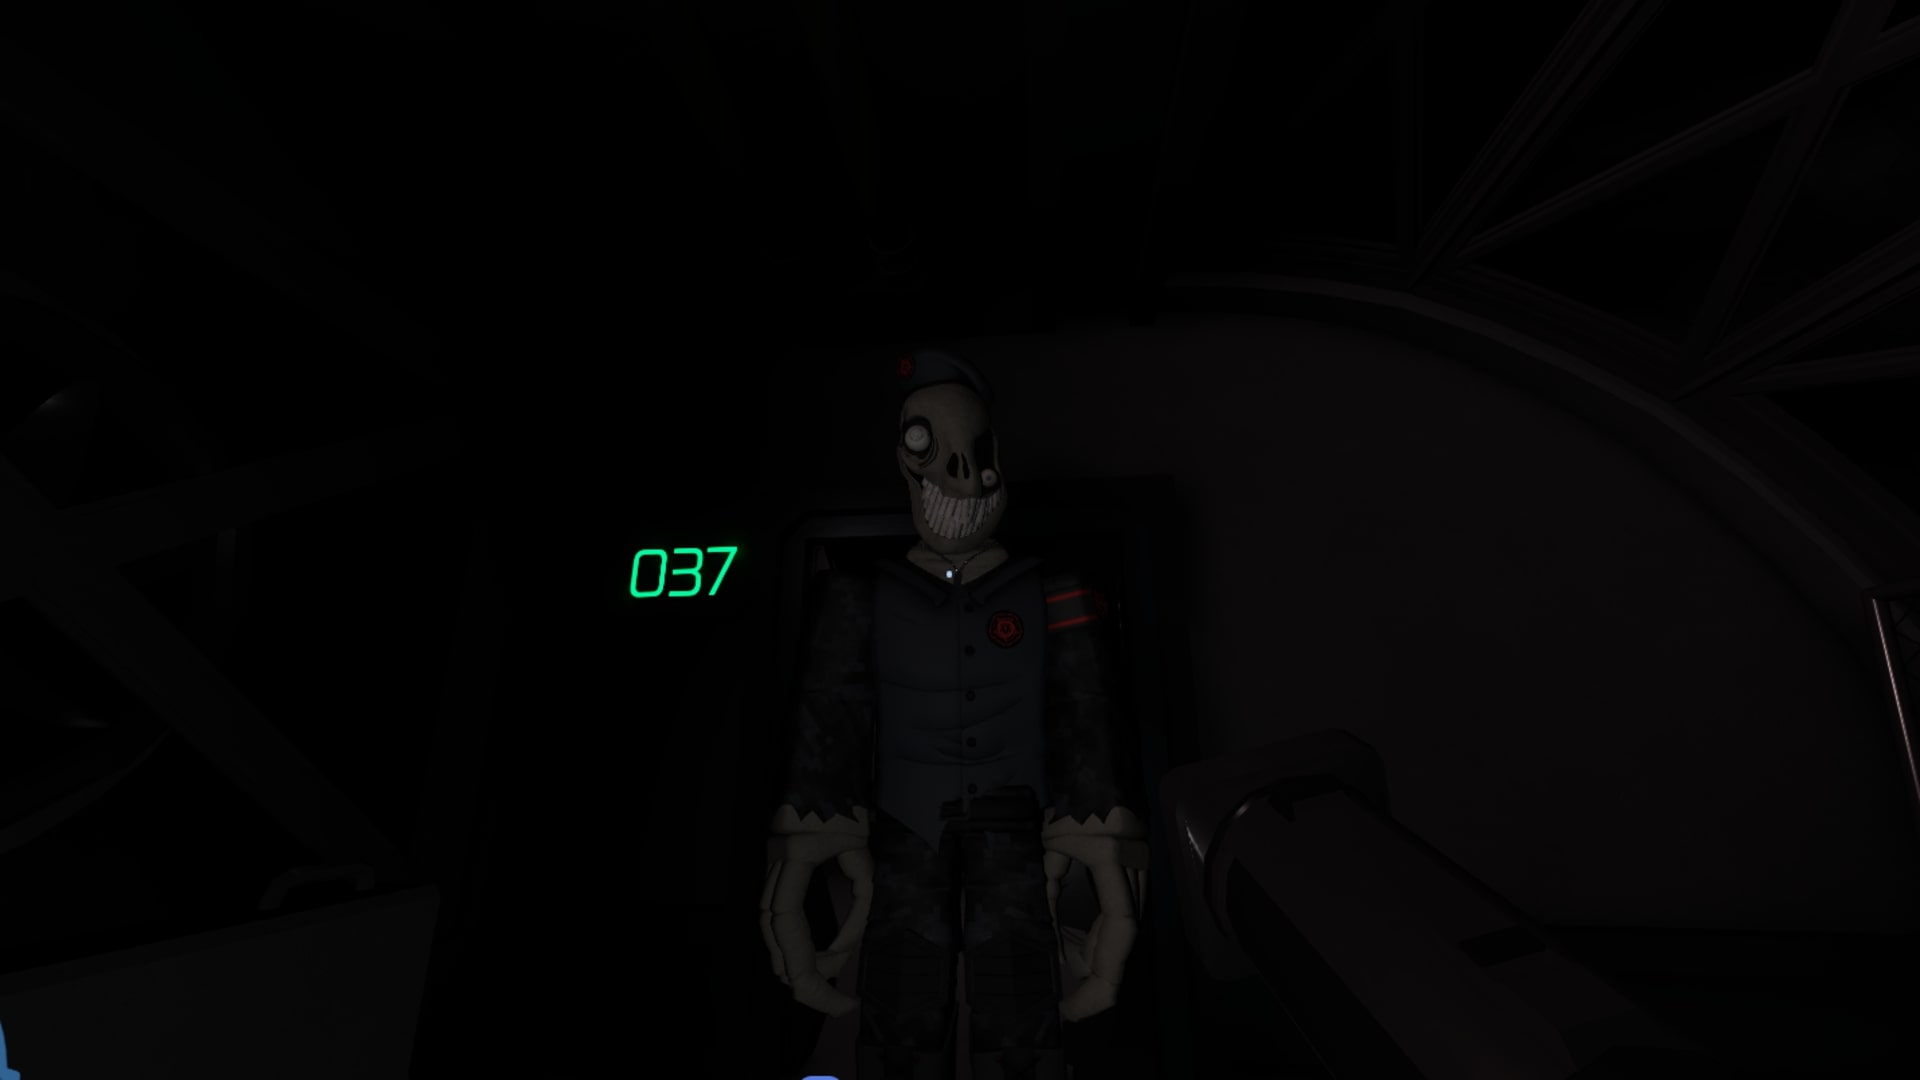
Image credit:Roblox/VG247

UPDATE 17/03/25: We have added details on where to find the Mega Token in Pressure’s The Hunted quest.
Roblox’s Pressure experience is one that, well, certainly applies the pressure if survival horror games are your jam. This is a game that is reminiscent of various SCP-themed games such as SCP: Secret Laboratory. As a result, you will be exploring a laboratory to find door codes – aiming to escape – while strange monsters tail you.
It’s all rather straight-forward once you know what you’re doing, but given the maze-like laboratory that you have to make your way through – and the monsters trying to put a stop to that – it can be very easy to get lost or miss codes needed to progress. If you’re hoping to collect your Tokens needed for The Hunt: Mega Edition , here’s how to complete The Hunted quest in Roblox’s Pressure .
Pressure The Hunt: Mega Edition quest guide
Your objective for The Hunt: Mega Edition quest in Pressure is to ‘make your way through an under-construction section of the Hadal Blacksite in new expedition: The Hunted’.
So, first things first, make your way to The Hunt event area in Pressure; you will be prompted to join this upon entering a Pressure server in Roblox. Then, enter one of the submarines in the area to begin the expedition.
In the next room, and all following rooms, be sure to explore – opening all drawers and item lockers – and keep an eye out for useful items and documents , as you may need them. Documents and USB’s give you cash to spend – on the off chance you have to make multiple attempts of this quest or fancy coming back and playing Pressure later – while you can also find healing items, known as ‘BL1’, and other items that have unique effects on your game.
You will also find passwords , which can be used to unlock the various locked doors you run into. These are client-sided and completely random, so you sadly cannot use your friends codes and vice versa. You must find them for yourself.

The passcode for door 040 is on this side table to the left of the first room. |Image credit:Roblox/VG247
The first locked door you’ll come to is labelled ‘040’ and requires a passcode. You can find this passcode on a side table to the left-hand side of the room, near the staircase. Though, it’s worth noting that throughout the rest of the expedition, the passwords are found in random locations . They are always in the room with the locked door, however, so it shouldn’t take you too long to find them.
You will also, ultimately, have 40 numbered doors to go through – counting down to 1 – to complete the expedition. This gives you an idea of how much progress you’ve left to make.
Advance into the following area and when you come to the construction sign shown below, you’ll need to crouch under some crates to continue.
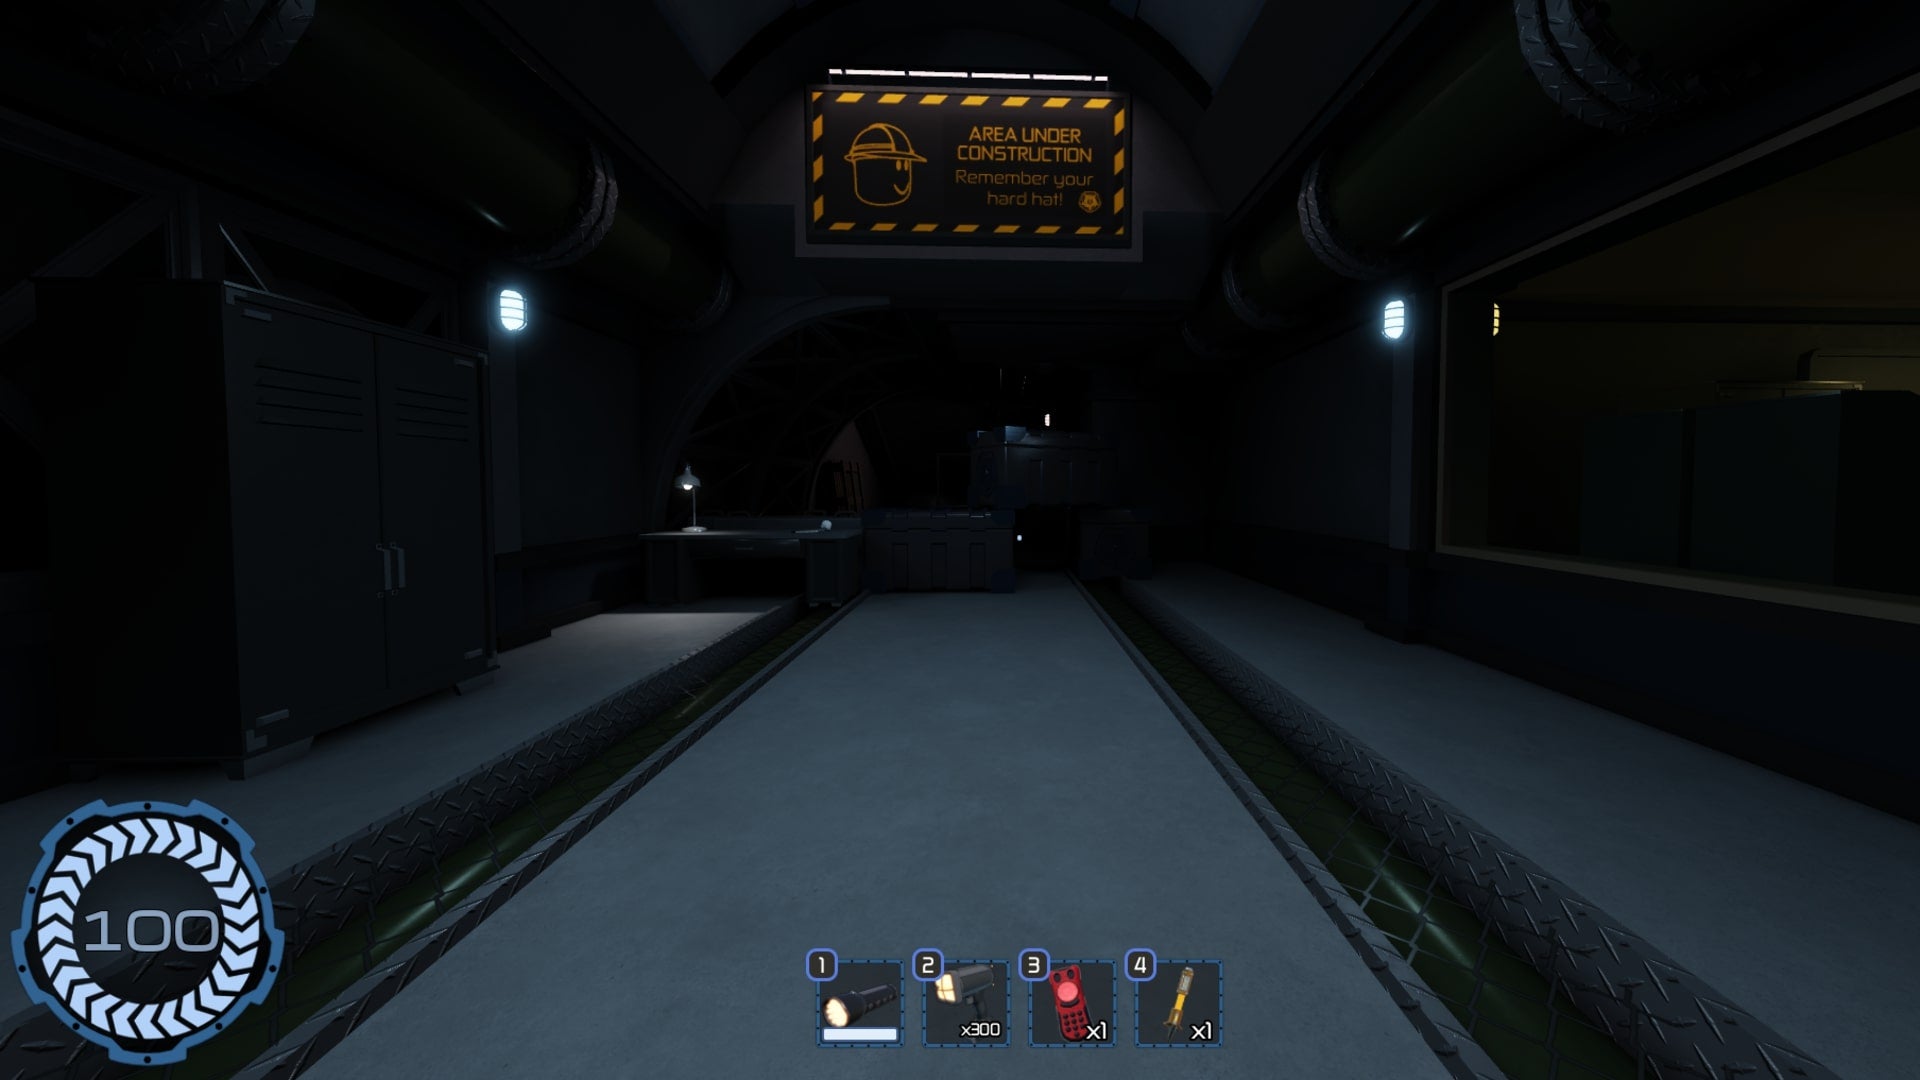
Brace yourself, as things are about to get a little scarier. |Image credit:Roblox/VG247
This is when enemies will begin appearing, so brace yourself for the following three enemies:
- The Crooked - these guards tower over you, and act a lot like Doctor Who’s Weeping Angels. They will only move and attack if your back is to them. You can also temporarily stun them using your Flash Beacon.
- Rebarb - These creatures have a single eyeball on their head and run around maniacally, charging at you once they’ve spotted you. To counter these, use your Flash Beacon on them as quickly as possible to knock them over and make them run away.
- Pipsqueak - The third enemy is a huge, fleshy face with a gaping mouth. This creature will make a screeching sound before running through the corridors, and it can only be countered by hiding in a locker. A good tip is that if you see one of The Crooked enemies hiding in a locker, you probably should do the same.
Now that you know how to face each enemy, you’re ready to continue. The next locked door you want to try and find is 025 . The following locked door after that is 010 , and then that’s it for tracking down passcodes.
Eventually, you’ll come to a large room with a bridge that needs activating. To activate it, interact with the machine that has a bright green light on it, then cross the bridge. Continue ahead, and when you hear a voice over the communications systems, you’re pretty much finished!
In the final, large room, interact with the control panel which is glowing bright green. Your submarine will arrive and you can finally make your way out of here, but first, look at the door behind the control panel .
You will see your Token for The Hunt: Mega Edition’s festivities being held by a Crooked through a door. Then you can finally hop in your submarine and leave!
Where to find the Mega Token in Pressure’s The Hunted quest
If Pressure’s The Hunted quest didn’t completely wear you out, there is a Mega Token that players can collect if they’re brave. For this, you first need to have collected the Mega Tokens from the SpongeBob Tower Defense and Untitled Tag Game experiences.
The below guide has been put together using YouTuber, KAM Gats’ , explainer video, which walks players through how to complete this frustrating - and rather difficult - task. Fortunately, this is the hardest of all the events in Roblox’s The Hunt: Mega Edition, so if you manage to collect this Mega Token, you’ll have little to no trouble collecting all of the other event tokens.
After collecting Mega Tokens from SpongeBob Tower Defense and Untitled Tag Game, you can return to the Pressure experience, where you will then need to collect four codes from around the event lobby - most of which you’ll need to manipulate your camera angle or parkour for.
After collecting the four codes - and making a note of them - hop into one of the submarines to begin The Hunted quest. Once at the very beginning of the expedition, go up the stairs to the left of the room and through the door with three red dashes on the sign beside it. At the very end of the next room, there will be a locked door that you can put your code into. Make sure the code is in the correct order!
After that, you will be able to head on inside and collect the Decoder item . You can now go ahead and enter the door labeled ‘040’ to begin The Hunted quest properly. This time around, however, you will need to find five radios and use the Decoder on them to reveal a code. Unfortunately, much like the door passcode documents, the locations of these radios appear to be client-sided and randomised, so you will need to find them for yourself.
Radios are typically found in hidden areas throughout The Hunted expedition. Keep an eye out for vents you can crawl through and other small gaps between crates, and when you find a radio, interact with it. Each radio will reveal one symbol on your Decoder.
Once a five-digit code is fully revealed on your Decoder, and you’ve passed the bridge at the end of the game, do not advance straight into the room labeled ‘002’. Instead, go through the door to the right of this that has three red dashes on the sign beside it.
Downstairs, there’ll be a locked door. You know the drill; input the code on your Decoder to unlock the door. In the following room, board the tram and interact with the control panel inside it. You will be taken to the vault area.
Go upstairs again in this area and through the door labeled with a ‘:)’ icon. Now, prepare for some hard work. This room contains the first Token Fragment we need to collect. Upon picking it up, a Crooked will spawn just up ahead. You need to go past him and collect another 29 Token Fragments, until we have a total of 30.
If you die in this area, you will respawn at the Tram and be able to try again.
Once you have collect 30 Token Fragments, which are distributed around the place in drawers and side tables - much like documents - you should eventually come to a very long corridor leading to the inner vault. This will unlock automatically provided we have all the necessary Token Fragments, and at the very end, you’ll finally be able to retrieve your Mega Token from a mysterious hand. Well done!
For more on Roblox, take a look at all of our codes for the top Roblox experiences , and how to complete Fisch’s The Hunt quest .

Roblox
Video Game
Think you know Roblox?
Take our quiz and prove it!