How to get the Rubber armor set in Zelda: Tears of the Kingdom
Shockproof!

Image credit:The Legend of Zelda: Tears of the Kingdom | Nintendo

UPDATE: We have embedded an interactive map to help you with tracking down all Rubber armor pieces in Zelda: Tears of the Kingdom.
If you’ve spent any time in Thunderhead Isles or the Faron Zonai Ruins in The Legend of Zelda: Tears of the Kingdom , you might be pretty tired of getting hit by lightning, or using poor weapons and armor to avoid the strikes. Fortunately for us, the Rubber Armor set is shock-resistant, and ideal for Link’s journey through any thunderstorms.
The Rubber Armor set isn’t too bad to grab, either. It just involves us venturing into some of Hyrule’s caves, which are incredibly useful for farming resources anyway. So, here’s how to get the Rubber Armor set in Zelda: Tears of the Kingdom .
- How to get the Rubber Armor Helm
- How to get the Rubber Armor chest piece
- How to get the Rubber Armor Tights
For a quick rundown of where exactly to find each piece of the Rubber armor set, check out this interactive map for Tears of the Kingdom :
How to get the Rubber Armor Helm in Zelda: Tears of the Kingdom
First things first, we’re going to get the Rubber Armor Helm in Zelda: Tears of the Kingdom. You’ll find this piece of gear in the Sarjon Cave, which is in the southern area of Faron.
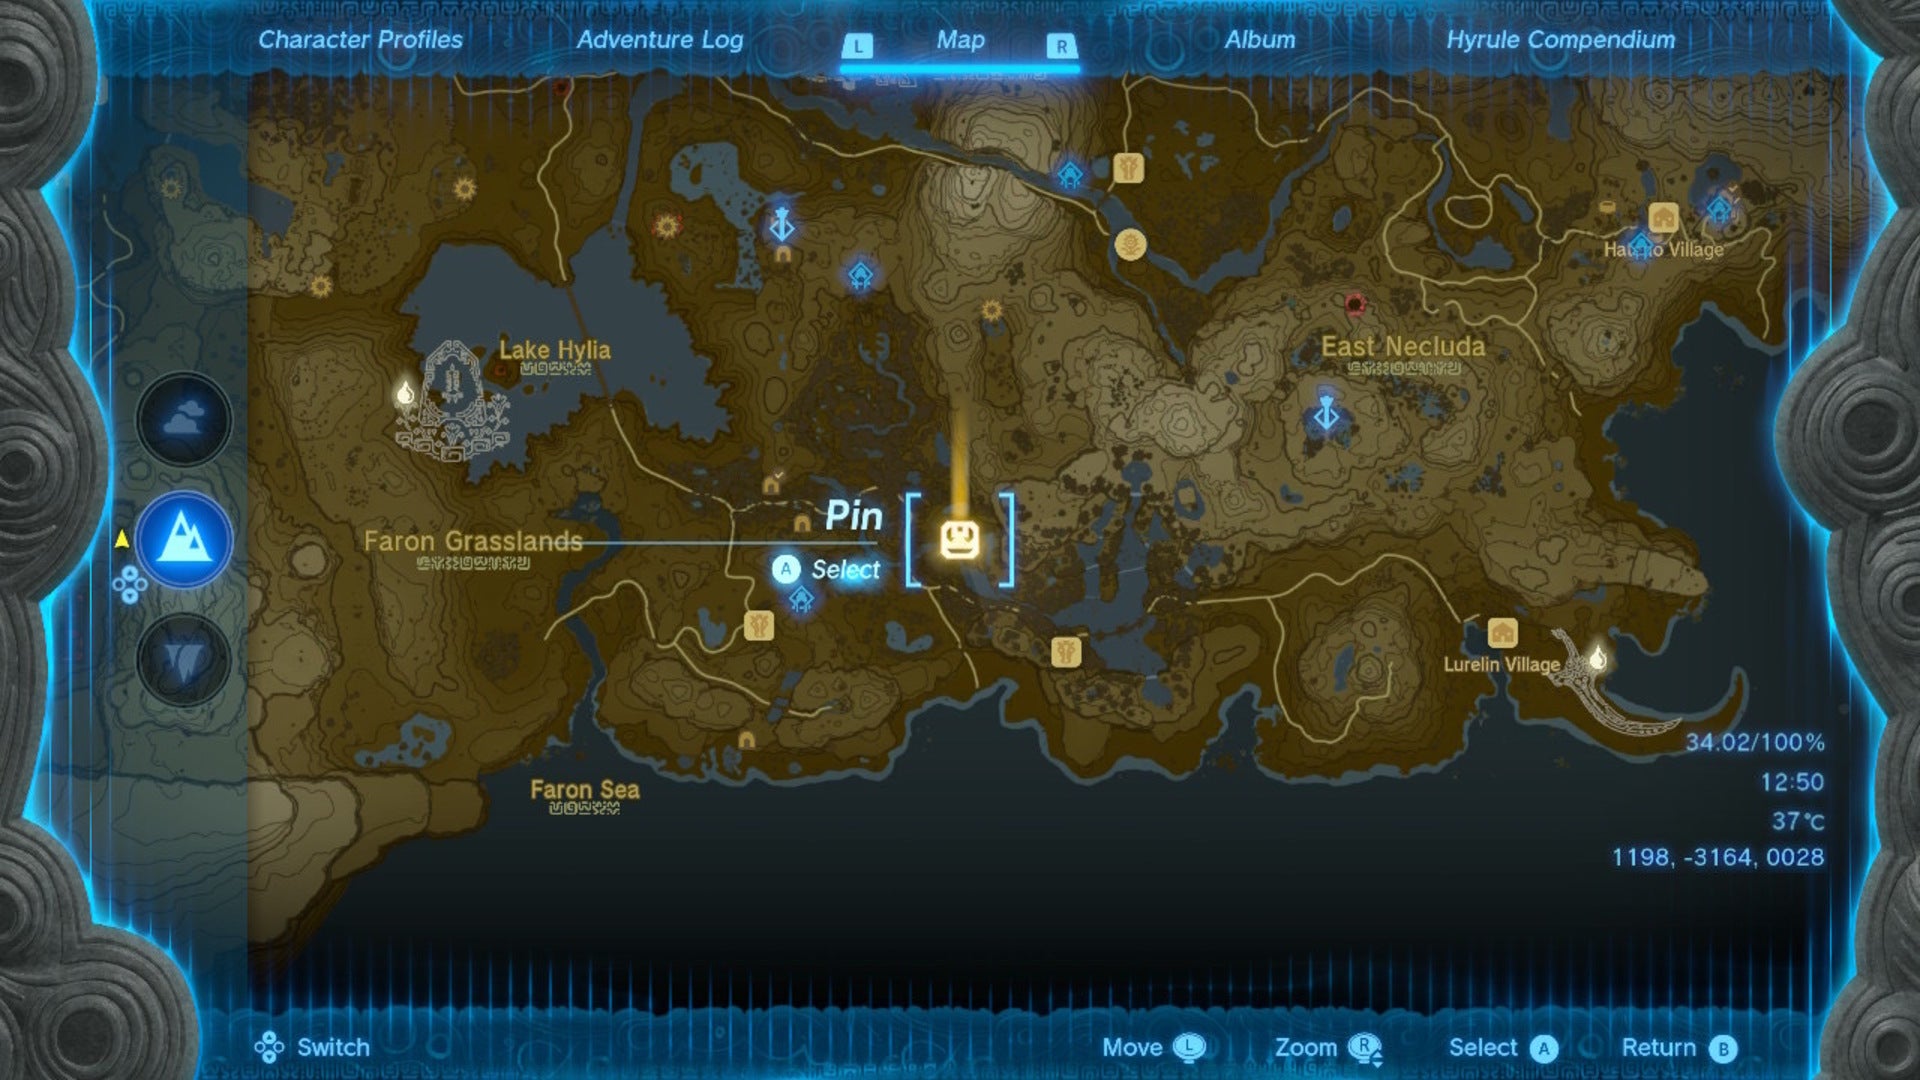
You’ll find Sarjon Cave at the coordinates 1198, -3164, 0028. |Image credit:The Legend of Zelda: Tears of the Kingdom | Nintendo
The Sarjon Cave is south of Faron Zonai Ruins, and north of the Lakeside Stable. If you haven’t yet been there, it’ll take a lot of work to get to, but it’s worthwhile! You can also glide to the cave entrance from the Rabella Wetlands Skyview Tower .
The entrance to the cave will be blocked with vines that you’ll need to cut down using a sharp weapon.
Chop, chop! |Image credit:The Legend of Zelda: Tears of the Kingdom | Nintendo
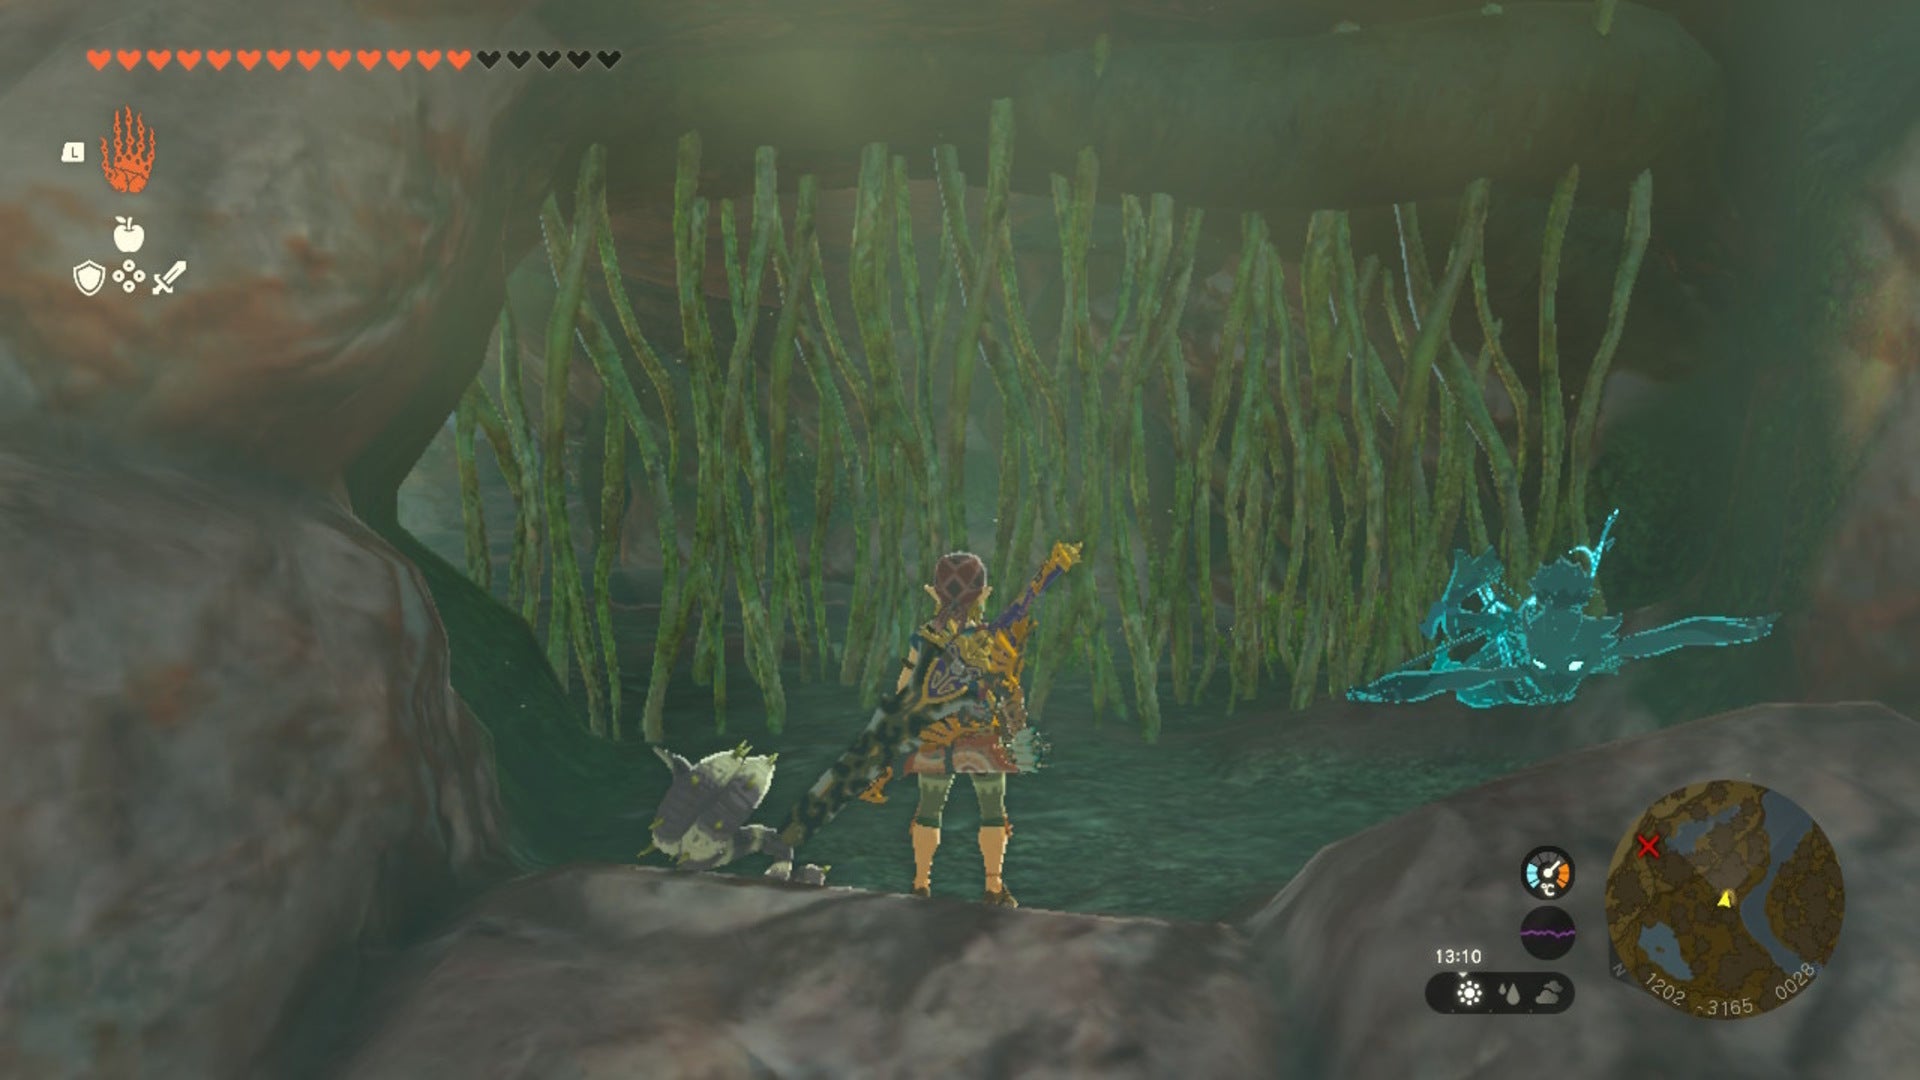
Once you head inside, you’ll find that the place is mainly water; swim through, stopping on ledges to regain stamina during your journey. There’ll be more vines to cut or swim round carefully, too.

You can stop on ledges along the cave to regain stamina. |Image credit:The Legend of Zelda: Tears of the Kingdom | Nintendo
There’ll be some Horroblins hanging about too. All you need to do is fire an arrow at them, then they’ll fall and drown. Lovely!
Soon enough, you’ll come to an area with a a tree log. At this point, you want to use the log or whatever other Zonai Devices you have to hand to build a raft. You will not be able to swim through the rest of the cave as there are few ledges. I tried it out with two full stamina wheels, and it did not end well.
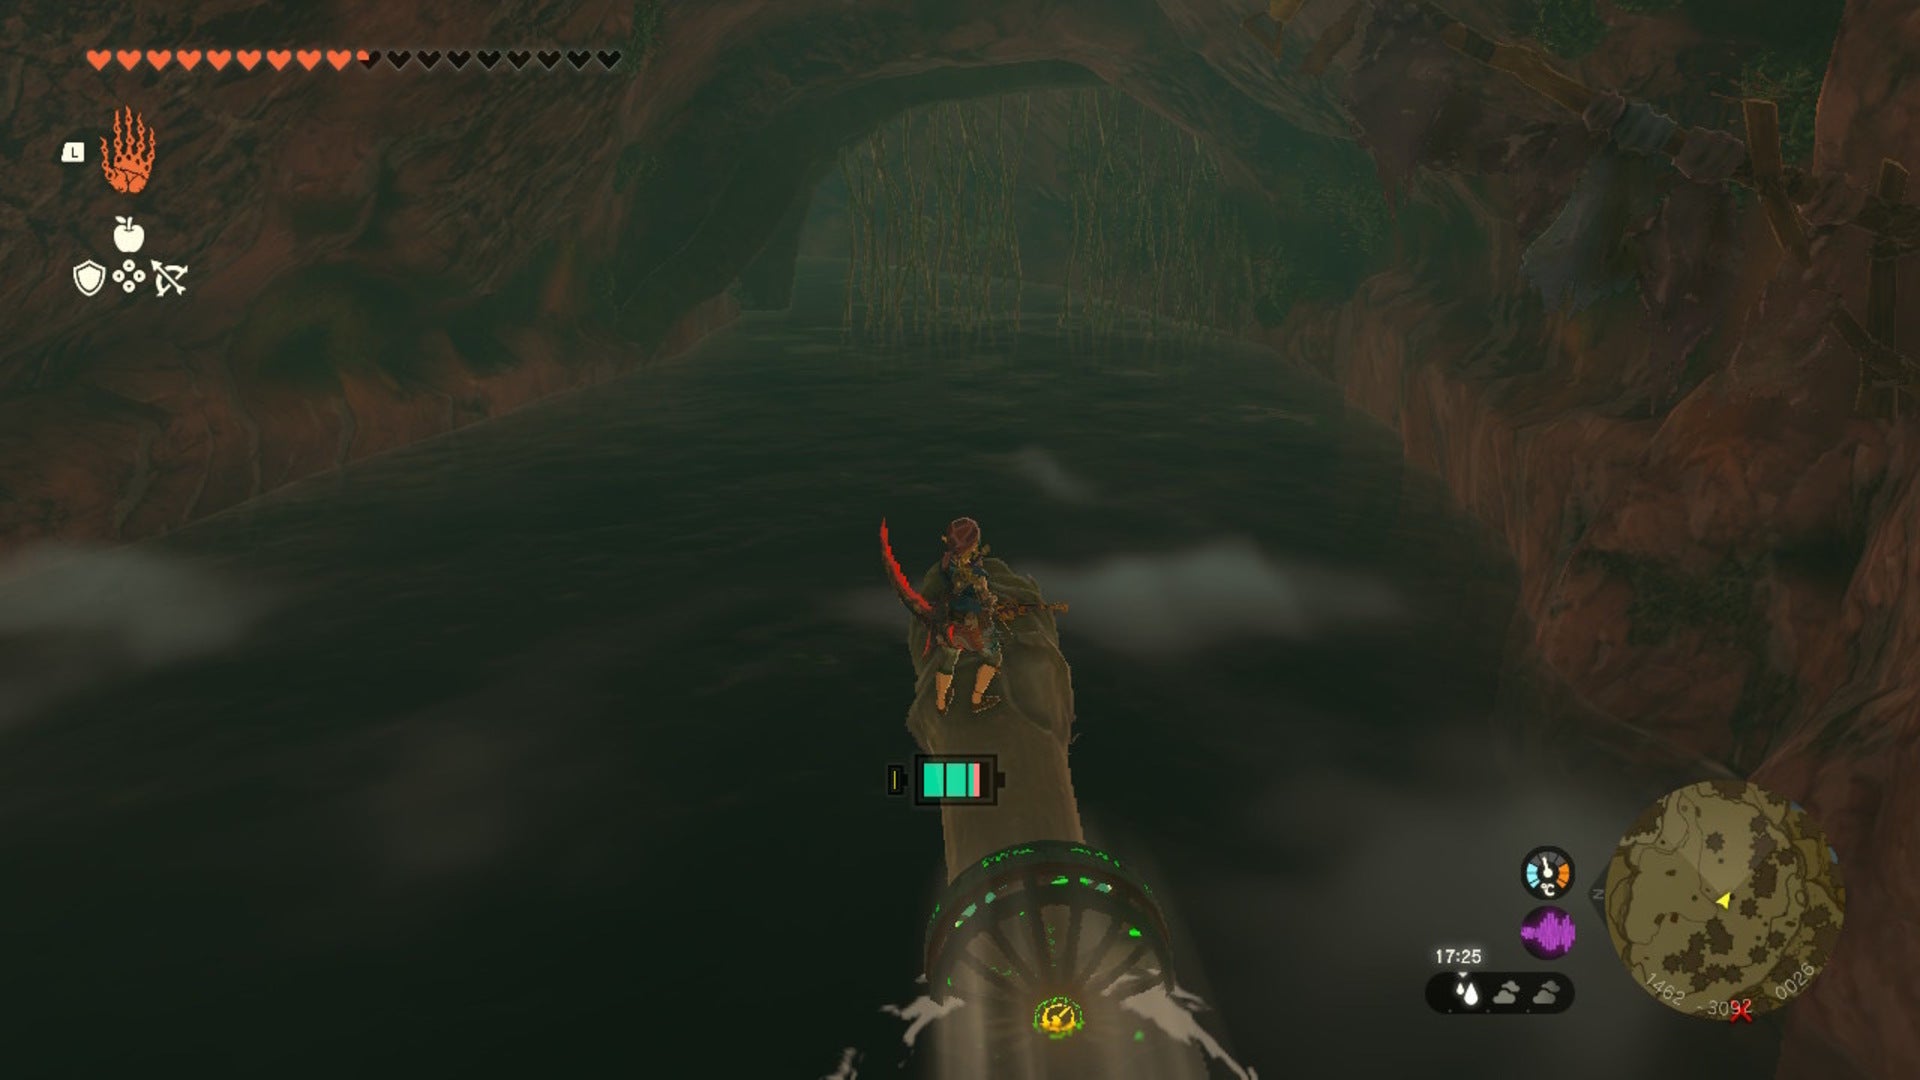
Build a raft however you want, but I ultimately only used the tree log with a fan attached! |Image credit:The Legend of Zelda: Tears of the Kingdom | Nintendo
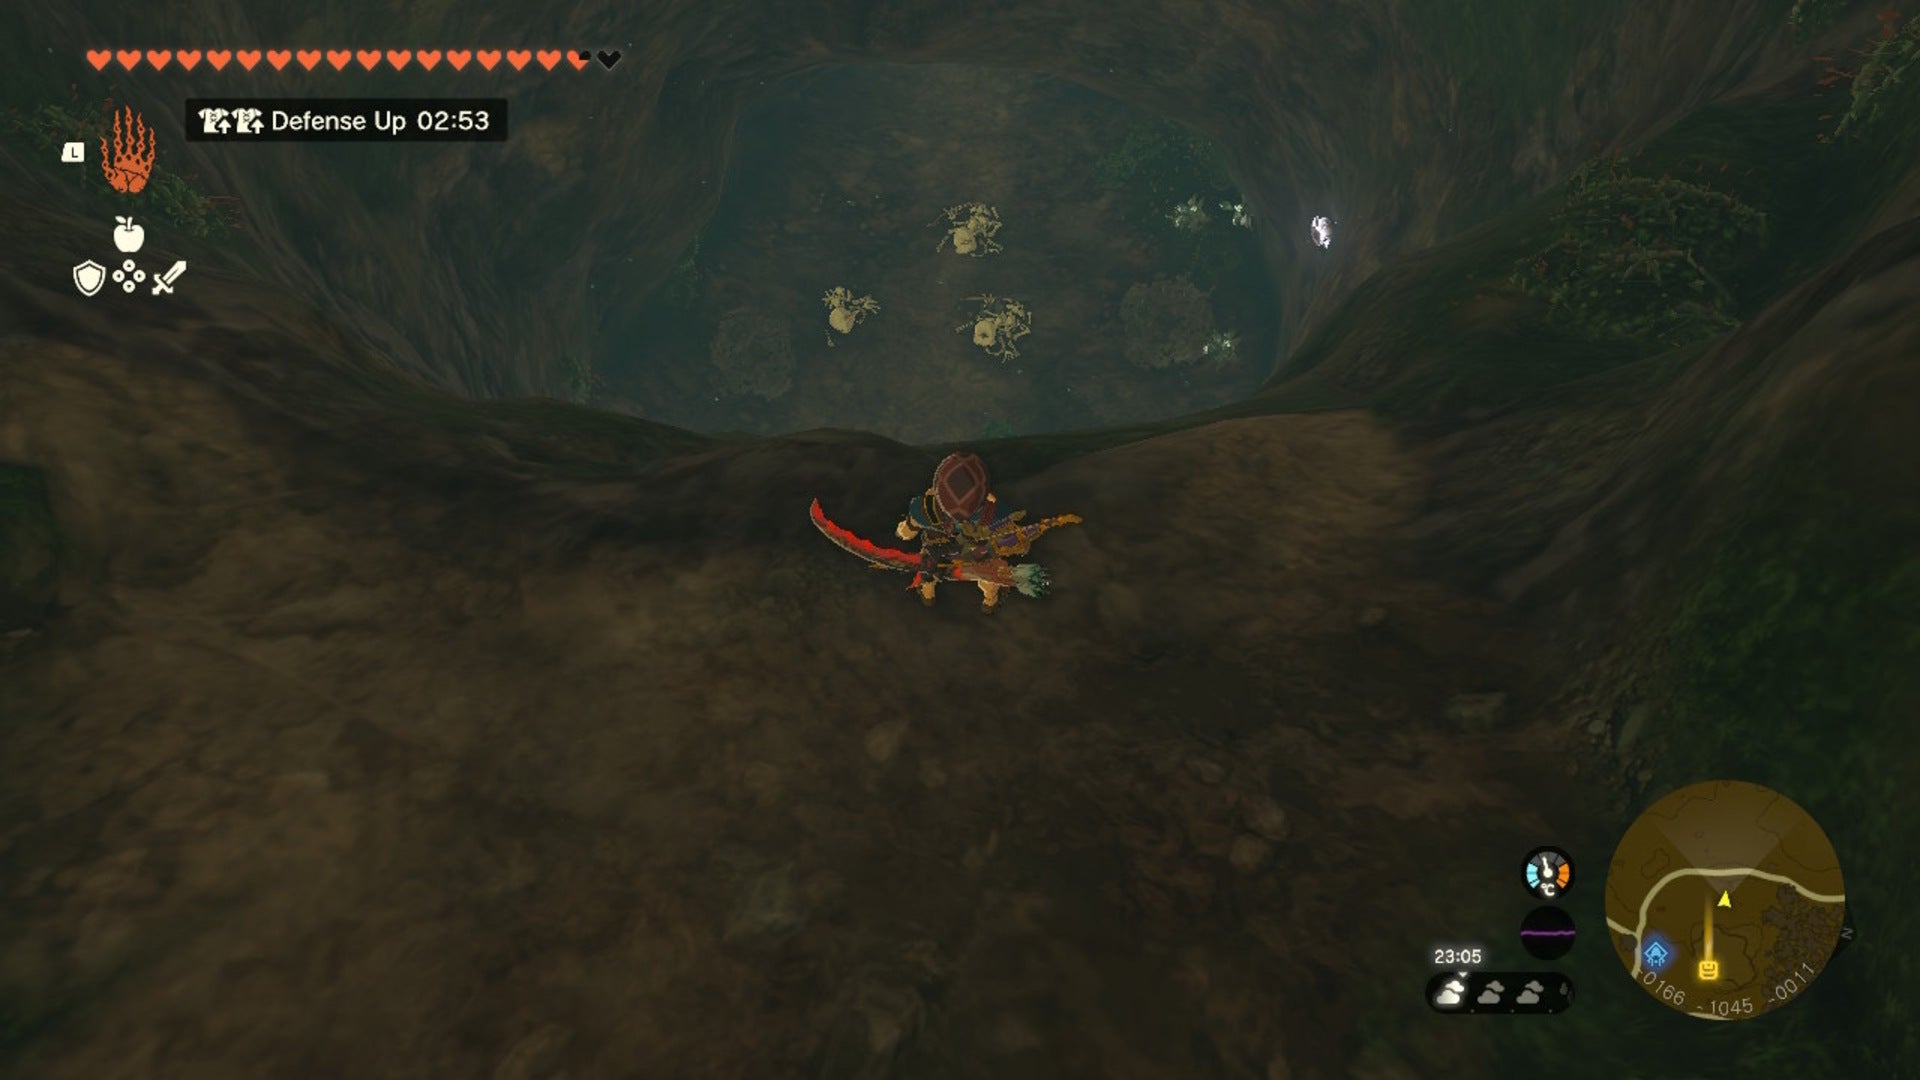
Sail ahead, cut down any vines along the way, and you’ll eventually come to some waterfalls and a Rock Like. Ignore the Rock Like and press onwards.
After the waterfalls and Bubbulfrog, you’ll come across an altar with a chest containing the Rubber Armor Helm!
Next, we’re going to grab the Rubber Armor chest piece, and this cave is much easier to navigate.
How to get the Rubber Armor chest piece in Zelda: Tears of the Kingdom
The Rubber Armor chest piece in Zelda: Tears of the Kingdom can be found in Whistling Hill Cave, just north of Teniten Shrine. We’ve marked it on the map below!
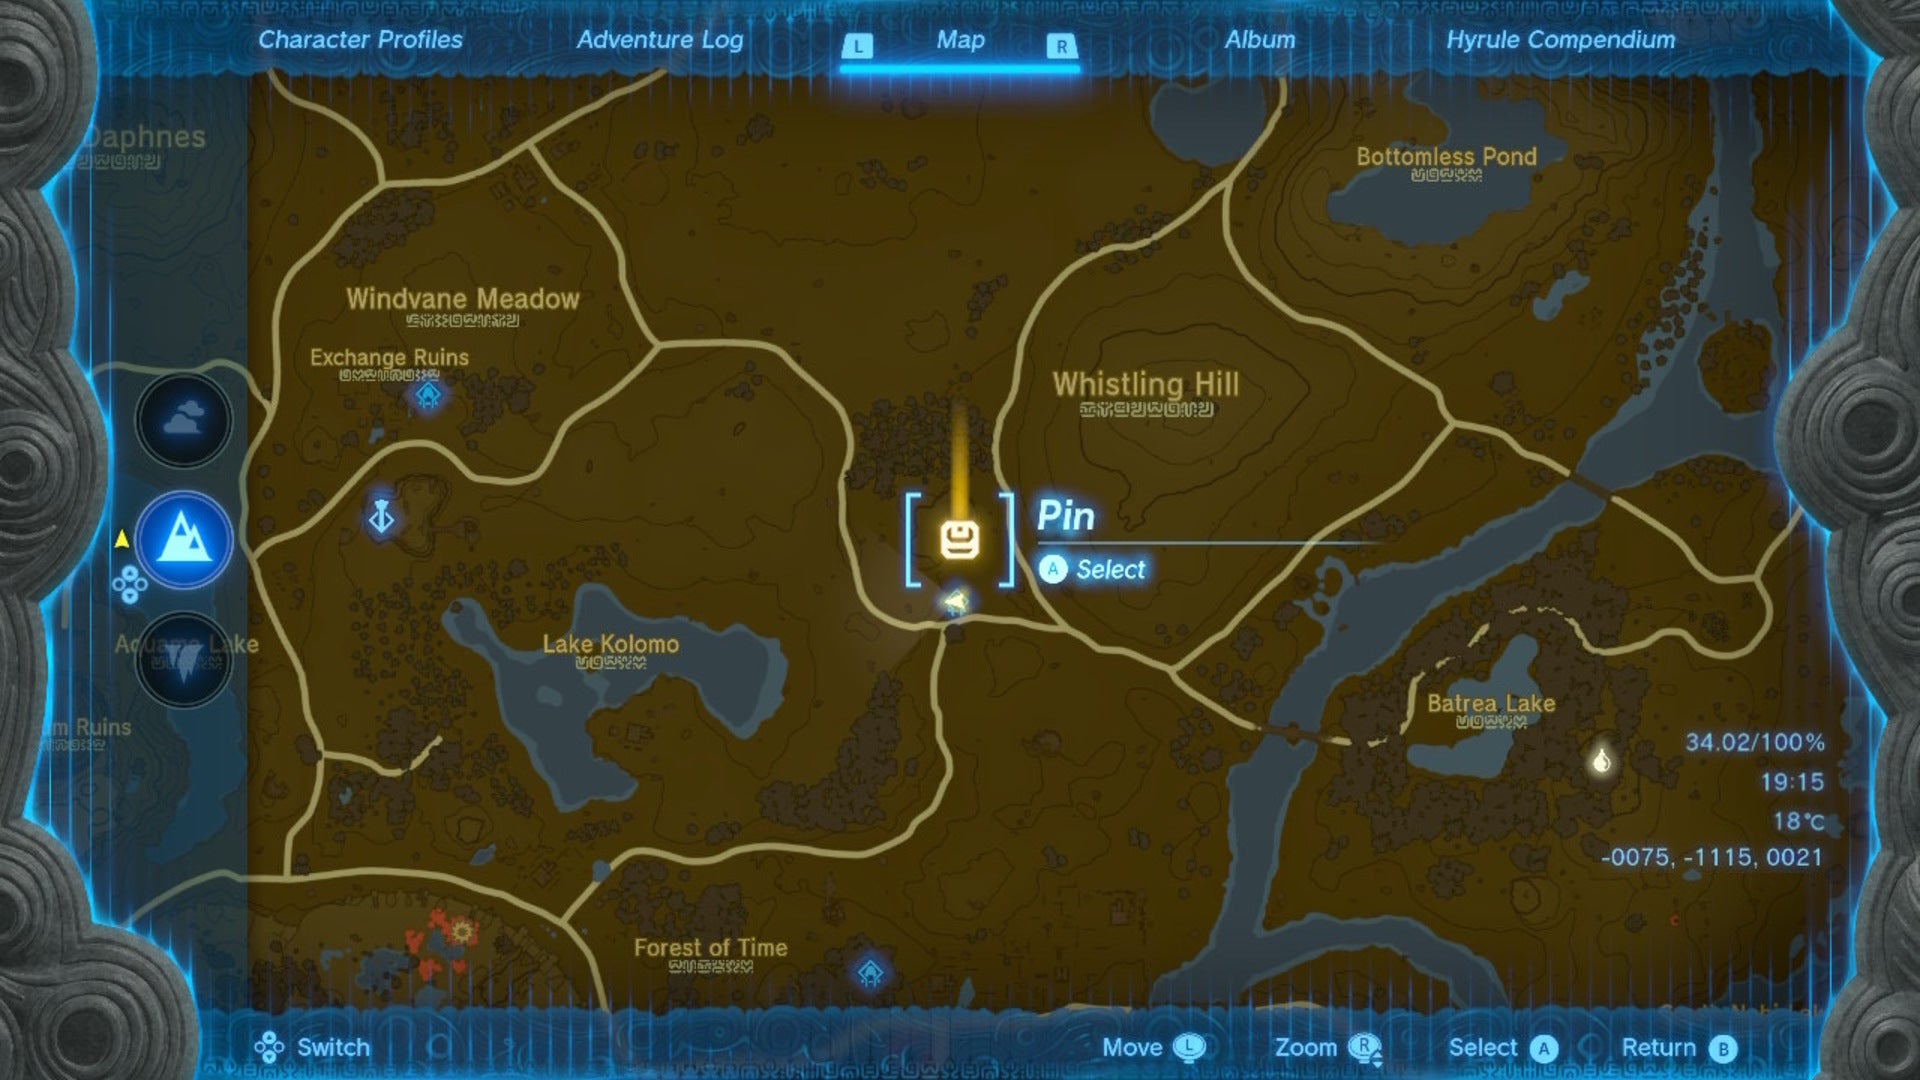
Just southeast of Hyrule Field, the Whistling Hill Cave is found at coordinates -0068, -1048, 0020. |Image credit:The Legend of Zelda: Tears of the Kingdom | Nintendo
This cave isn’t too far from Hyrule Field, so you’ll be able to find this one easily.
You’ll first need to unblock the entrance to the cave with Yunobo’s charge ability, a hammer, or some Bomb Fruit.
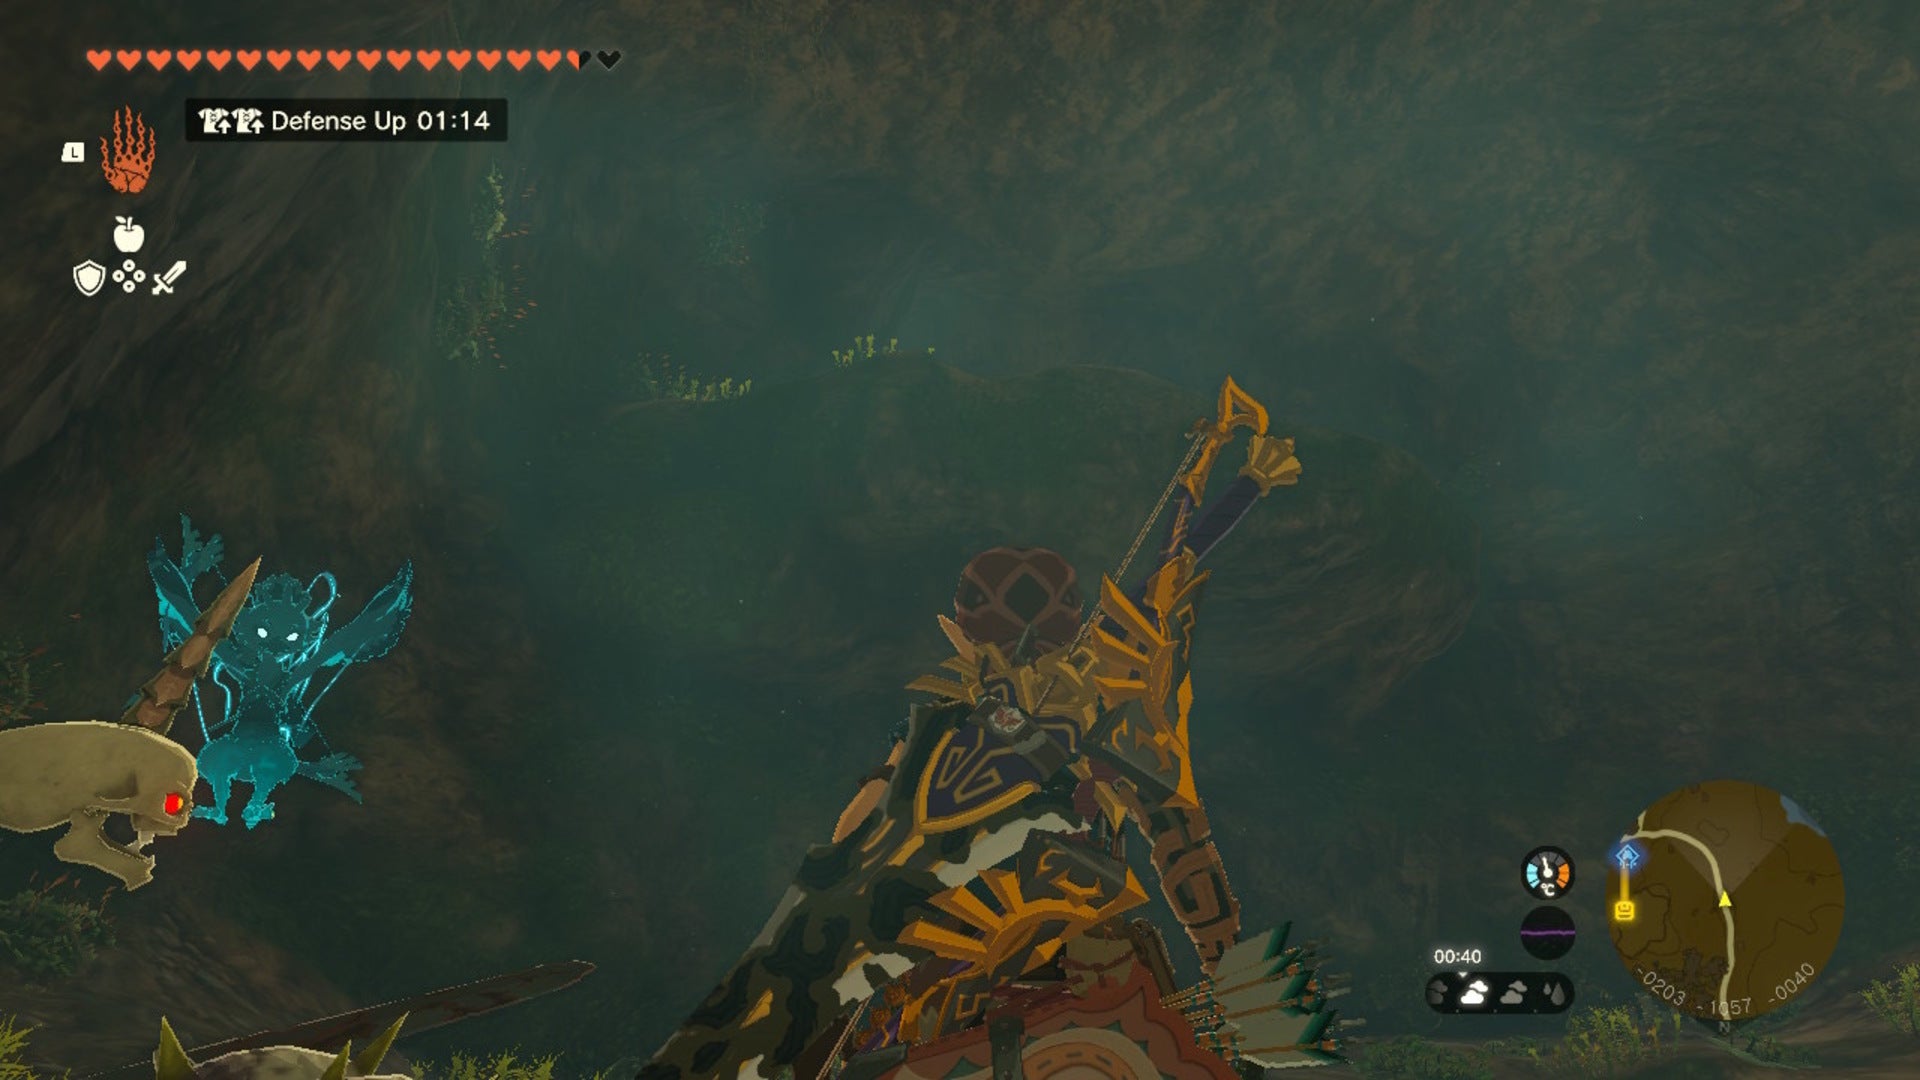
Once in the cave, you want to go straight ahead until you come to a crossroads; to your left will be a breakable rock that hides some ore behind it. We want to head right and cut down the vines. There’ll be some Bokoblin Skeletons below us here that are worth killing before continuing on.
They’re kinda cute when they’re sleeping. |Image credit:The Legend of Zelda: Tears of the Kingdom | Nintendo
Now, keep continuing straight ahead. In this next room, there’ll be vines on our right leading to a chest containing a Knight’s Shield. We want to go climb onto the platform to our left instead.
Clamber up here. |Image credit:The Legend of Zelda: Tears of the Kingdom | Nintendo
Atop the platform will be a Rock Like. You can kill it, or you can wait for it to finish spitting rocks (three, to be exact) and run straight past it.
Get rid of this thing, but be careful of the rocks it’ll spit out at Link. |Image credit:The Legend of Zelda: Tears of the Kingdom | Nintendo
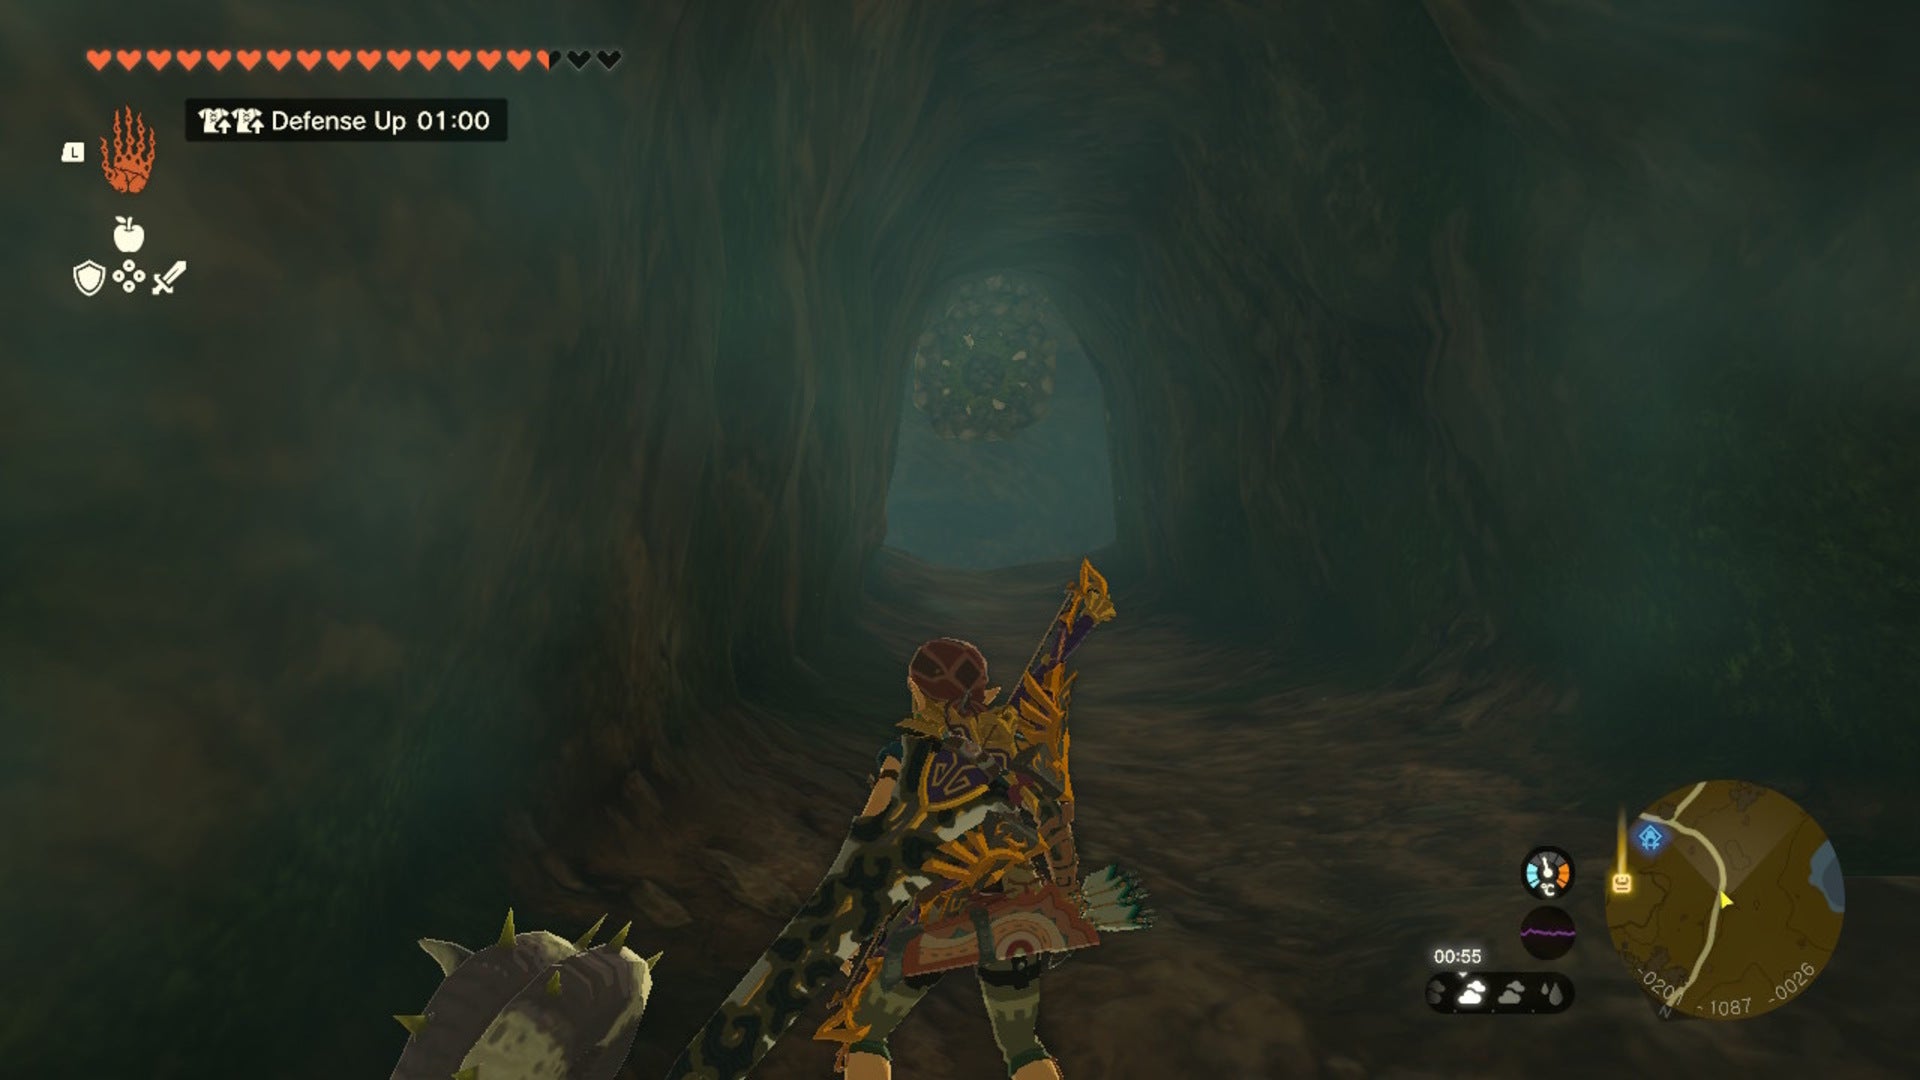
Once past the Rock Like, you’ll eventually come to some rocks again that need destroying. Destroy them, and you’ll then find yourself in a part of the cave that has water, and a Shock Like waiting to catch us off guard.
Avoid the water, and the electric orbs being fired at us, and kill the Shock Like. Once it’s down, you can destroy the rock behind it to reveal an altar.
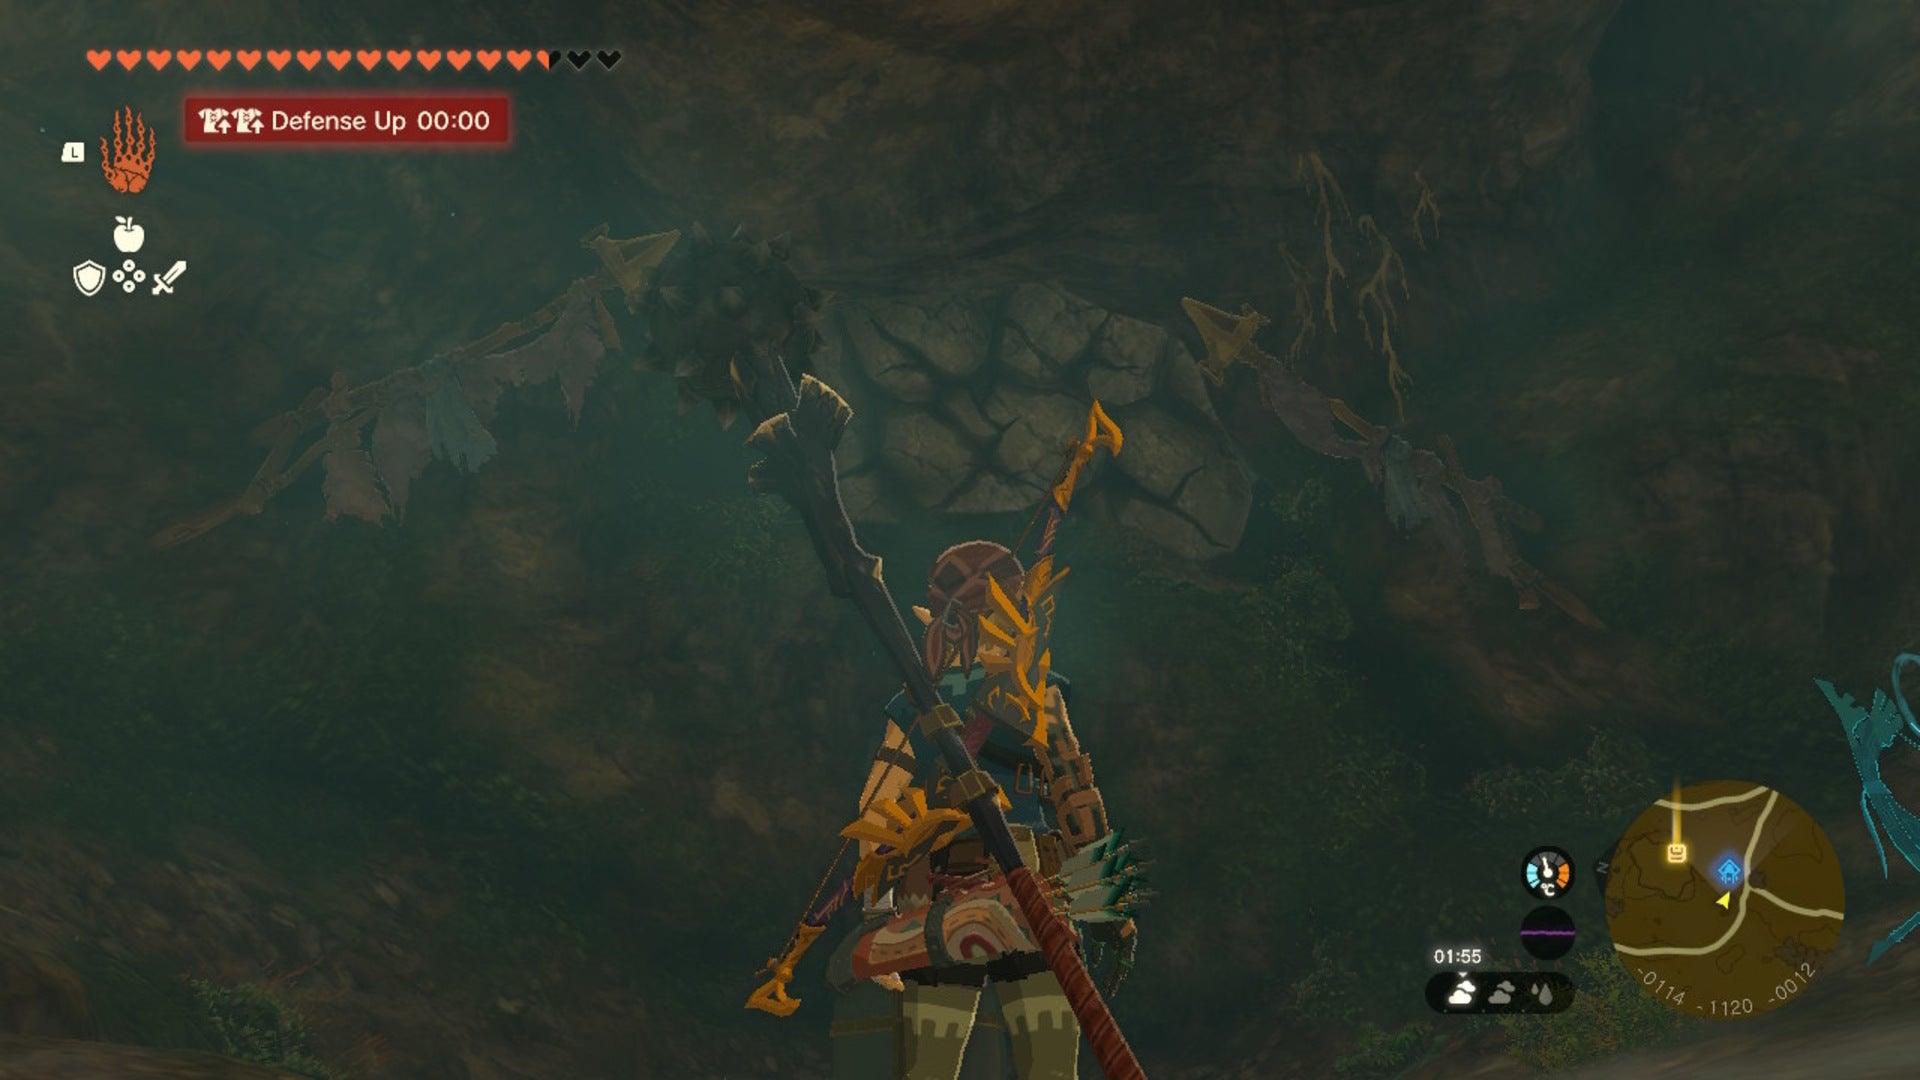
Destroy these rocks, and our Rubber Armor chest piece will be behind it. |Image credit:The Legend of Zelda: Tears of the Kingdom | Nintendo
At the altar is a chest containing the Rubber Armor chest piece that we’ve been hunting for! Now, you can explore the rest of the cave or make your way to the third and final piece of the Rubber Armor.
How to get the Rubber Armor Tights in Zelda: Tears of the Kingdom
Last, but not least, we’re off to acquire the Rubber Armor Tights in Zelda: Tears of the Kingdom. This piece of the Rubber Armor set can be found in Horon Lagoon Cave, which is in the region of Lanaryu.
The Horon Lagoon Cave isn’t too far from the Zora Domain , and is on the coast of the Lanaryu Sea. It is directly southeast of the East Reservoir Lake, and west of the Brynna Plains. If you’ve grabbed the Geoglyph from Talus Plateu, it is also directly west of that!
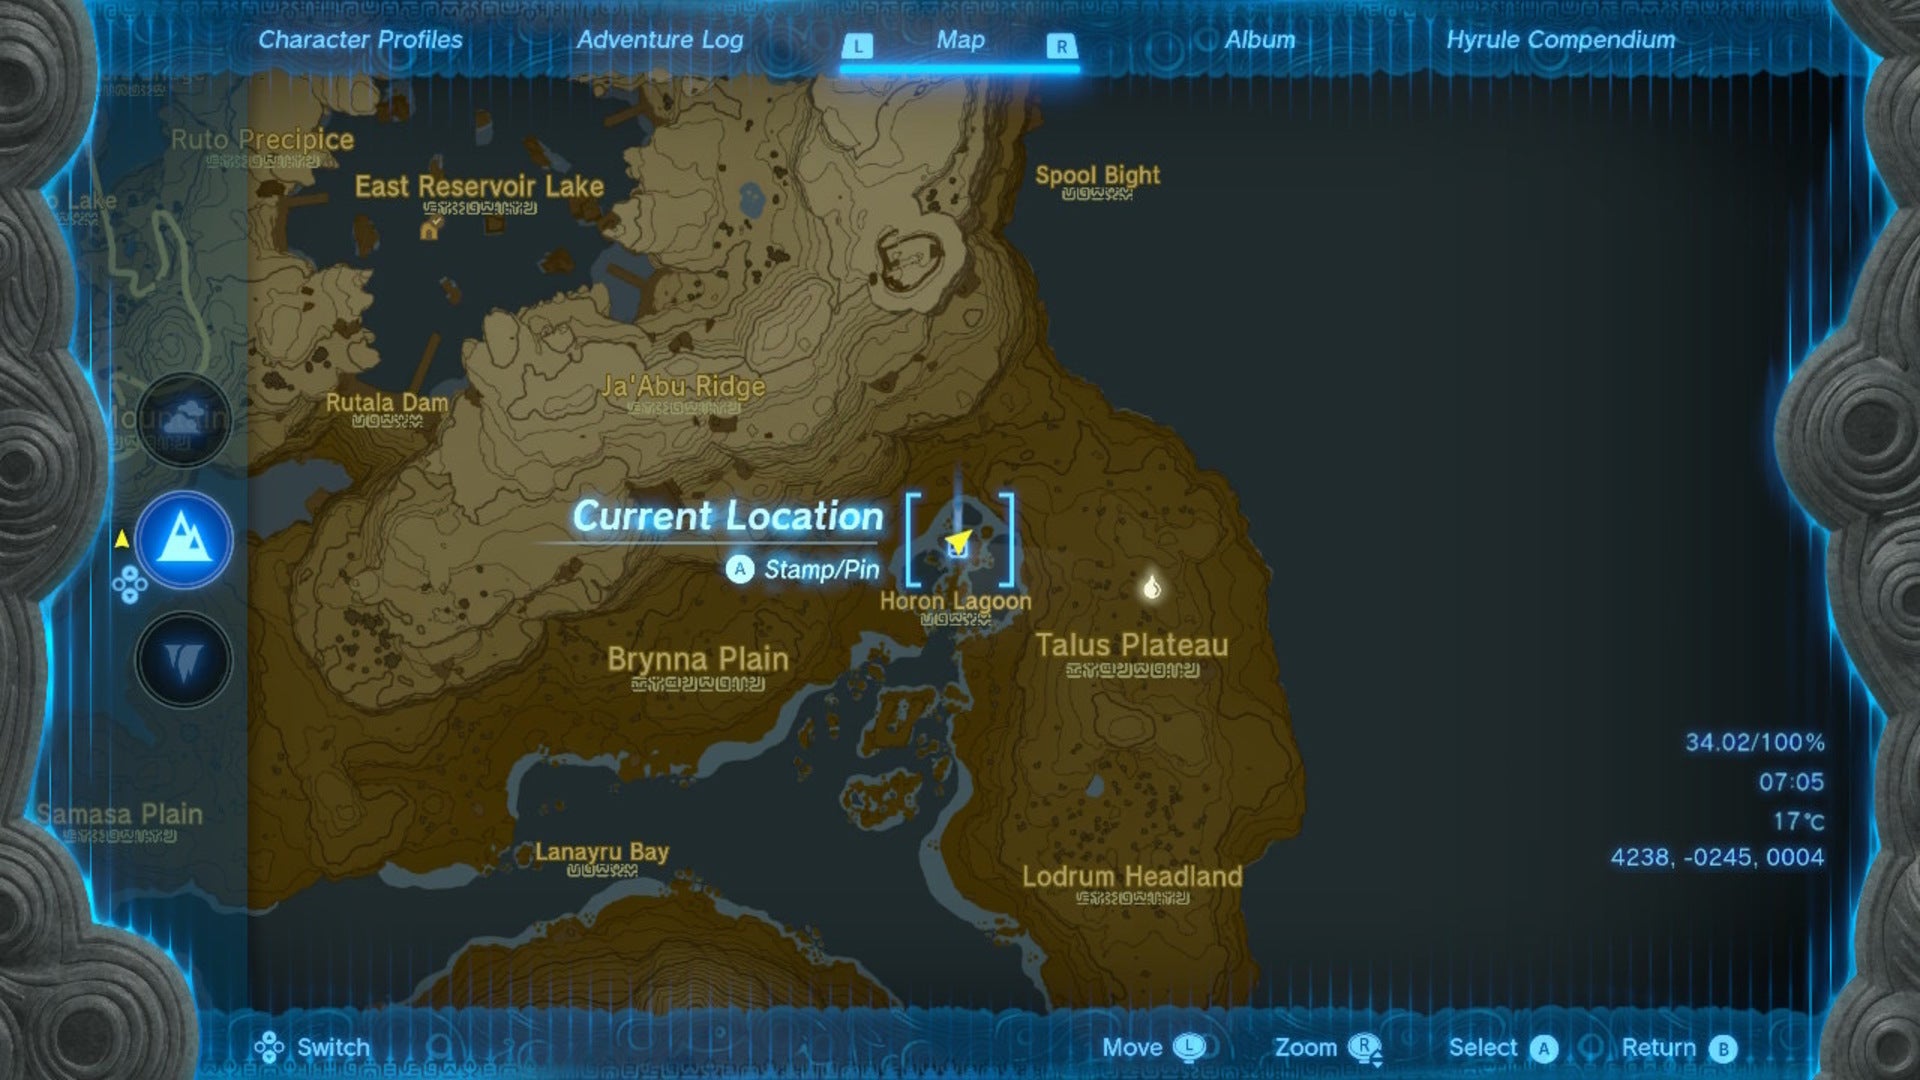
You’ll find the Horon Lagoon Cave at coordinates 4238, -0245, 0004. |Image credit:The Legend of Zelda: Tears of the Kingdom | Nintendo
I found that the Horon Lagoon Cave is best accessed by gliding over to it from the Water Temple sky island. Once you reach Horon Lagoon, you’ll want to look for this cave’s entrance as though you were searching for a chasm entrance; it’s in the ground, and we’ll need to dive into it!
Glide down into the cave, where you’ll land in some water. Kill the Horroblin here so he doesn’t bother us.
Swim deeper into the cave and over to the distant rock to regain your stamina.

Swim over here and regain stamina by standing on this rock. |Image credit:The Legend of Zelda: Tears of the Kingdom | Nintendo
Then, keep swimming towards the destroyable rock. Be careful of the spikes in the water, as they’ll hurt Link if he gets too close. When you eventually reach the rock, destroy it using a hammer, Yunobo, or Bomb Fruit.
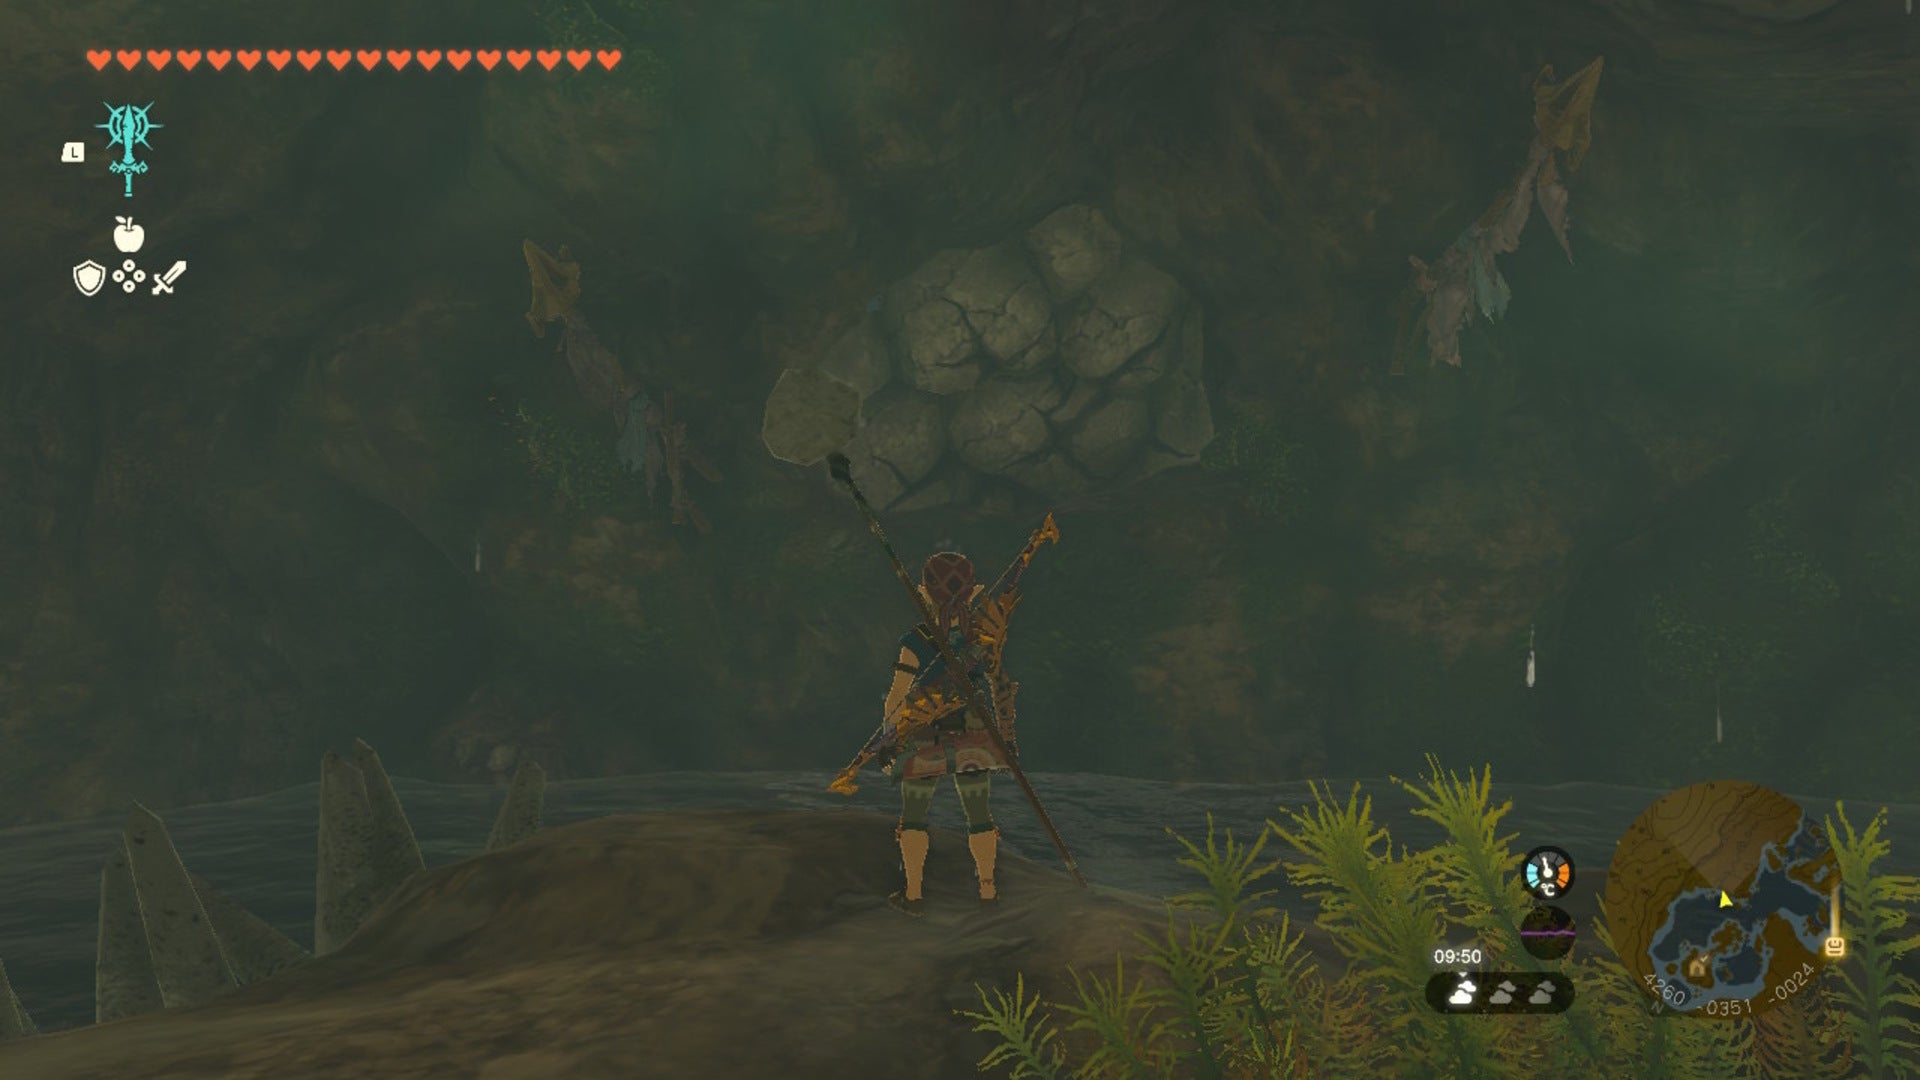
Destroy this rock however you please. |Image credit:The Legend of Zelda: Tears of the Kingdom | Nintendo
Proceed ahead, where you’ll find another altar with a chest. This chest, of course, contains the Rubber Armor Tights that we’ve been looking for!
With that, that’s the whole Rubber Armor set in your possession.
For more on Zelda: Tears of the Kingdom, check out how to get the Glide Armor , as well as the Climbing Gear . These will help massively with traversing Hyrule. While you’re at it, have you also tried shield-surfing ?
The Legend of Zelda: Tears of the Kingdom
Nintendo Switch
Sign in and unlock a world of features

