How to get the Zonaite Armor set in Zelda: Tears of the Kingdom
Get the most out of your Zonai Devices with this armor.
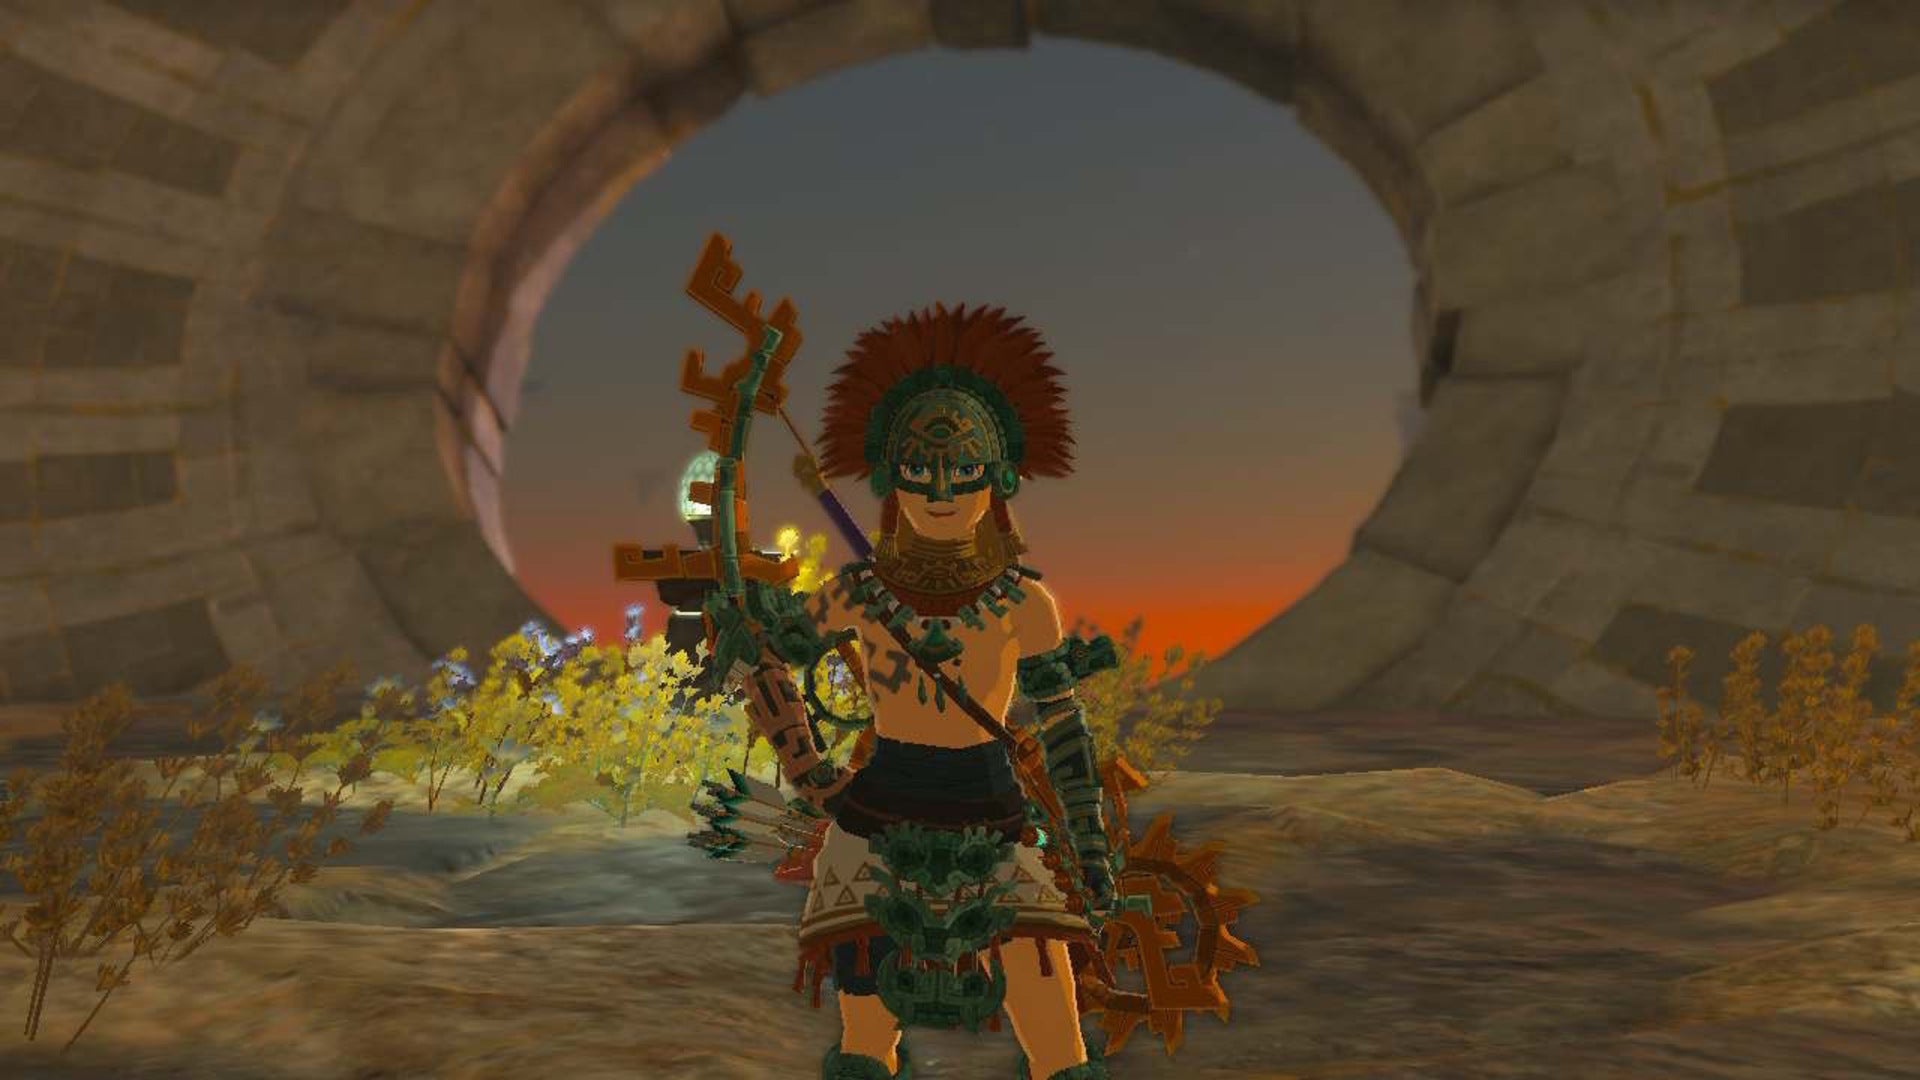
Image credit:VG247 | Nintendo

UPDATE: We have embedded an interactive map into this Zelda: Tears of the Kingdom guide, to help you with tracking down all of the Zonai armor pieces.
Of all the armor to choose from in The Legend of Zelda: Tears of the Kingdom , I think the Zonaite armor has to be some of the best-looking new gear there is. It turns Link into a badass Zonai warrior, and is also rather useful when it comes to using Zonai Devices .
Collecting the Zonai armor set meets ascending up to the sky island in Hyrule, so this is the perfect time to also farm Zonai Dispensers and Sundelion which we’ll no doubt need during our adventure. Anyway, here’s how to get the Zonaite armor set in Zelda: Tears of the Kingdom .
How to get the Zonaite Armor set in Zelda: Tears of the Kingdom
The Zonaite armor is made up of three pieces; the Zonaite Helm, Zonaite Waistguard, and Zonaite Shin Guards. They’re each located on sky islands in different regions, so can be quite a pain to get if you’re yet to unlock the map.
I definitely recommend grabbing as many Skyview Towers as possible before venturing out to grab this armor. Once you have, collecting it will be a breeze.
The Zonaite armor will boost the energy of your Zonai Devices when equipped. When you upgrade it enough at a Great Fairy Fountain , it will also double the recharge speed of your Zonai batteries.
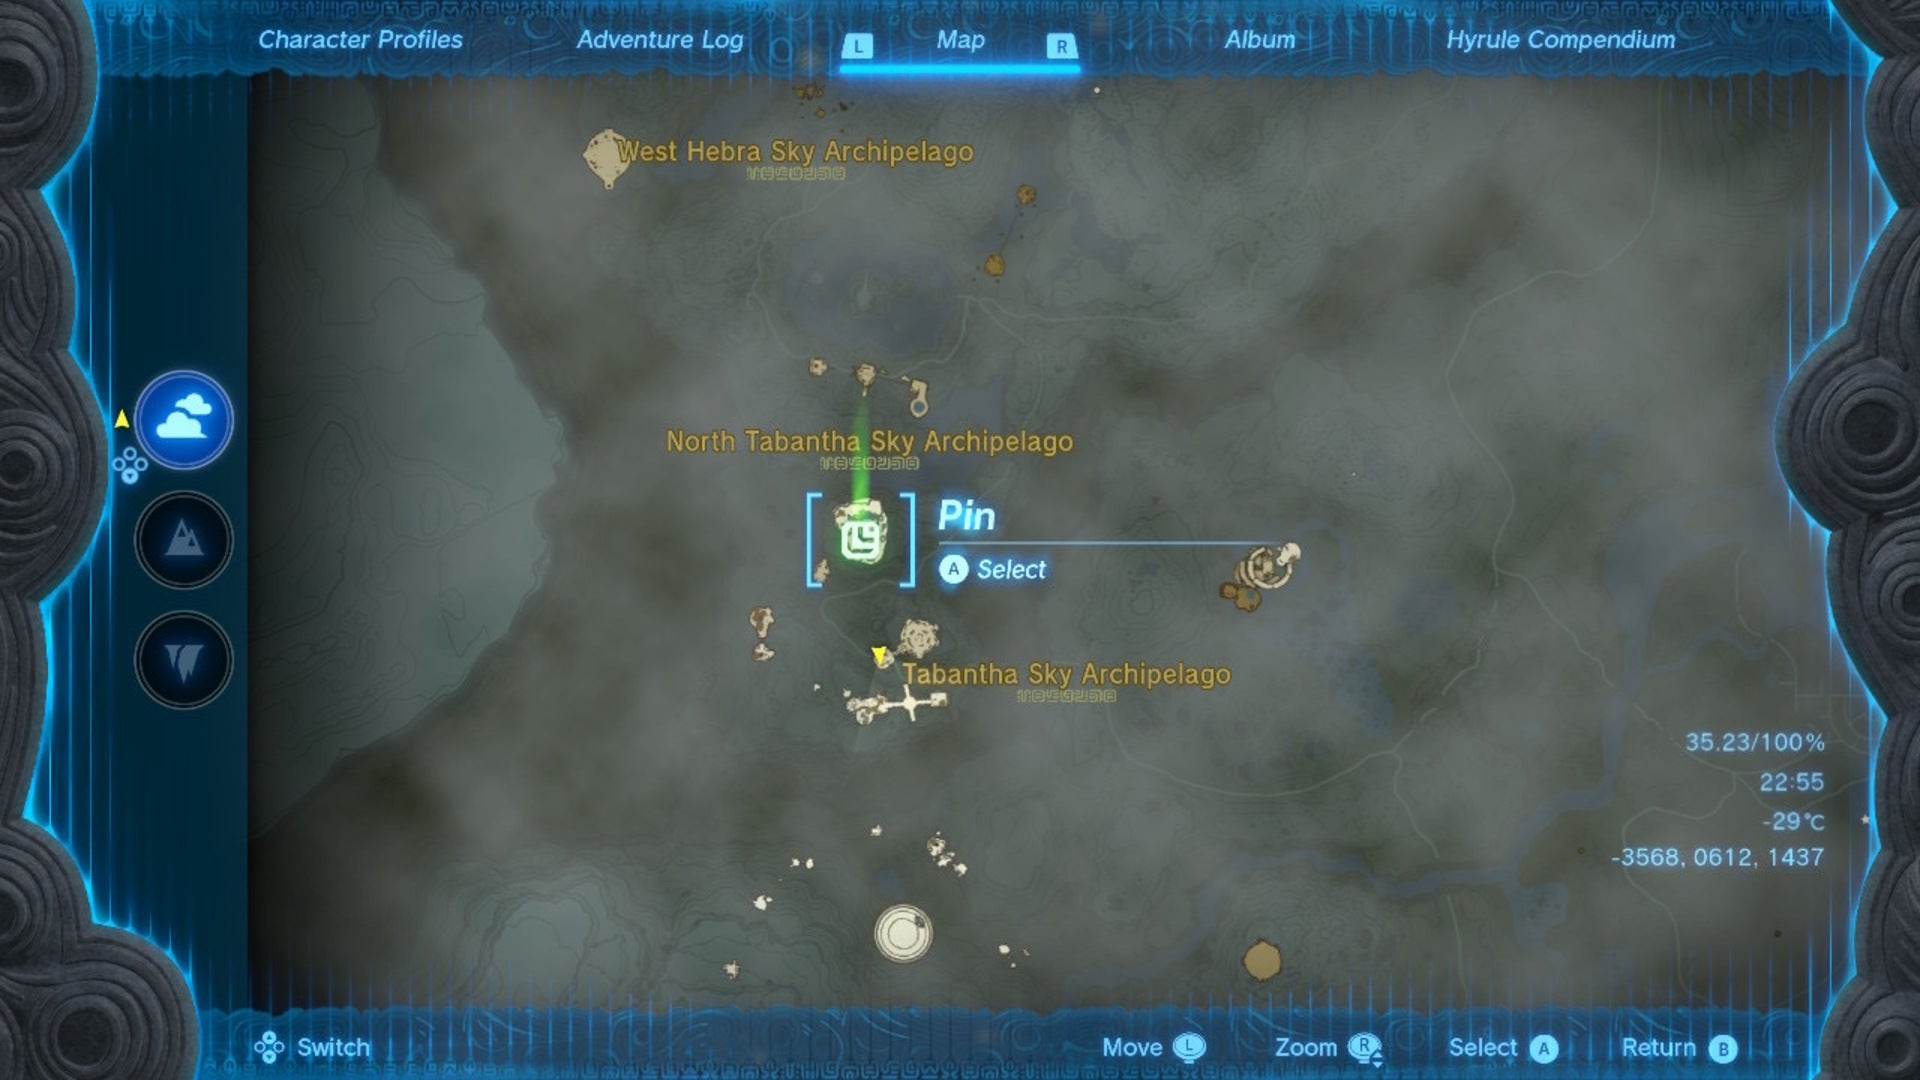
For a quick overview of where exactly to find each piece of the Zonaite armor set, check out this interactive map for Tears of the Kingdom , which has each piece of gear marked on it:
How to get the Zonaite Helm in Zelda: Tears of the Kingdom
The Zonaite Helm is located on the south of Lightcast Island in Tears of the Kingdom, but we need to get there first!
Here’s Lightcast Island, for reference. It is south of the Zora Domain, among the sky islands. |Image credit:VG247 | Nintendo
If you haven’t got any of the Zora Domain armor, you’ll want to begin the Zora Domain questline first, so you can grab the chest piece. While you’re at it, cook up some stamina elixirs too, and make sure you have some Zonaite charges to hand, too. We’re going to need to swim up a waterfall to reach Lightcast Island, and the glide over to this island is quite the journey.
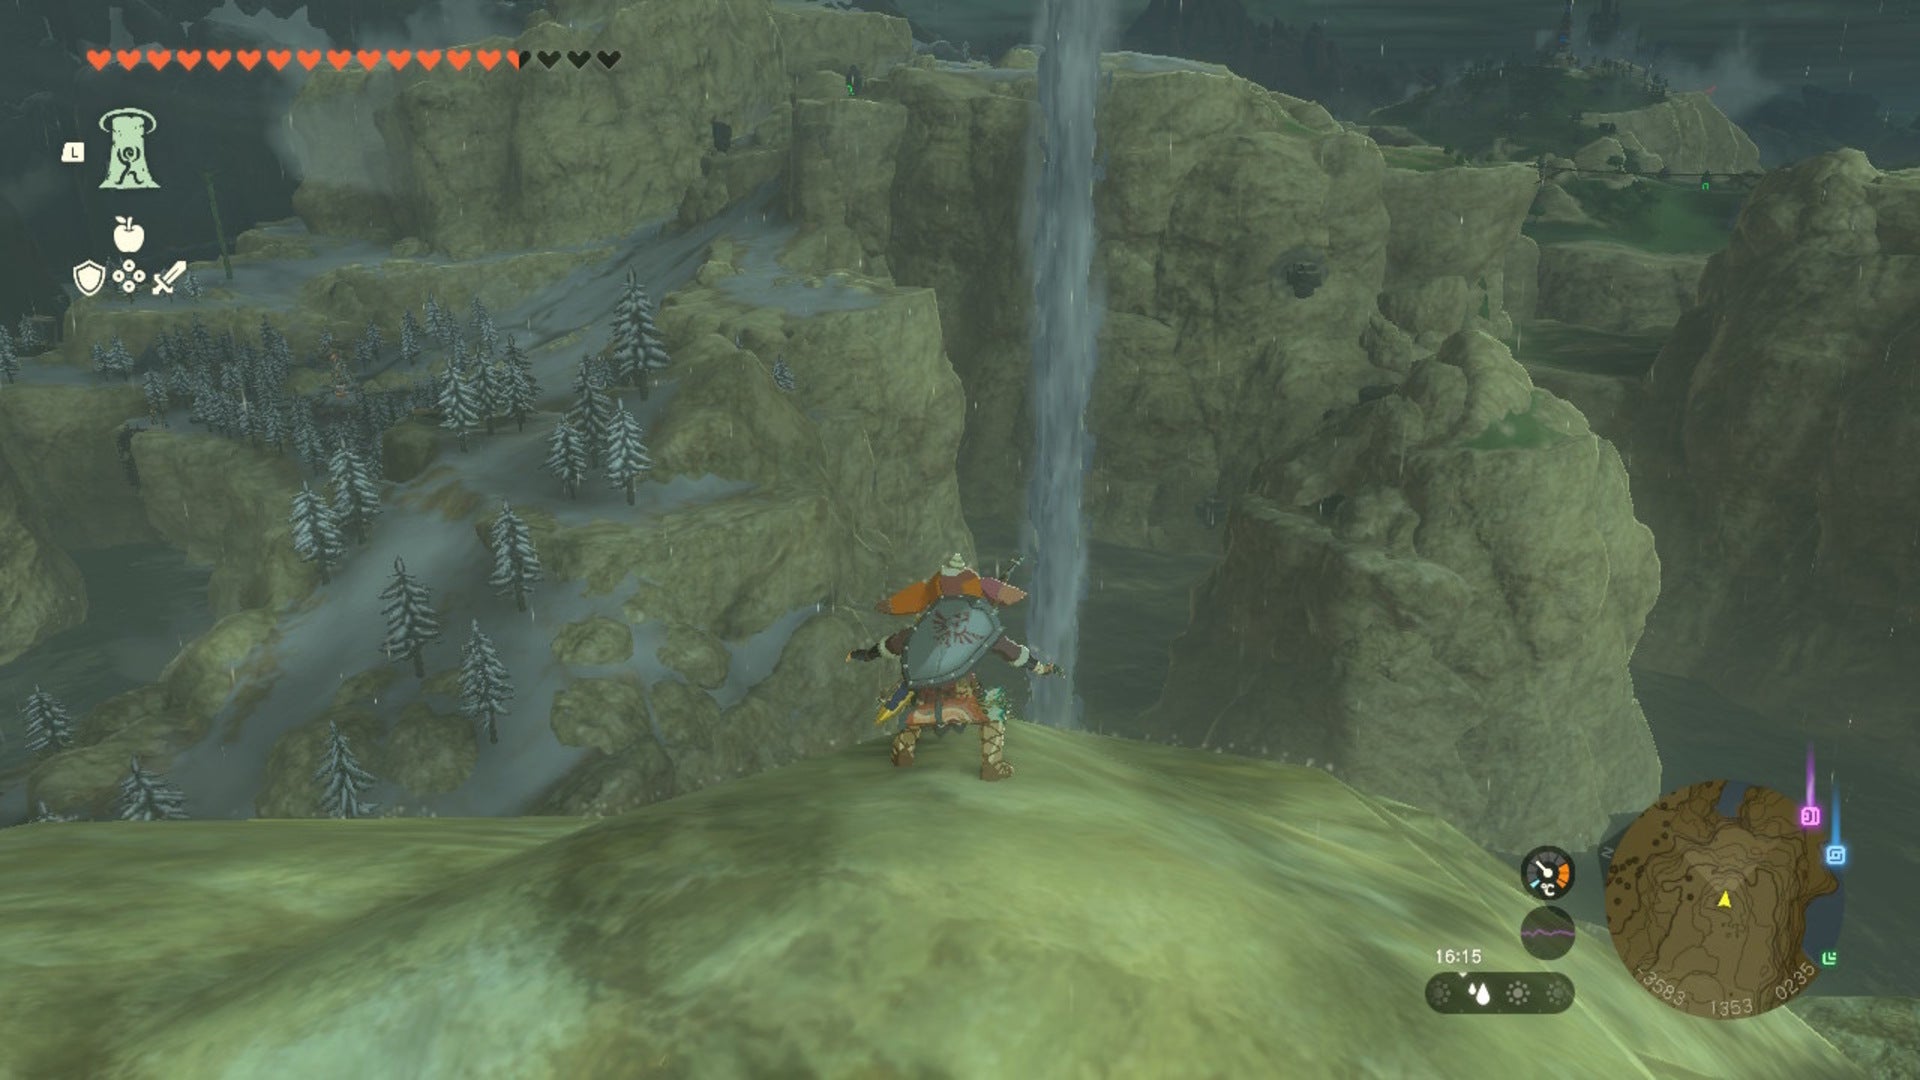
Once you know you have the power to swim up waterfalls, make your way to Rospro Pass Skyview Tower in the region of Hebra and send Link up into the sky. Then, glide over to the waterfall towards the south, using stamina elixirs to top up Link’s stamina along the way. Don’t worry if you don’t reach the waterfall, just make sure to land on the small island in Hyrule below it.
Here, I used the Autobuild ability to conjure up a working hot air balloon. I then sent the hot air balloon flying with Link inside it. Once you finally reach the waterfall above, have Link glide off and straight into the waterfall with the Zora armor equipped; he’ll now arrive on the sky islands.

This is what we need some Zonaite on hand for! |Image credit:VG247 | Nintendo
If the weather in Hyrule is rainy, however, this particular waterfall will actually reach the floor. This means, if the weather is on your side, you can actually glide straight to the waterfall and head on up!
When it’s raining, you can swim straight up the waterfall. |Image credit:VG247 | Nintendo
Once you arrive on the sky island, there’ll be some minecarts and rockets; attach two rockets to either side of a cart and place the cart on the nearby track. Then, ride the minecart over to the next island.
Ride this minecart to the other side of the islands. |Image credit:VG247 | Nintendo
Next, make a glider to help Link reach the island south of Lightcast Island. |Image credit:VG247 | Nintendo
As you approach this small island, gravity will reduce and Link will be able to move and jump further. From here, we now want to make our way to Lightcast Island.
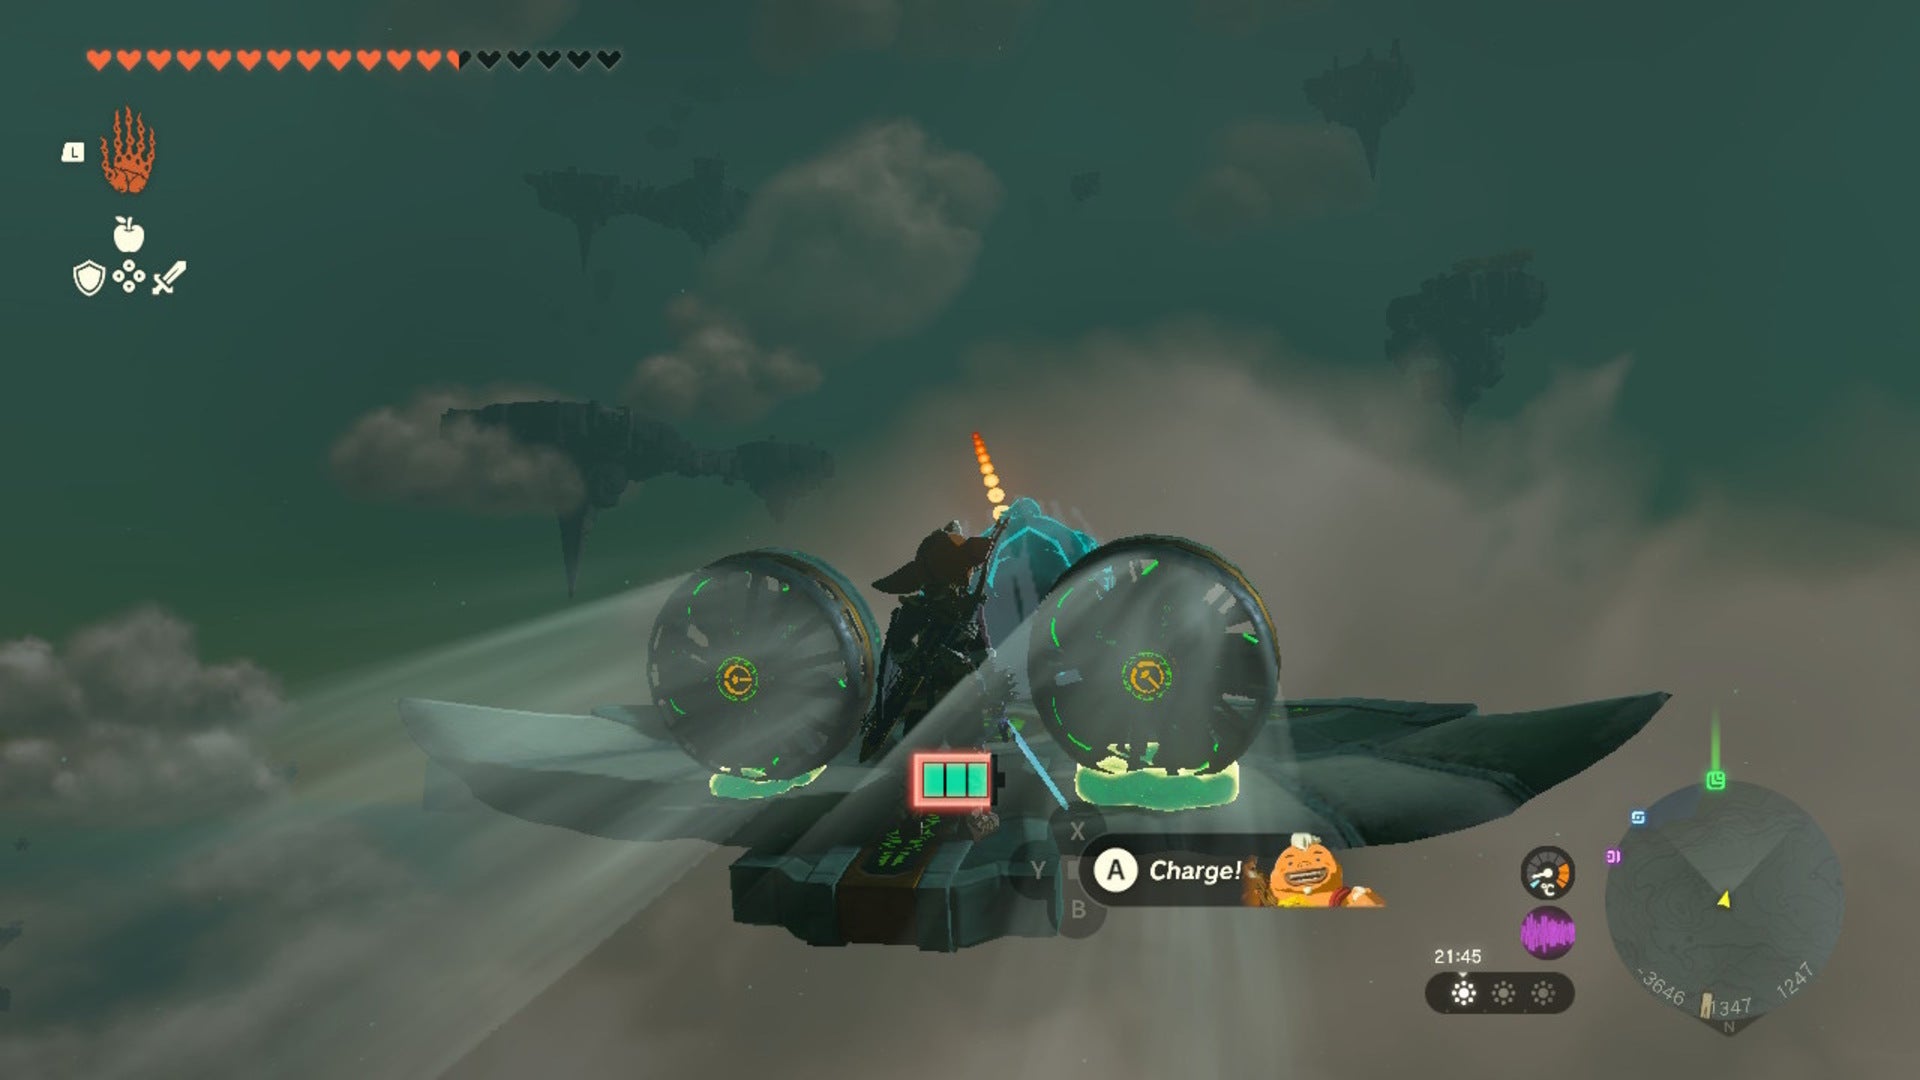
On this island, there’ll be a small platform with fans and batteries attached. There’ll be plenty of other batteries and fans nearby, too, so I recommend attaching the additional batteries so you need not use any Zonai charges while flying.
When you’re ready, send the platform flying upwards and head north towards Lightcast Island.
Use this platform, with additional devices attached, to reach Lightcast Island finally. |Image credit:VG247 | Nintendo
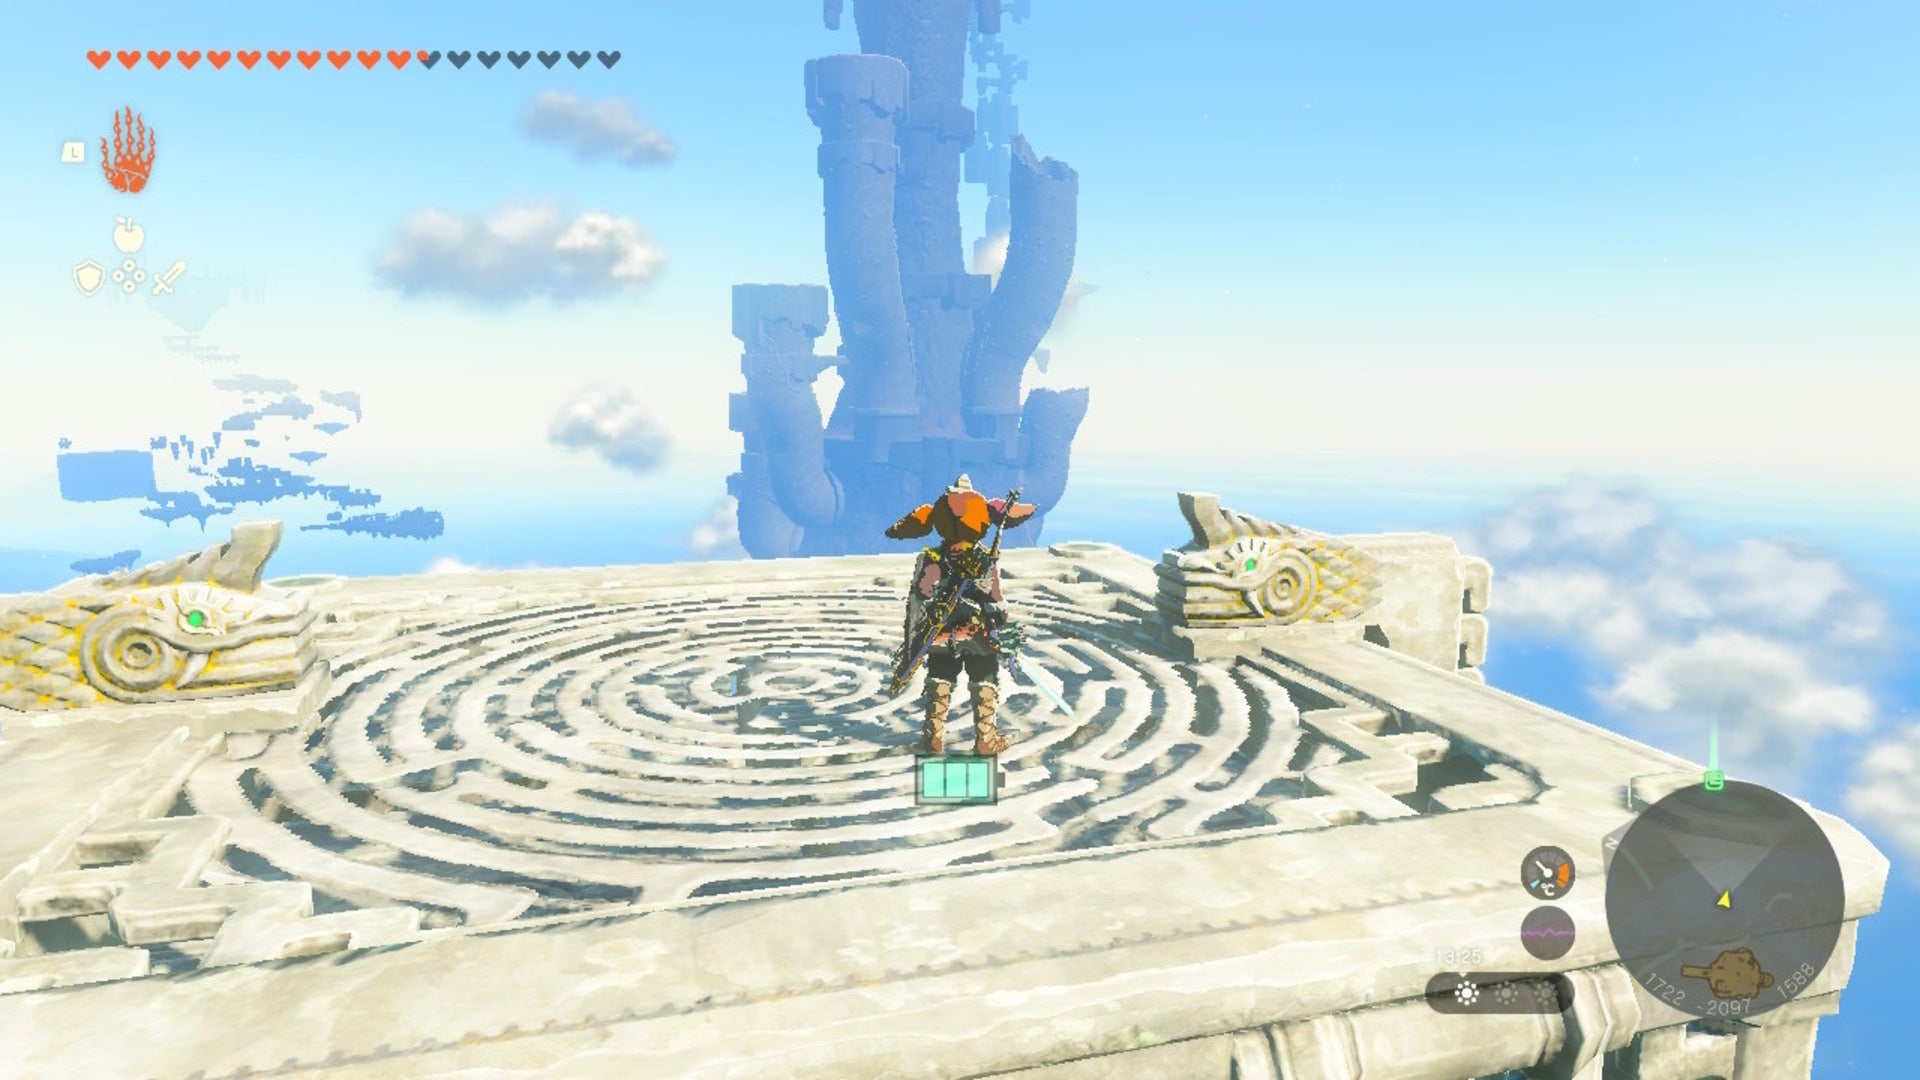
Once you reach the island, head north, over to the rightmost corner where you’ll find a Zonai terminal. Interact with it to drain the area of water.
Interact with this Zonai terminal to drain the surrounding area of water. |Image credit:VG247 | Nintendo
Next, head where the light is pointing. There’ll be a destroyable rock here; break it, and press ahead.
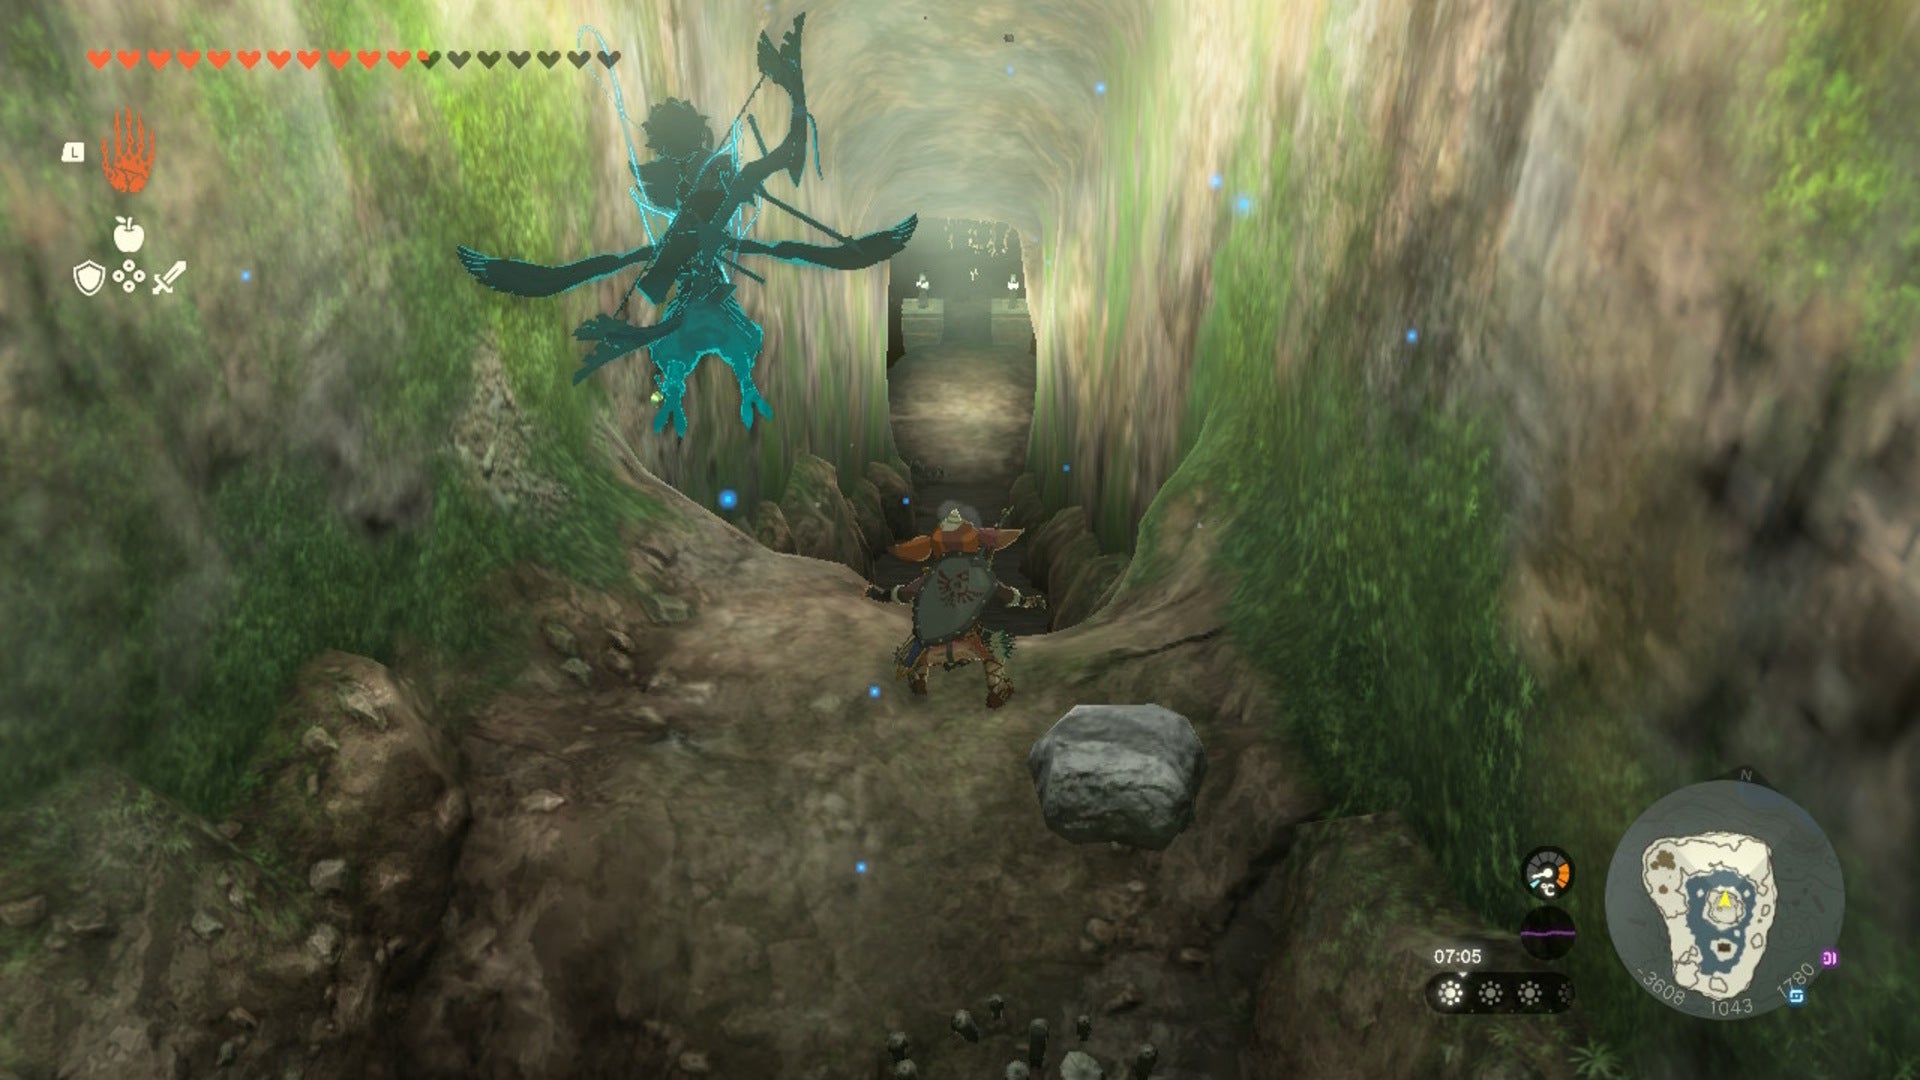
Break the rock here and continue onwards down this passage. |Image credit:VG247 | Nintendo
You’ll arrive in a dark cave. So, first things first, throw some Brightbloom Seeds around the area so you can see more clearly. Up ahead, you’ll find two mirror devices. We’ll need to use these mirrors to reflect light and activate a large panel, like you might’ve done in the Soryotanog Shrine in Gerudo City.
There’ll also be a third mirror device on a platform to the west of the room. Use one of the first mirror devices you found and point it at the distant mirror.
Position the first mirror to point at the second, distant mirror shown here. |Image credit:VG247 | Nintendo
Then, hop over to the second mirror, and position it in such a way so that it points towards a third mirror; this third mirror is towards the south of the room and in the distance. You won’t see it until you reach the second mirror.
Position the second mirror so that it points towards this third mirror in the distance. |Image credit:VG247 | Nintendo
Once again, use Ultrahand to position the third mirror so that it faces the fourth mirror on the nearby platform.
Rinse and repeat! |Image credit:VG247 | Nintendo
Finally, position this fourth mirror to face the cave to the south. Then, head further into the cave.
Position this mirror as shown, and advance into the cave ahead. |Image credit:VG247 | Nintendo
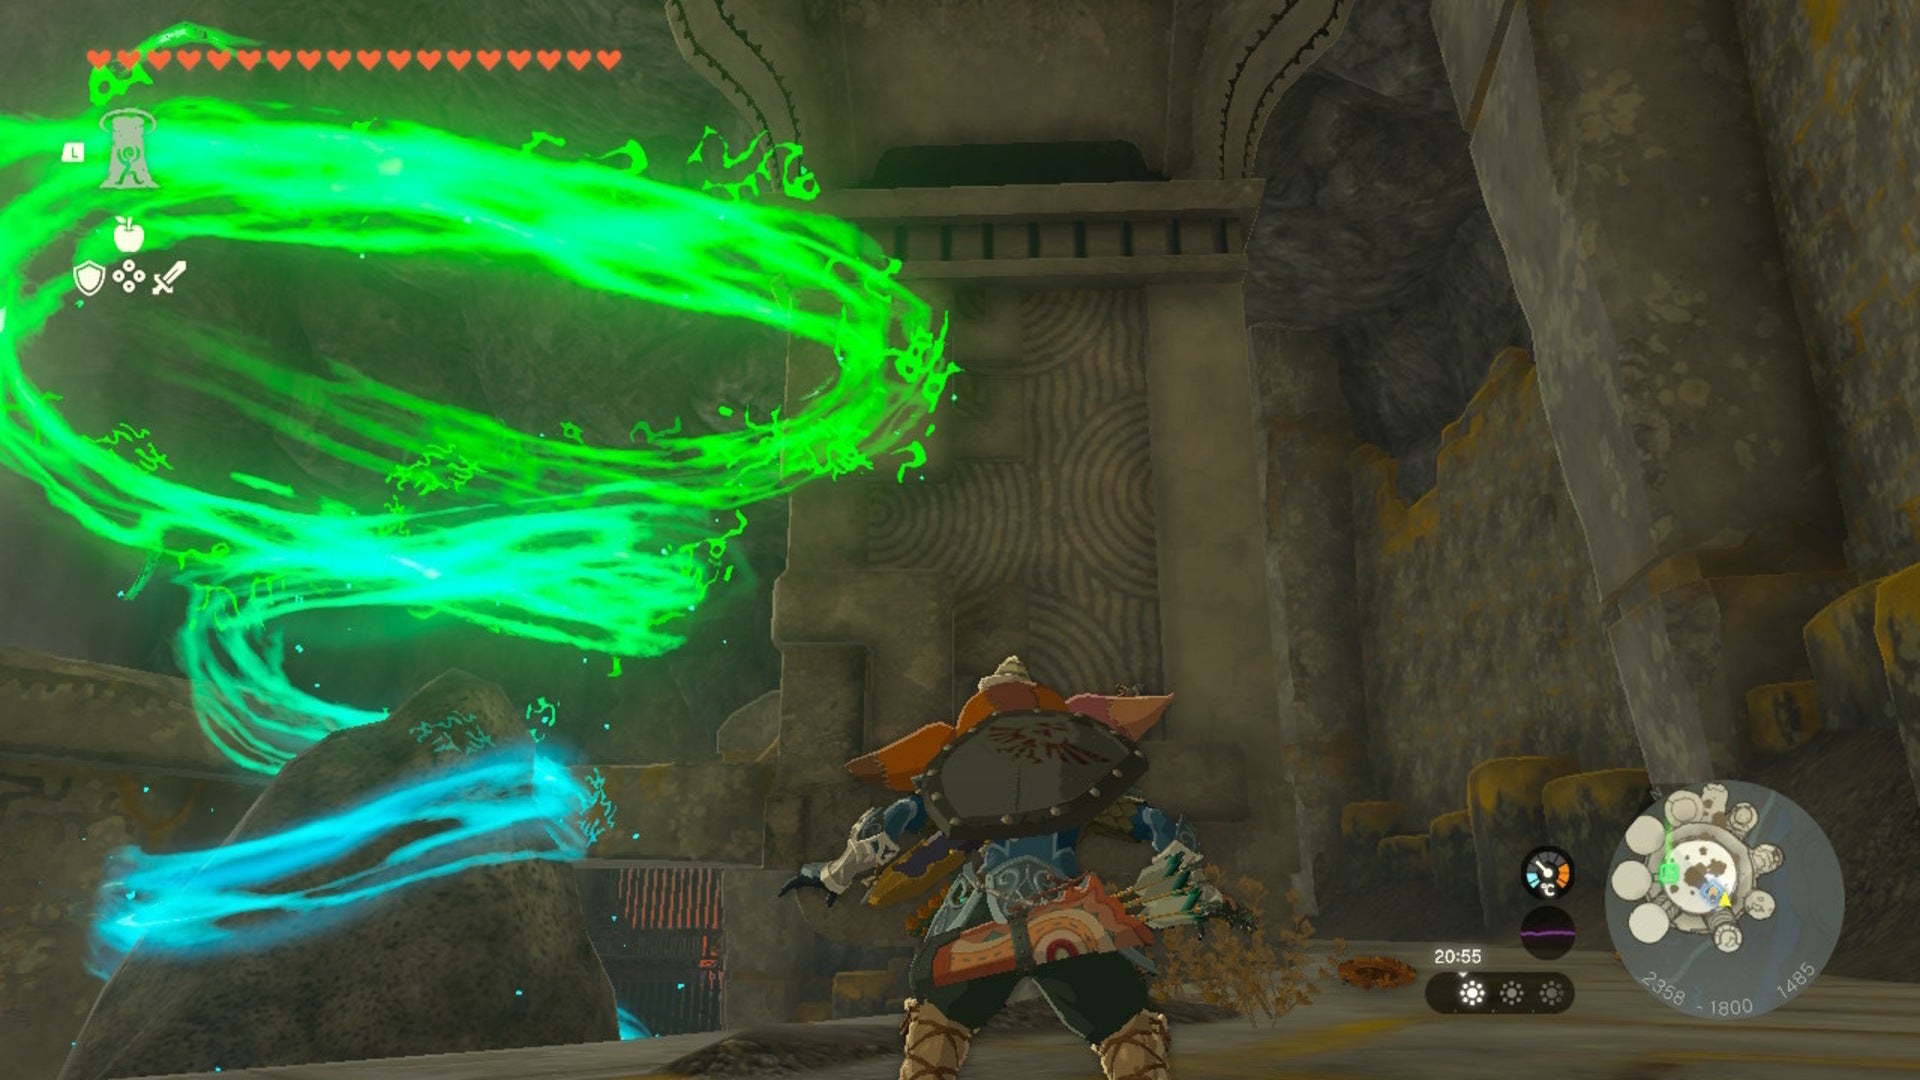
Brighten up the area using Brightbloom Seeds first, and take out the Soldier Construct; he’ll drop a mirror, which is fused to his shield. Then, hop down into the room.
Grab the mirror and position it using Ultrahand so that it faces the orange panel in this room. The walls will then come down, revealing the outside again.
Position this final mirror so it reflects light onto the orange panel. |Image credit:VG247 | Nintendo
You’ll have completed the Lightcast Island puzzle, and be able to exit with ease again. Now, clamber up to the chest that is on the platform above the previously-orange panel we just activated.
Open up the chest to retrieve the Zonaite Helm at long last. Now, we’ve two more pieces of Zonaite armor to get, and fortunately for us, they’re easier to grab from here on out.
How to get the Zonaite Waistguard in Zelda: Tears of the Kingdom
The Zonaite Waistguard in Zelda: Tears of the Kingdom is also among the sky islands. More specifically, it is found in a chest on the Zonaite Forge Island in the region of Necluda.
Much like Lightcast Island, it’s pretty high up in the sky, so you’ll want to be stocked up on stamina wheels and elixirs.
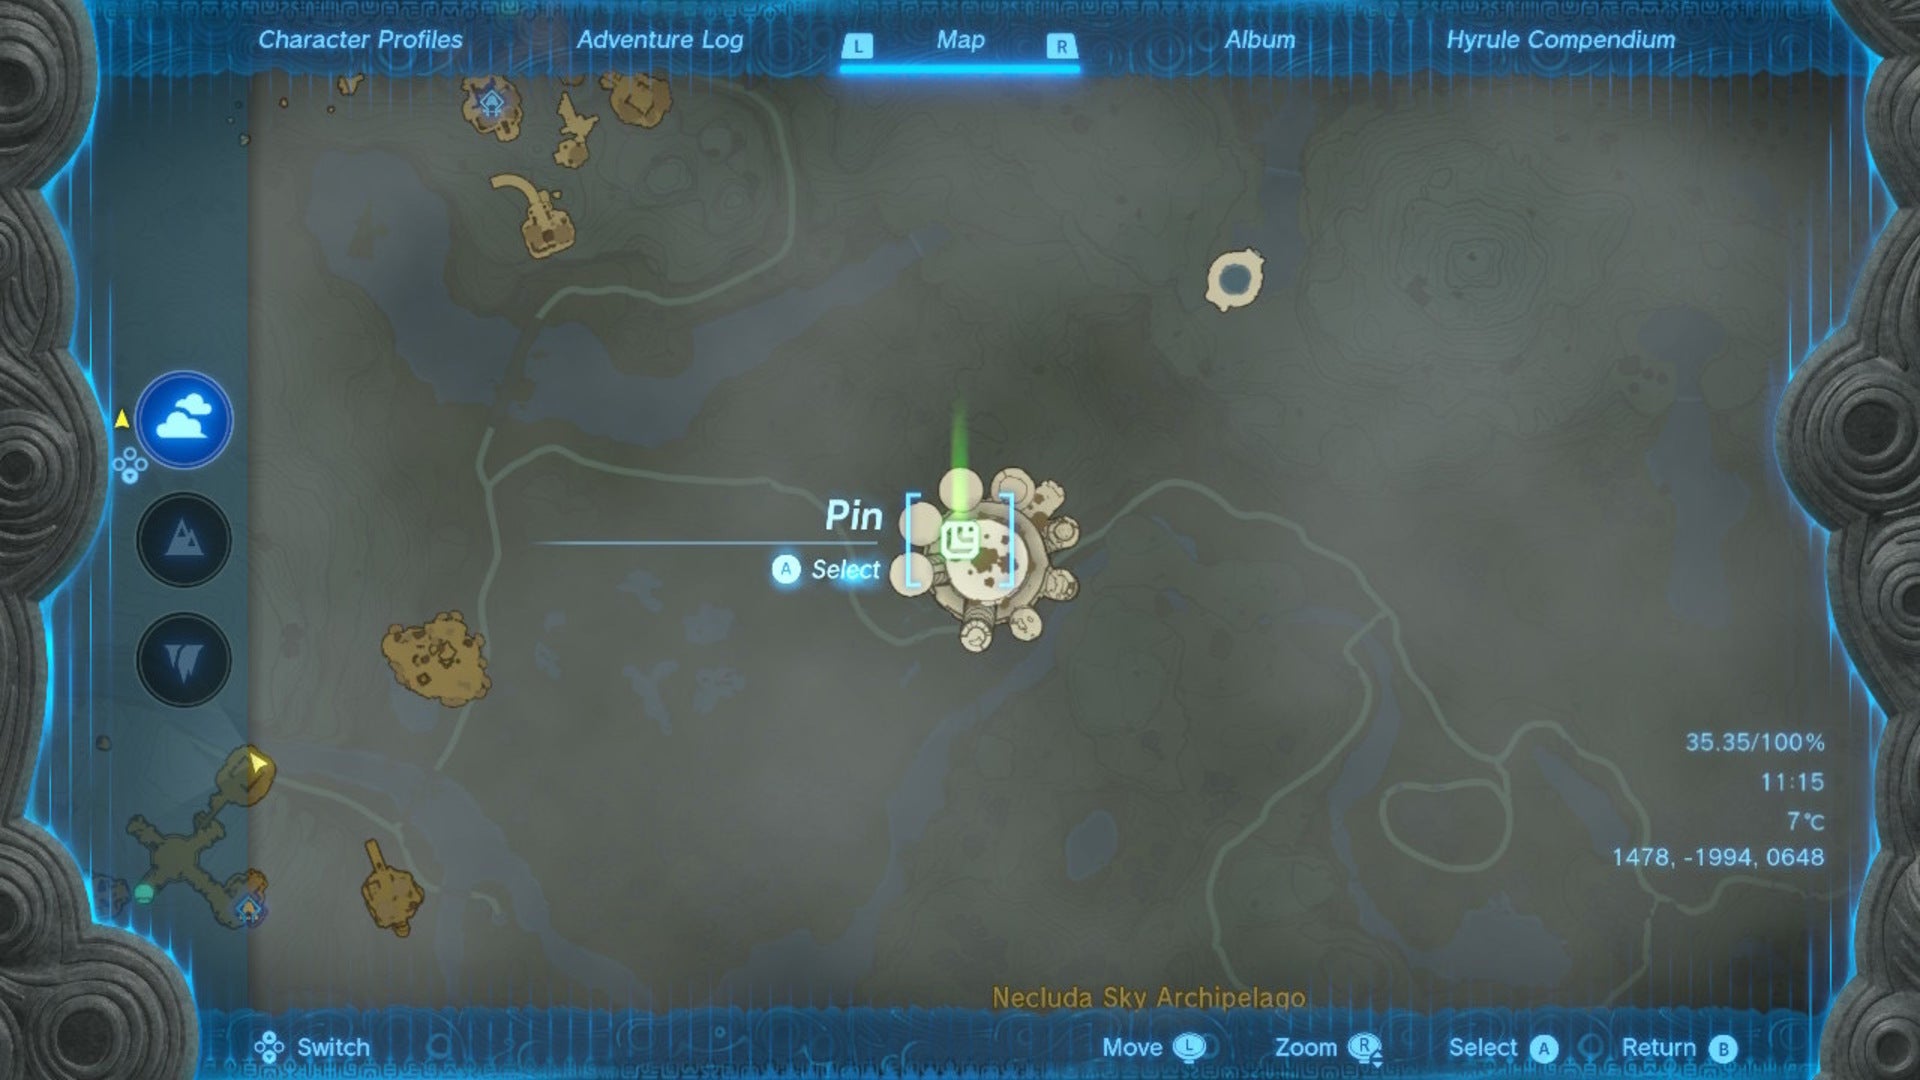
This is where we want to end up, as the island hides away the Zonaite Waistguards. |Image credit:VG247 | Nintendo
First things first, make your way to Popla Foothills Skyview Tower and send Link up into the sky. Then, glide on over to the West Necluda Sky Archipelago, shown below. You’ll need lots of stamina for this.
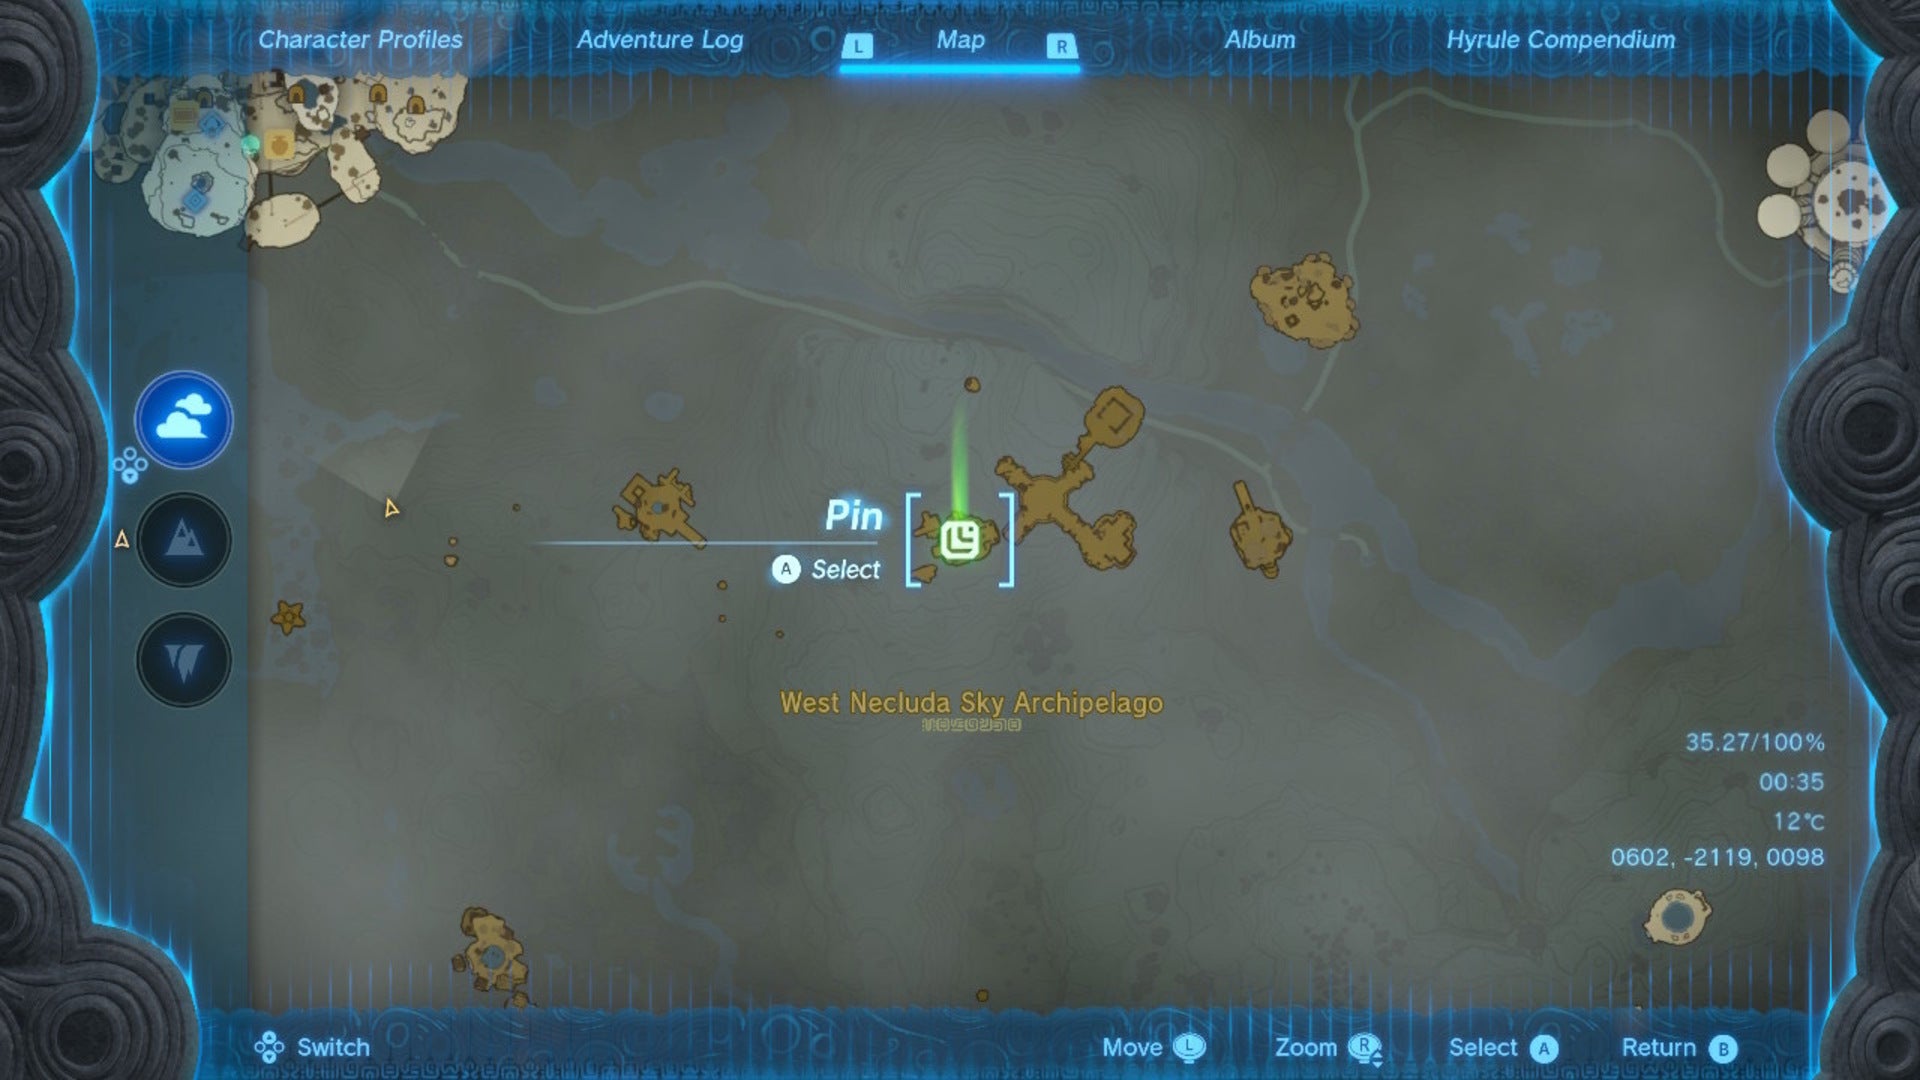
Glide over to this island in the West Necluda Sky Archipelago. |Image credit:VG247 | Nintendo
Once on the island, grab the nearby Ukoojisi Shrine for an easily accessible fast-travel point. Then, head to the northernmost point of the island. Here, you’ll find three large floating platforms, and some rockets.
Now, what we want to do is attach a rocket to one of the platforms upright. Then, we want to drag some of the additional rockets onto the platform with us, but do not attach them.
We’ll be using this platform and the rockets to send us up towards the Zonaite Forge Island. If we attach all of the rockets at once, they’ll all be used at once, and we won’t reach the height needed to access the island.
So, we’ll need to use one rocket at a time. Fortunately, these platforms function a lot like hover stones, and once we use one rocket to ascend, the platform will stay put - floating in the sky - until we use another rocket again.
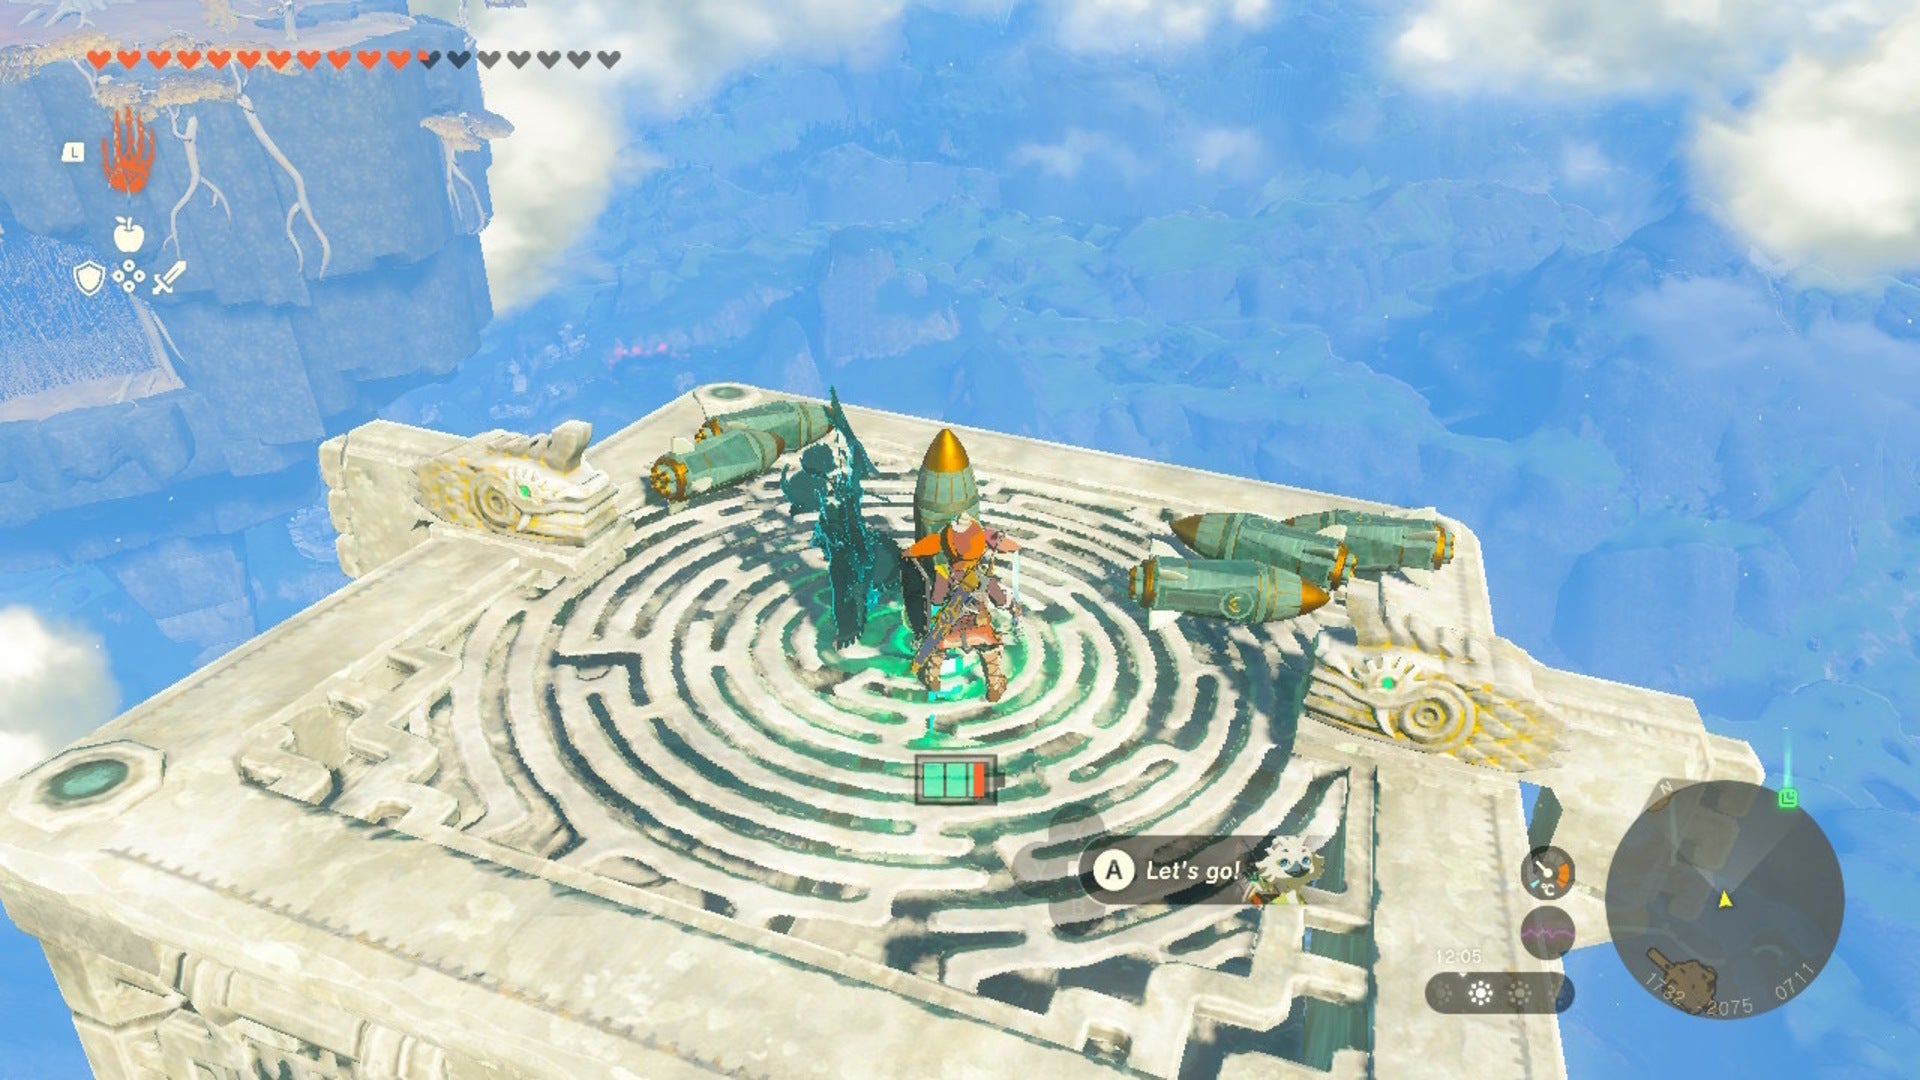
Attach a rocket to the platform to have it ascend. |Image credit:VG247 | Nintendo
So, with one rocket attached upright to the middle of the platform, and some other rockets nearby, hit the rocket to ascend. When the rocket is depleted, attach another rocket in its place and repeat. Do this until you eventually come face to face with the Zonaite Forge Island to the north, which you can’t miss given how large it is.
Once high enough, glide over to the Zonaite Forge Island. |Image credit:VG247 | Nintendo
Once you’re high enough, glide over to the Zonaite Forge Island.
If you’re not quite high enough, or misjudged how far you need to glide, there is a waterfall coming off a nearby island that you can swim up. There’ll be another platform and rockets on this island that you can use to finally reach the Zonaite Forge Island safely.
Once on the island, head to the Zonai Terminal that is at the bottom of it, towards the south.
This Zonai Terminal is at coordinates 2421, -1678, 1475. |Image credit:VG247 | Nintendo
Activate the terminal and this will turn on various updrafts around the island. You can then use these to reach the very top of the Zonaite Forge Island with ease.
Once at the top, there’ll be a chasm leading inside the island that is full of lasers. Dive inside and carefully float between the lasers so Link doesn’t get hurt.
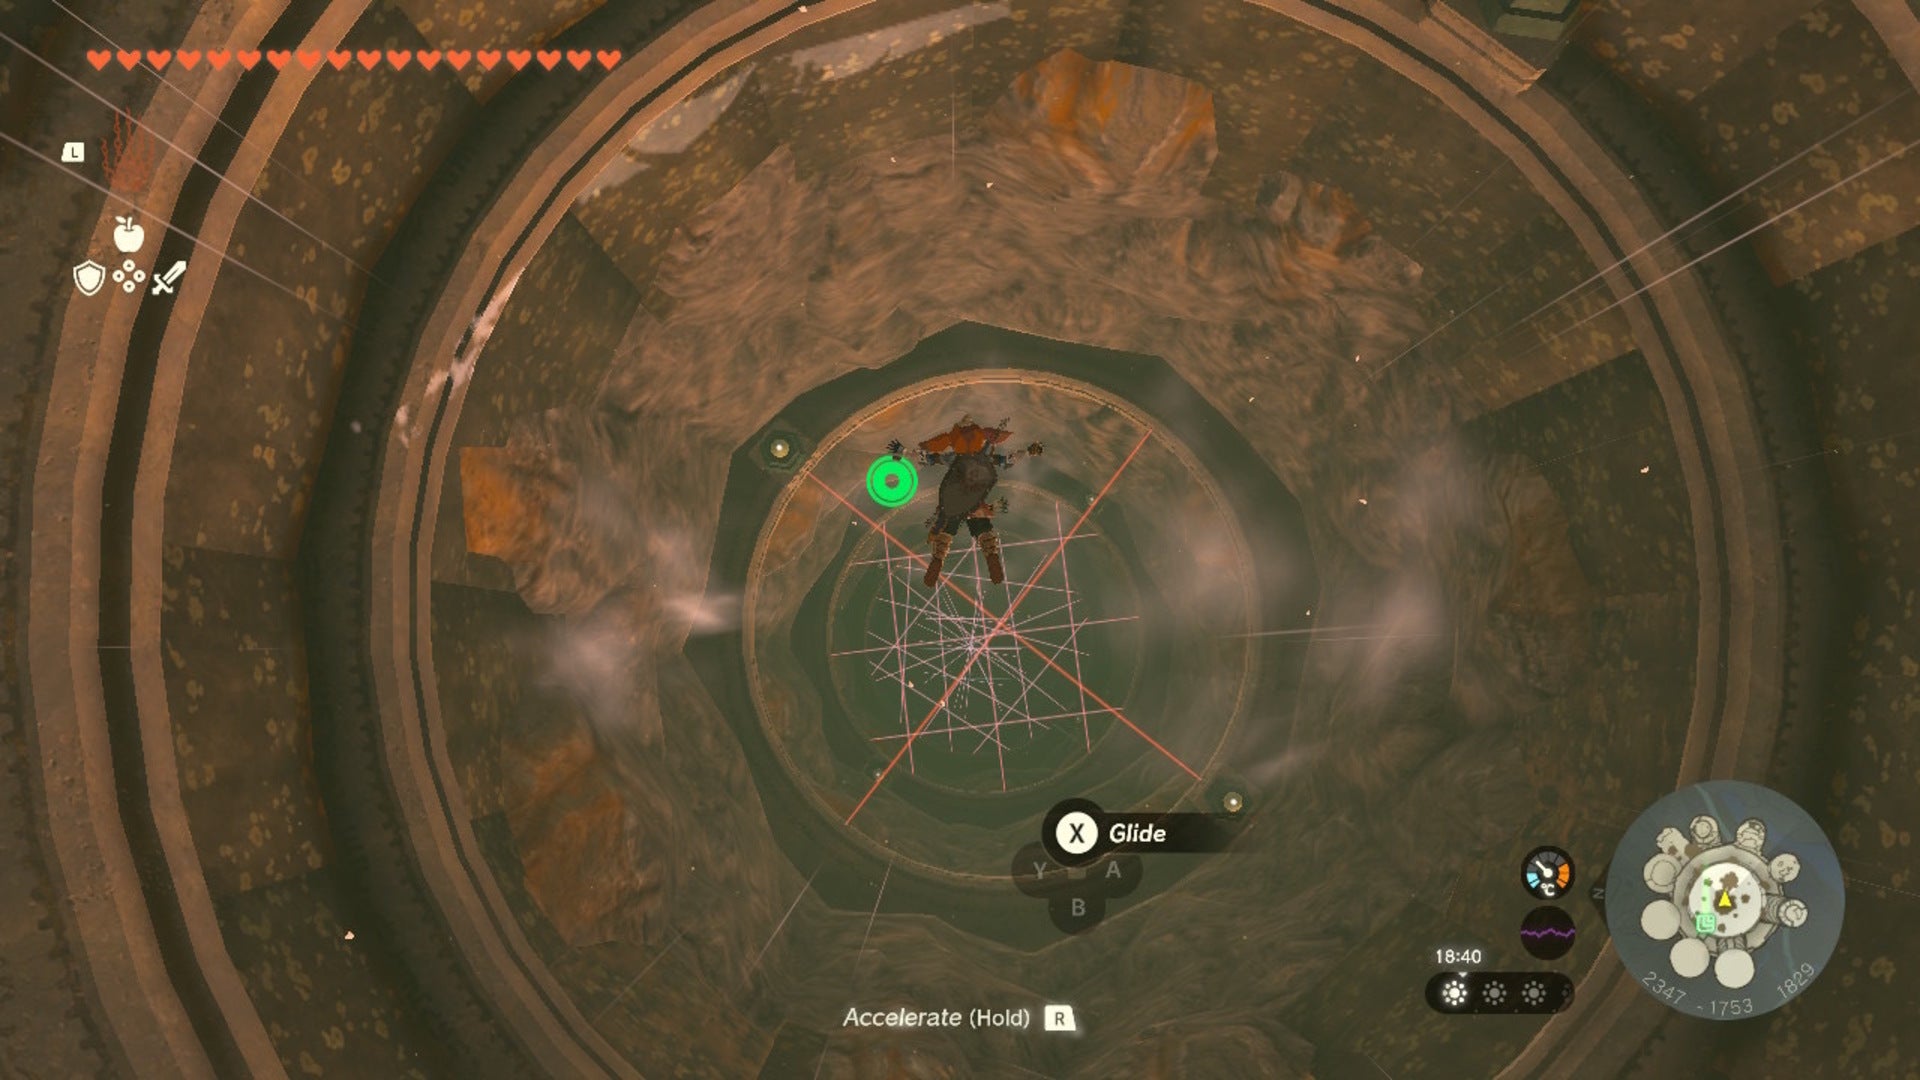
Navigate between these lasers carefully and head to the bottom. |Image credit:VG247 | Nintendo
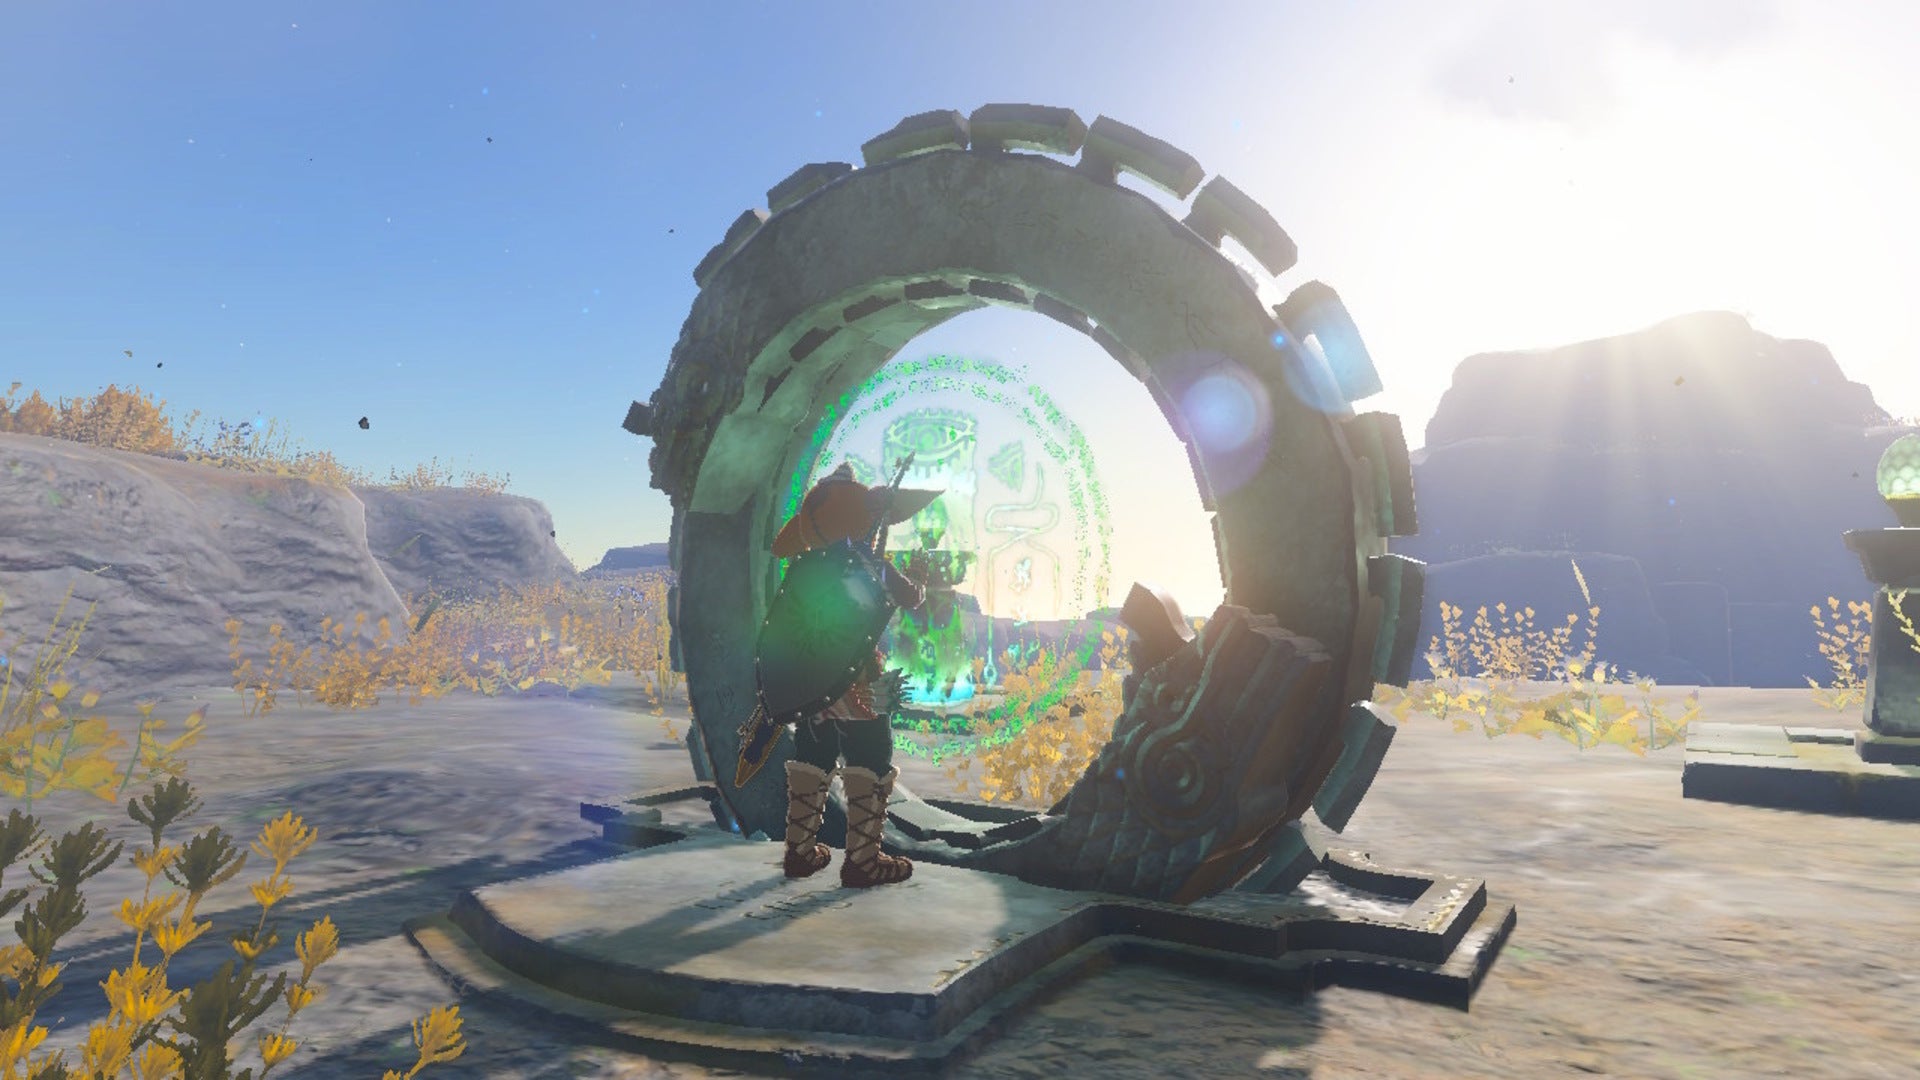
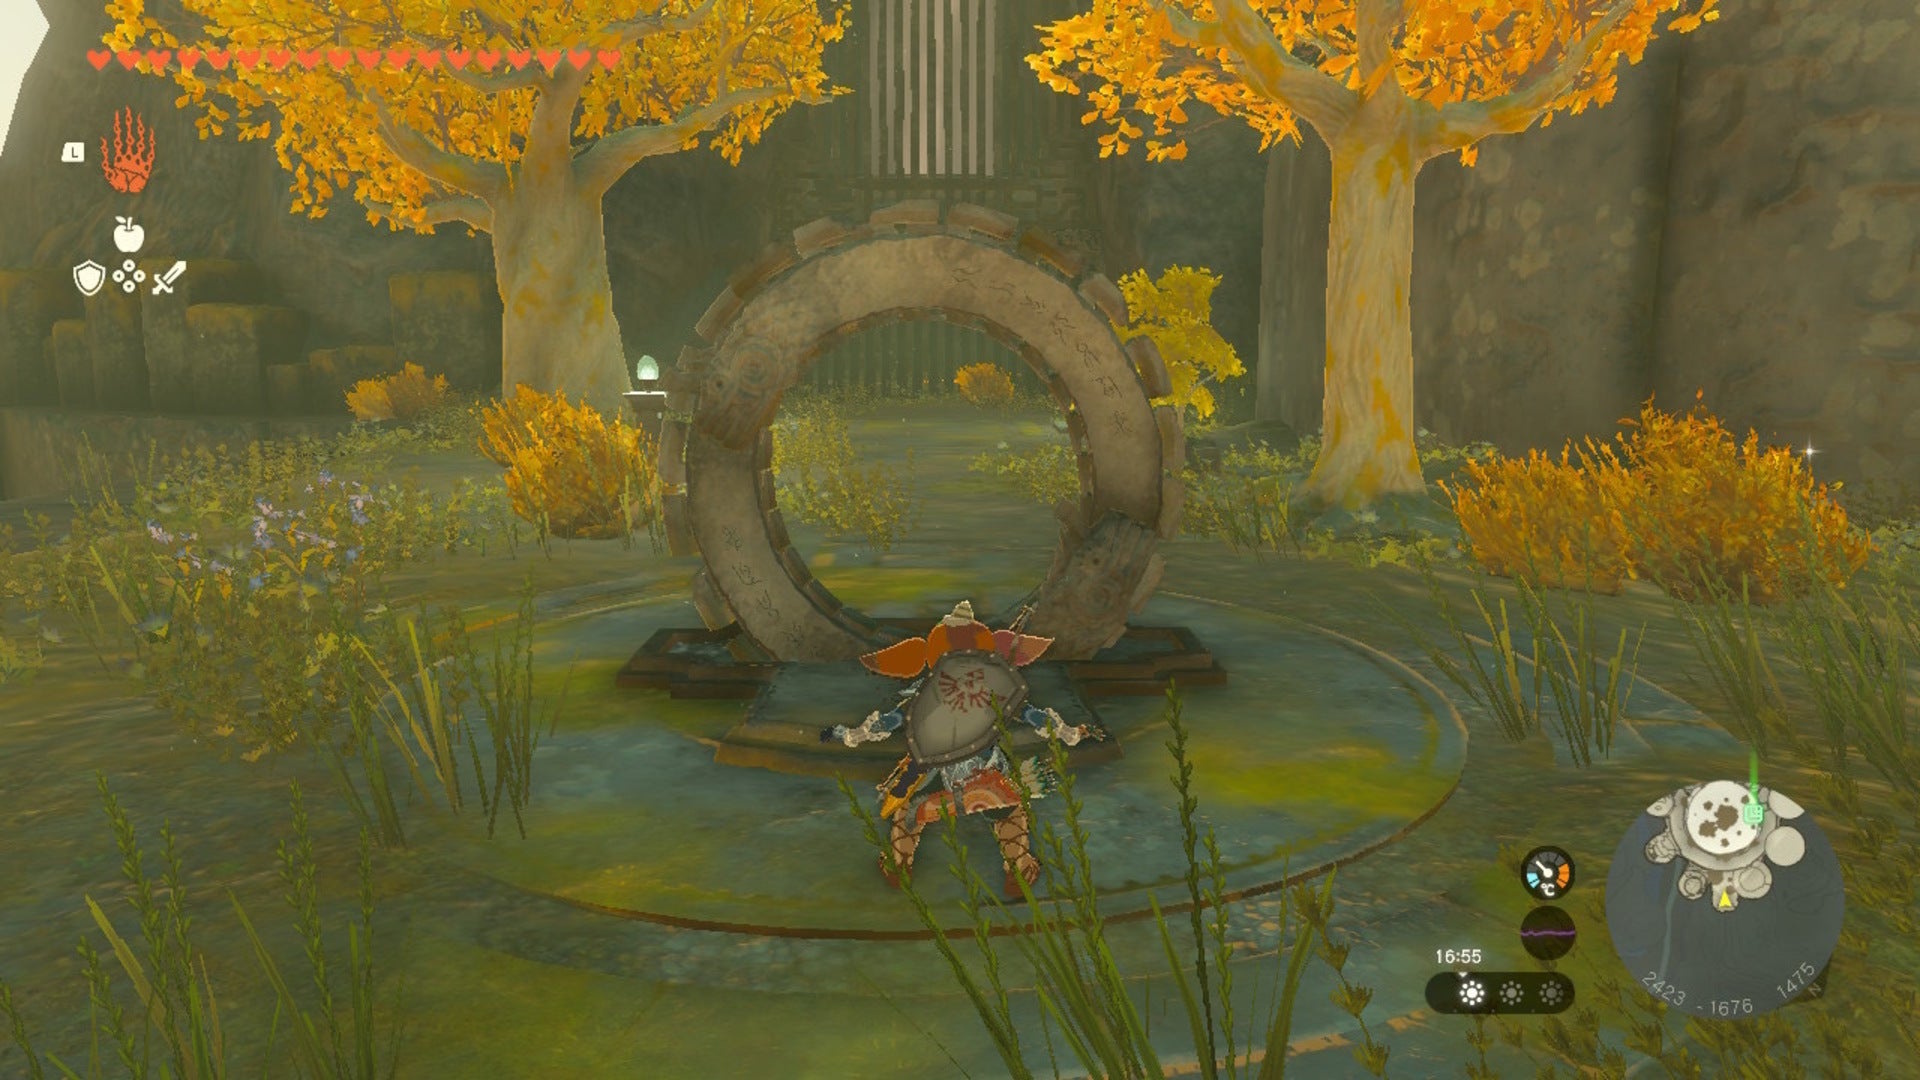
Once at the bottom, activate the Yansamin Shrine so you’ve an easily accessible fast-travel spot to come back to.
Now, behind the shrine is a box of sorts that we need to Ascend into, shown below.
We want to be inside of this box, and can get inside from underneath it. |Image credit:VG247 | Nintendo
Go behind the shrine, and use any source of water you may have to create some stone slabs on the lava here. You can use a Fire Hydrant Zonai Device, use a spare Wing to stand on, or just throw some Blue Chu Chu Jelly at the lava.

I created a stone slab using Chu Chu Jelly, then used Ultrahand to position it right beside the wall here. |Image credit:VG247 | Nintendo
Stand atop your newly-forged path and Ascend upwards. You’ll now be inside the box with a chest; open it up to reveal the Zonai Waistguards finally! You can Ascend again to exit the box.
How to get the Zonaite Shin Guards in Zelda: Tears of the Kingdom
Last, but not least, it’s time to grab the Zonaite Shin Guards in Zelda: Tears of the Kingdom. This bit of gear is found on a small island in the North Akkala Sky Archipelago, just beside the Sky Mine.
First, you’ll want to actually reach the Sky Mine. So, make your way to Ulri Mountain Skyview Tower and send Link flying. Then, glide south towards the nearest Sokkala Sky Islands.
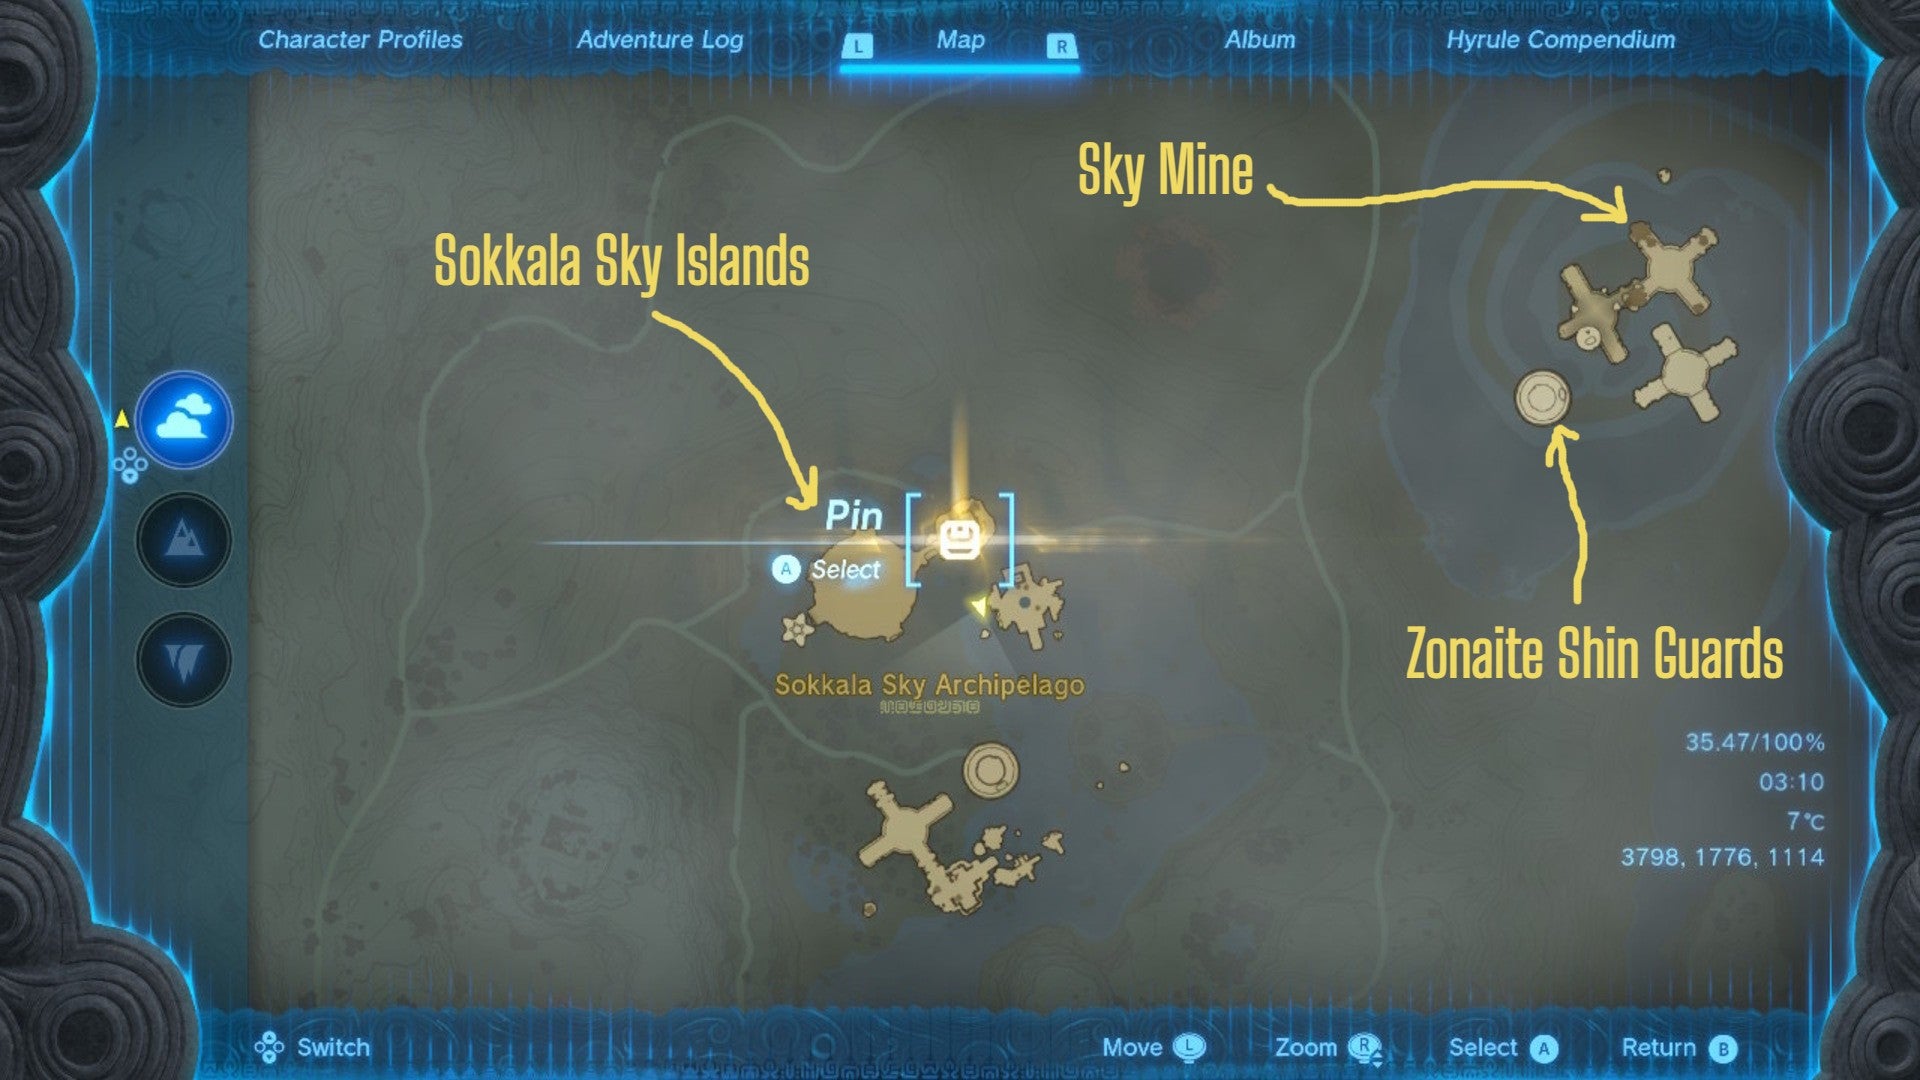
Head to the Sokkala sky islands. We’ll head to the Sky Mine islands from there. |Image credit:VG247 | Nintendo
Ignore the enemy here, and on the northmost platform will be a platform with batteries and fans again, just like earlier, so this will be a breeze! Attach as many batteries to the platform as possible, and send Link upwards again. From here, you’ll be able to take the platform directly towards the Sky Mine to the northeast.
The flying platform will only take us about half the distance, however, and we want to focus on gaining height where we can. Once the batteries run out, you’ll need to glide the rest of the distance to the Sky Mine, so make sure you’re stocked up on stamina elixirs.
Once on the first island of the Sky Mine, activate the Zonai Terminal. This will give power to the push block in the middle of the island.
Activate this terminal to power the push block in the middle of the island. |Image credit:VG247 | Nintendo
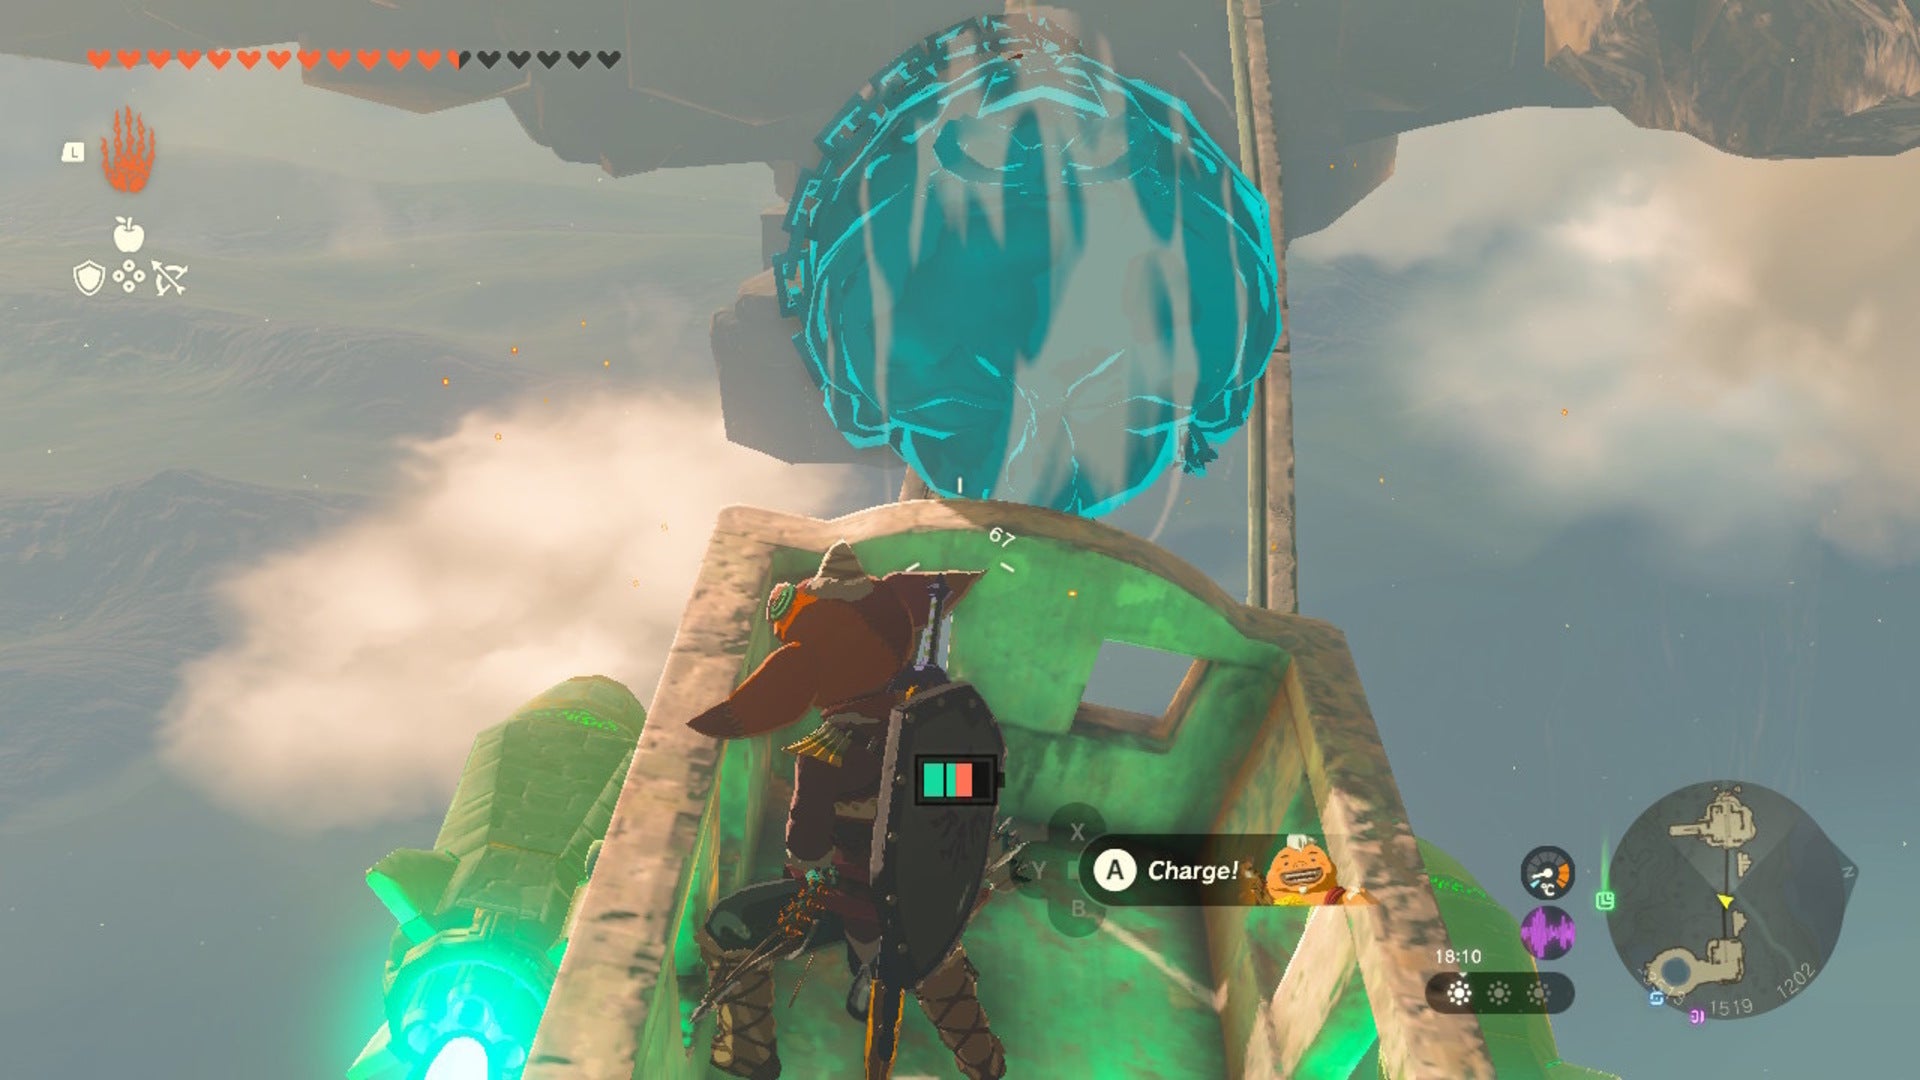
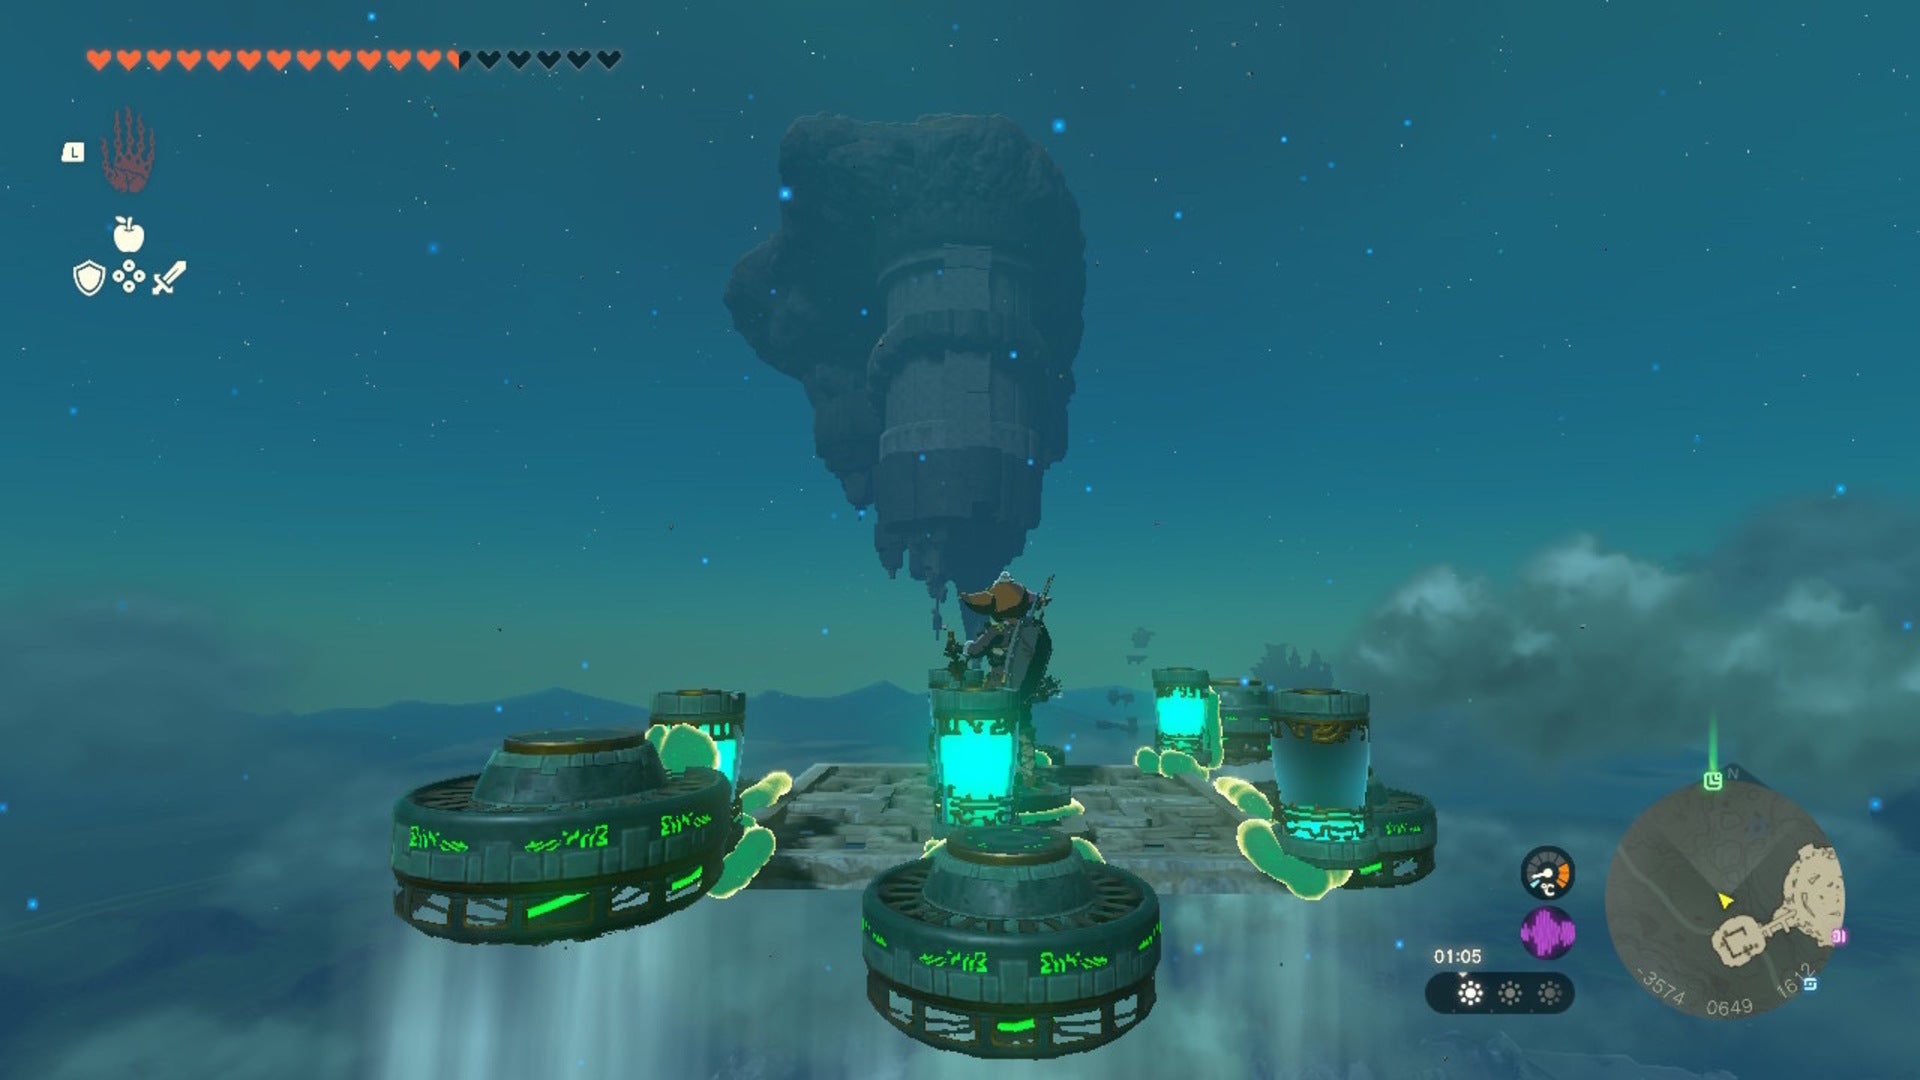
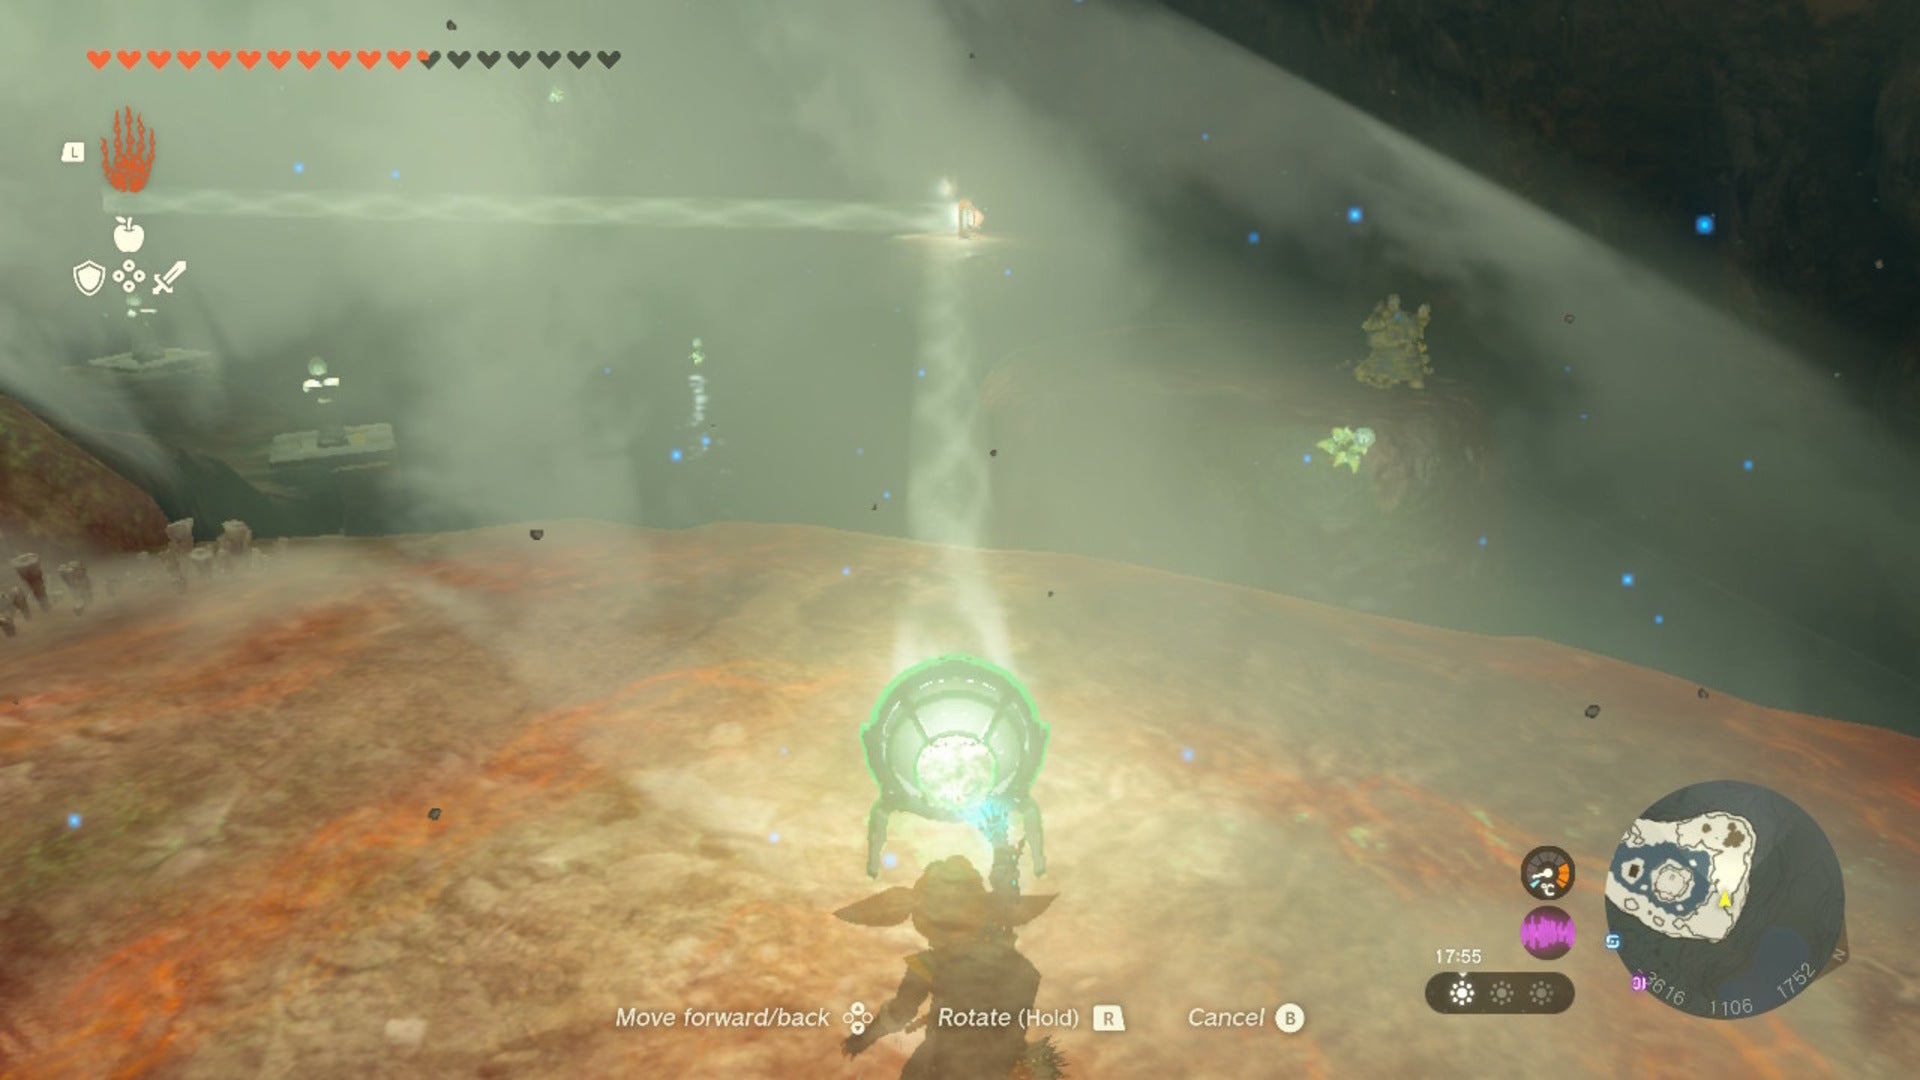
With that powered, head on over to it. Stand atop it and send Link flying to the next island. On the next island, repeat this again to reach a third and final island; this is the island closest to that big sphere in the sky, and it is covered in stone blocks.
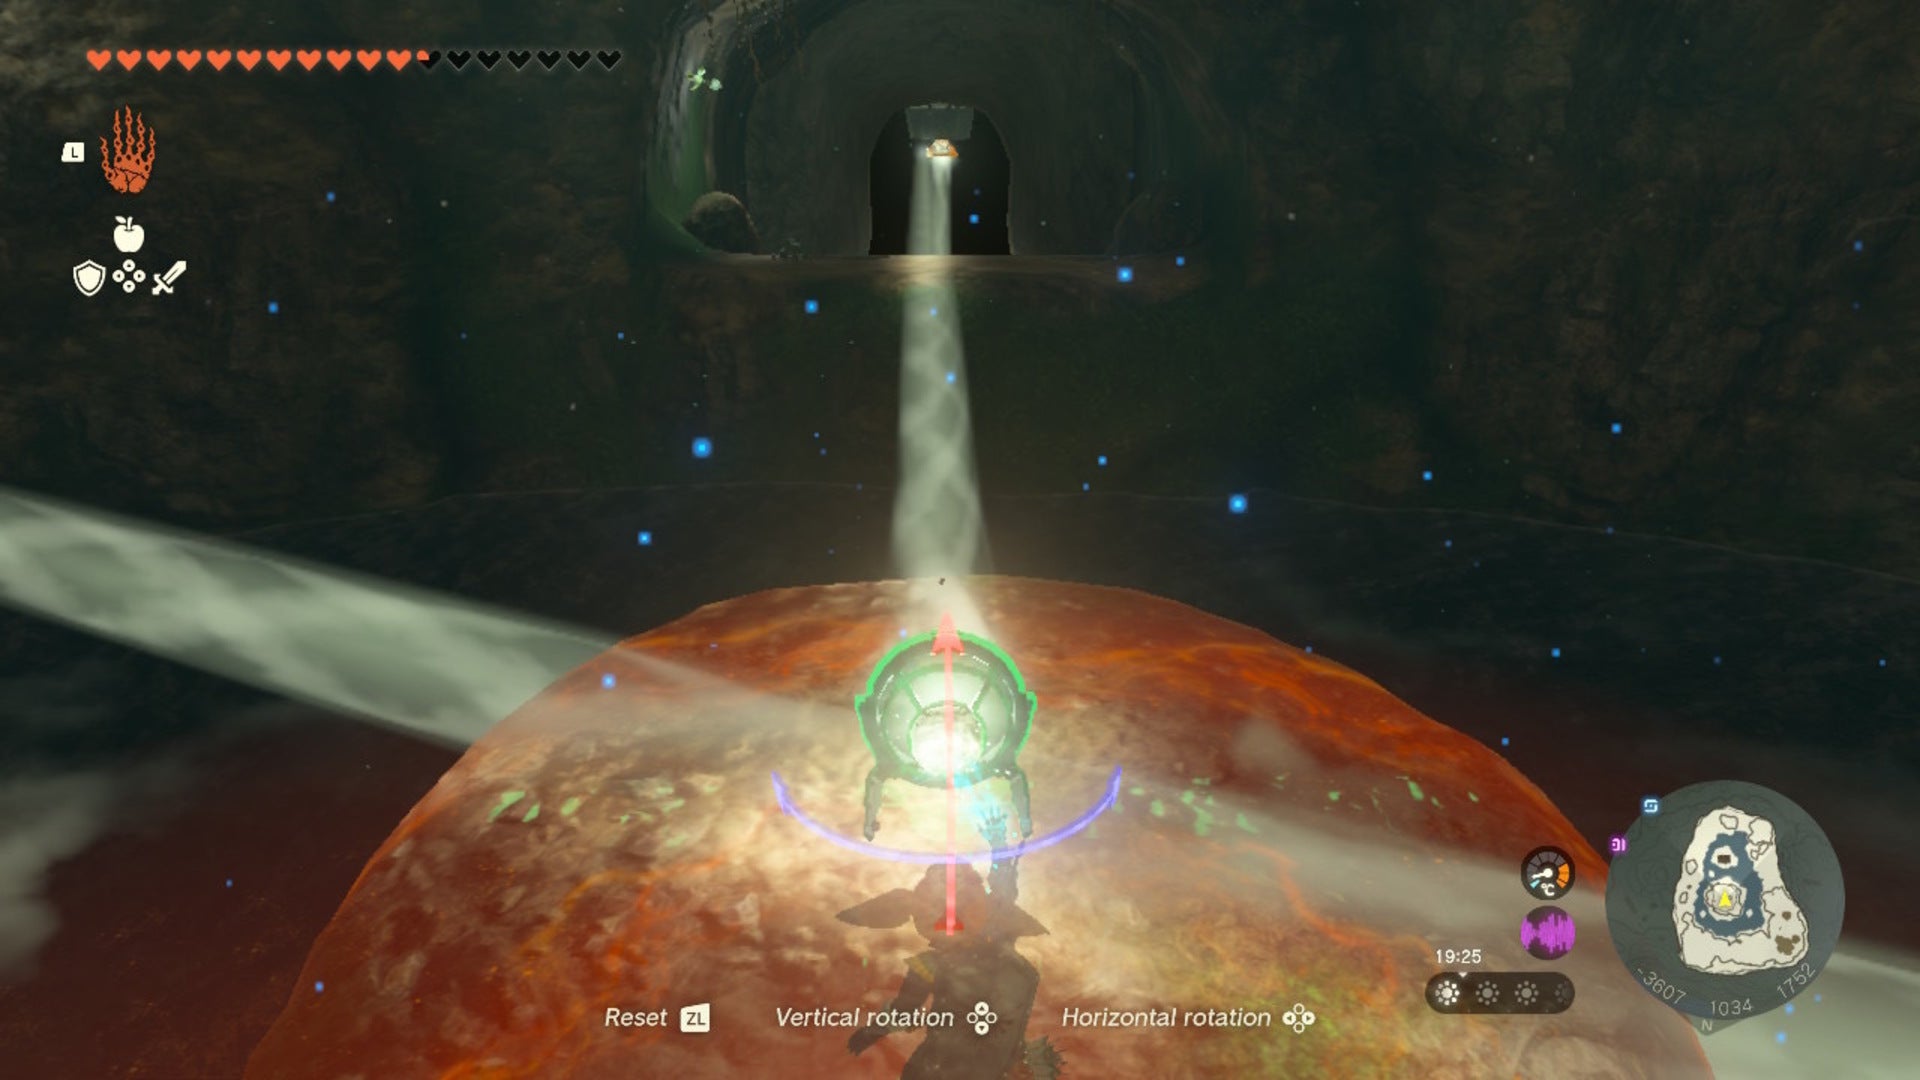
On the third island, use the crank to turn the island so that the push block faces the big sphere in this area, as shown below.
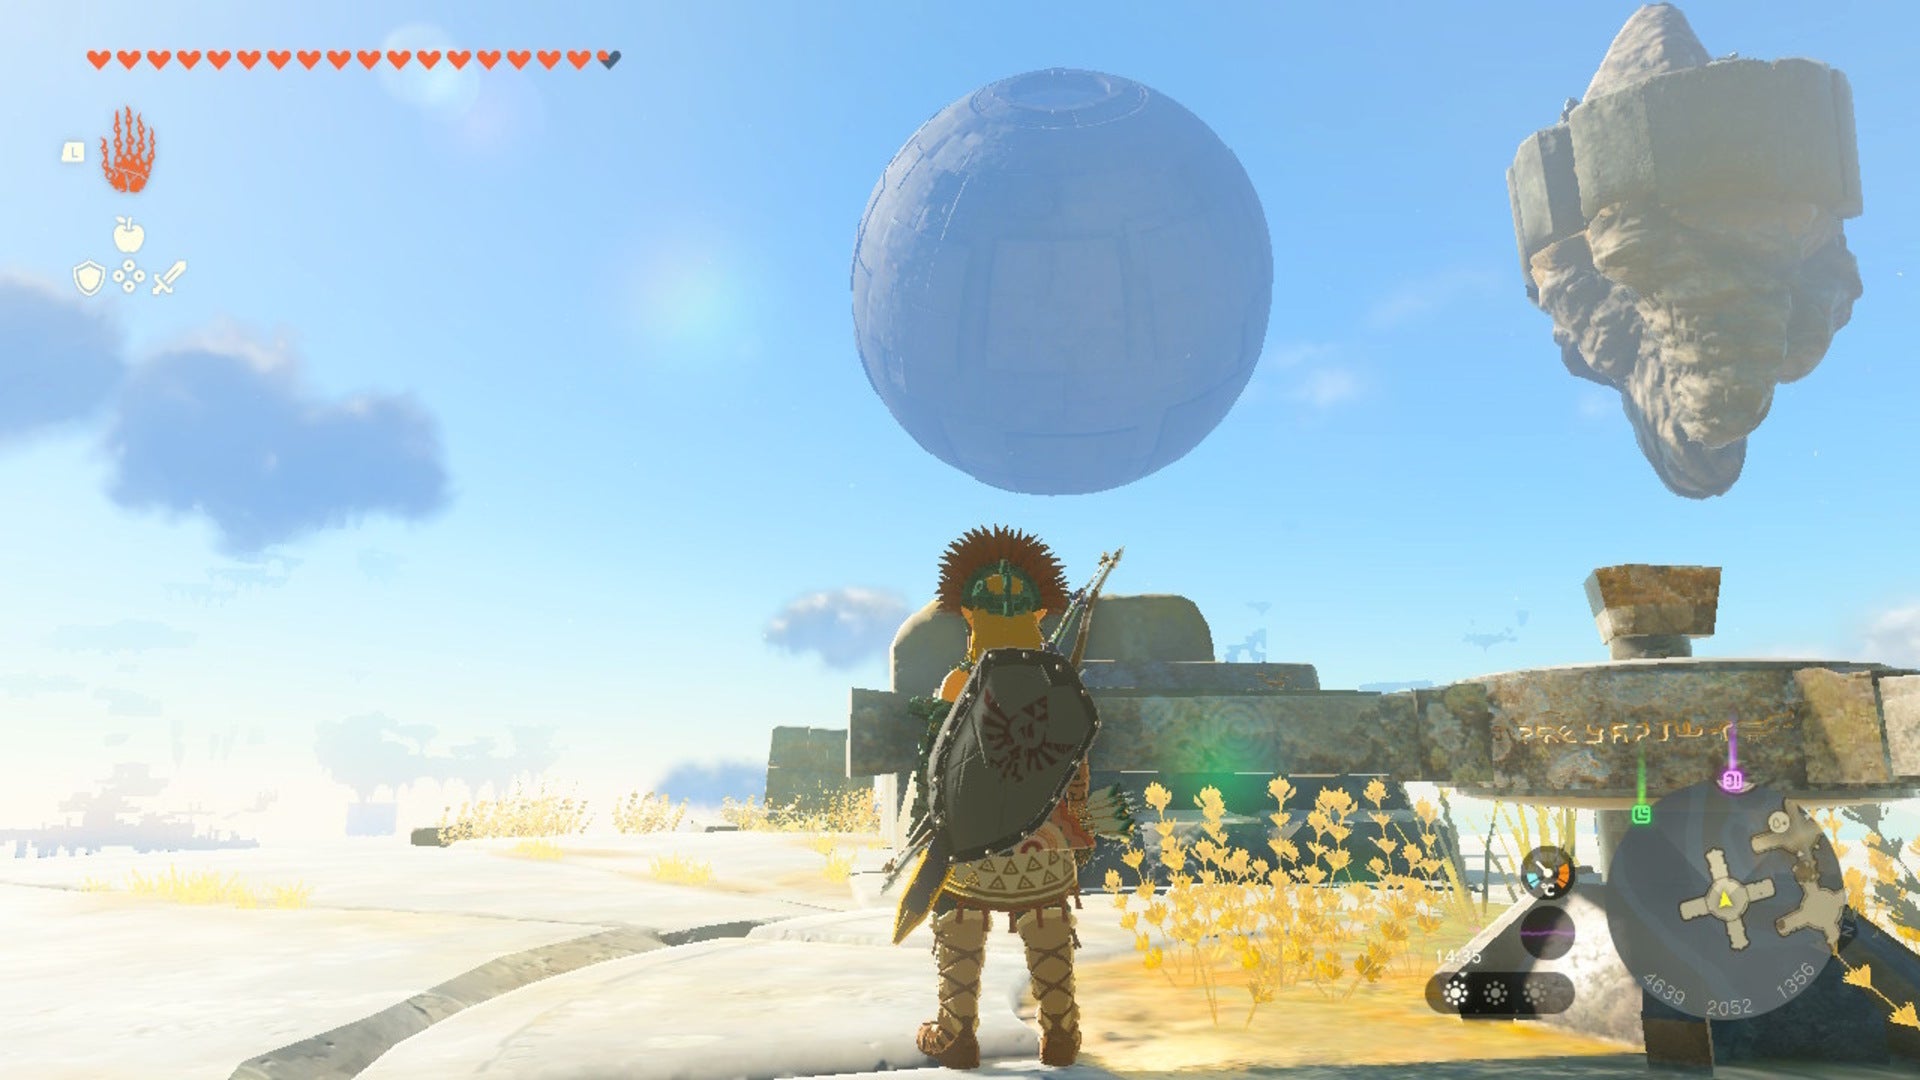
Turn the pushblock to face the big sphere in the sky. We’ll soon be placing stone blocks and Link on it. |Image credit:VG247 | Nintendo
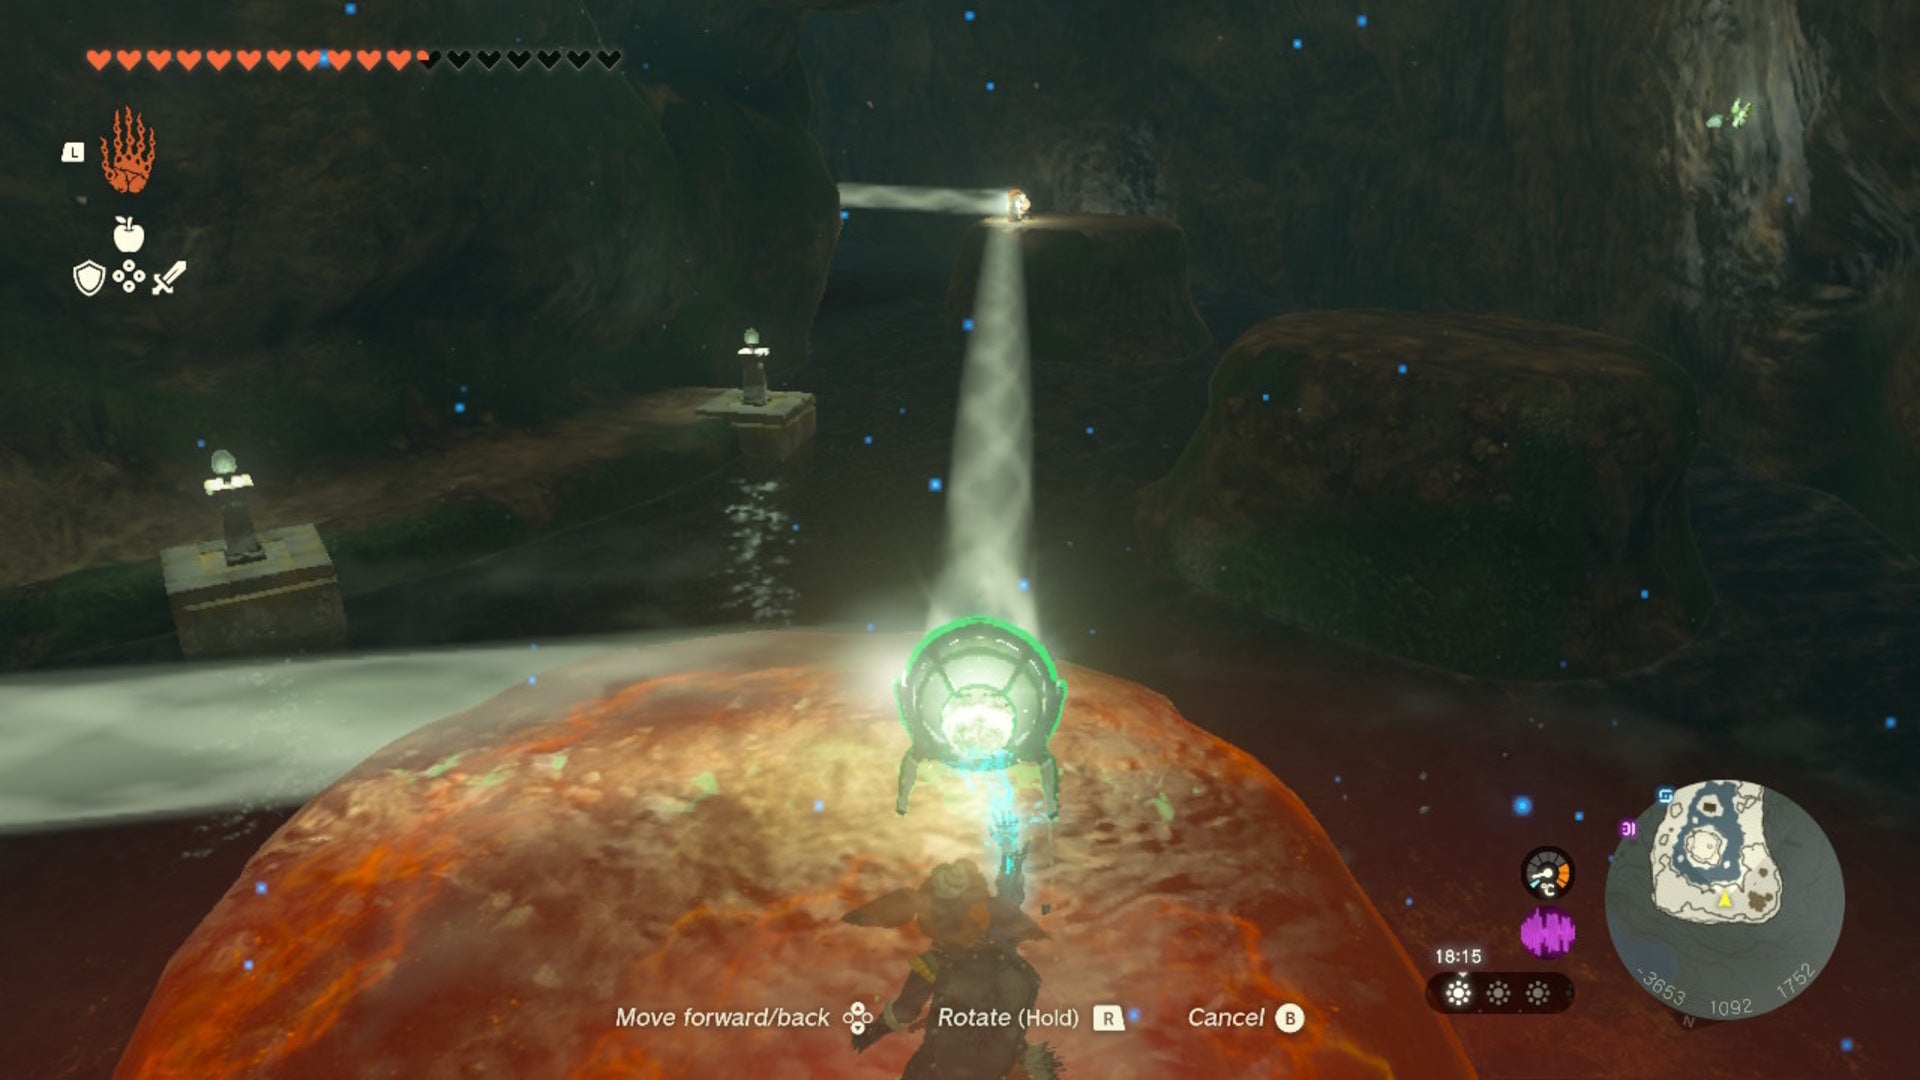
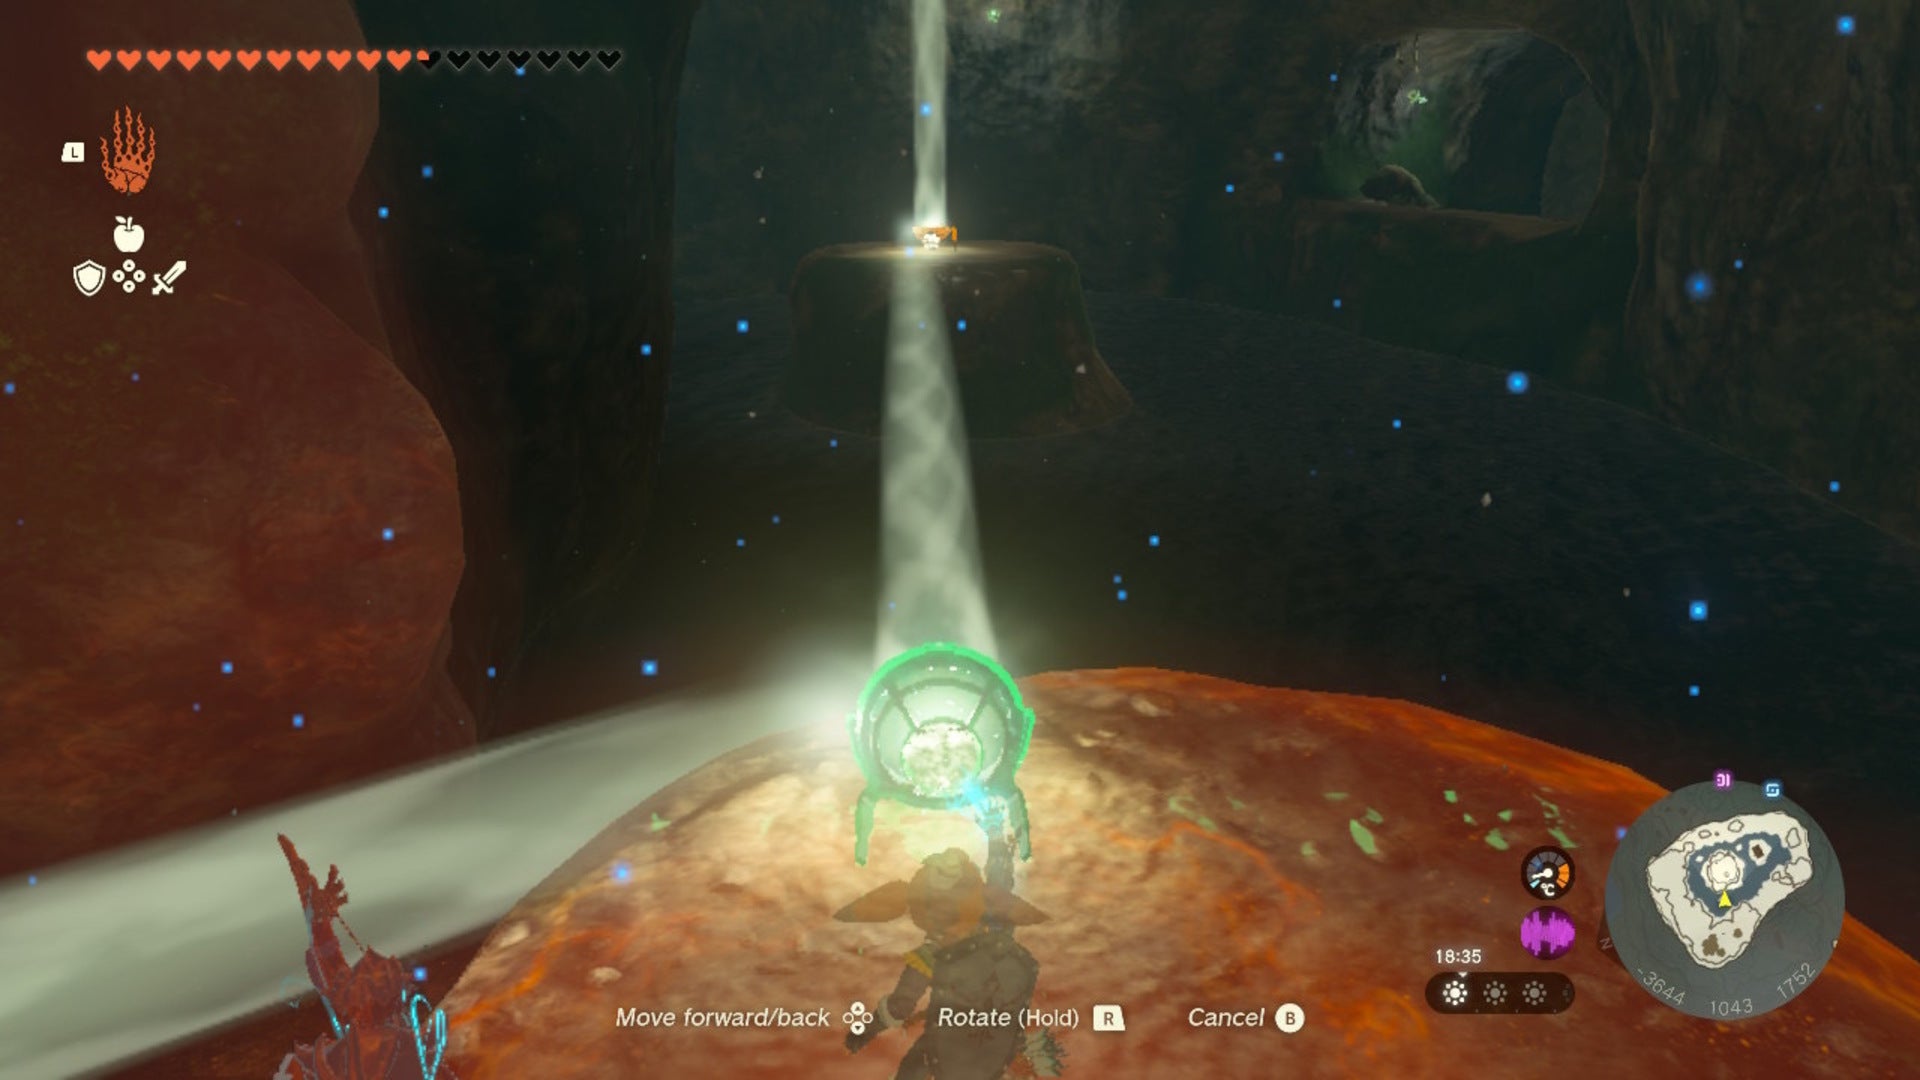
There’ll be some stone cubes here. What we now want to do is use Ultrahand to place these atop the push block, sending them flying towards the sphere. If you look at the sphere closely, there’s a hole in the top; we want one of the stone cubes to go in here.
Once you’ve done that, have Link stand atop the push block and send him flying into the same hole that you just sent the stone block to.
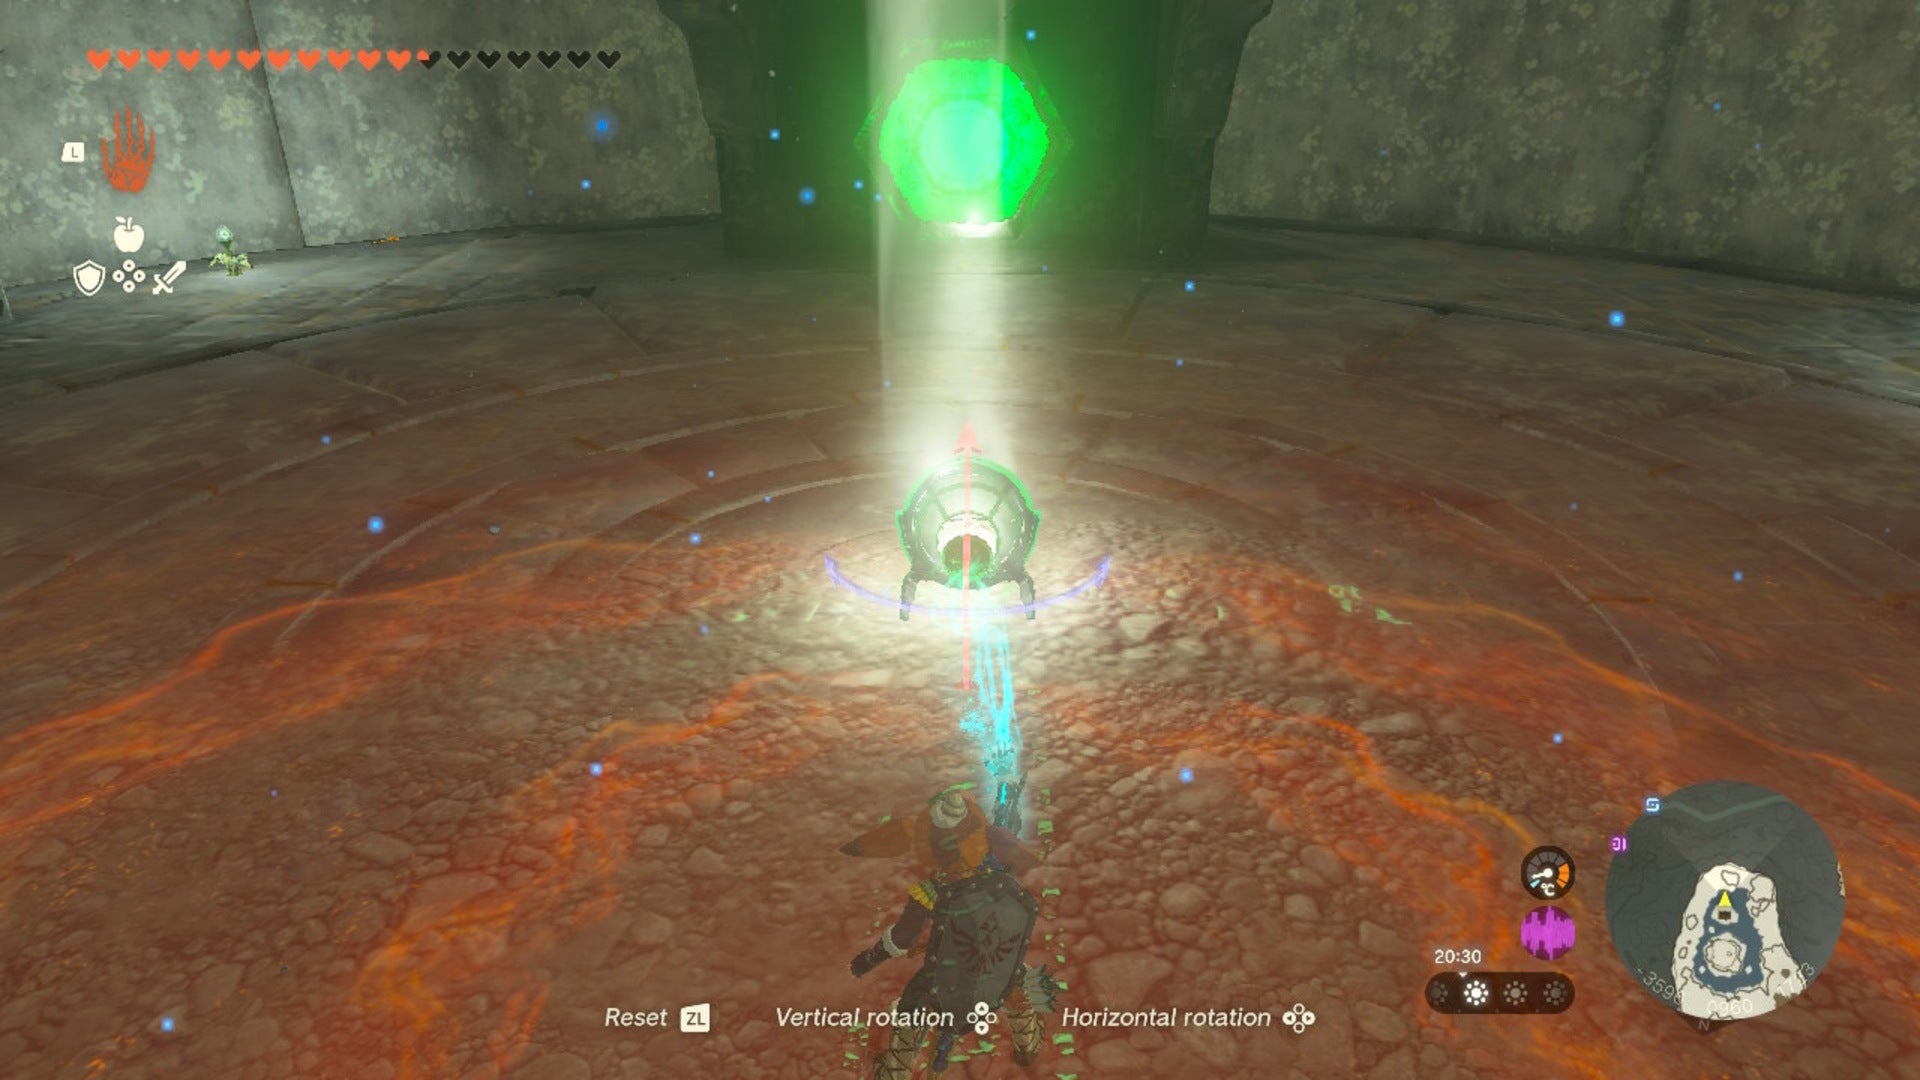
When inside the sphere, track down the stone block you just fired in here and use Ultrahand to pop it on the switch in the middle of the room.
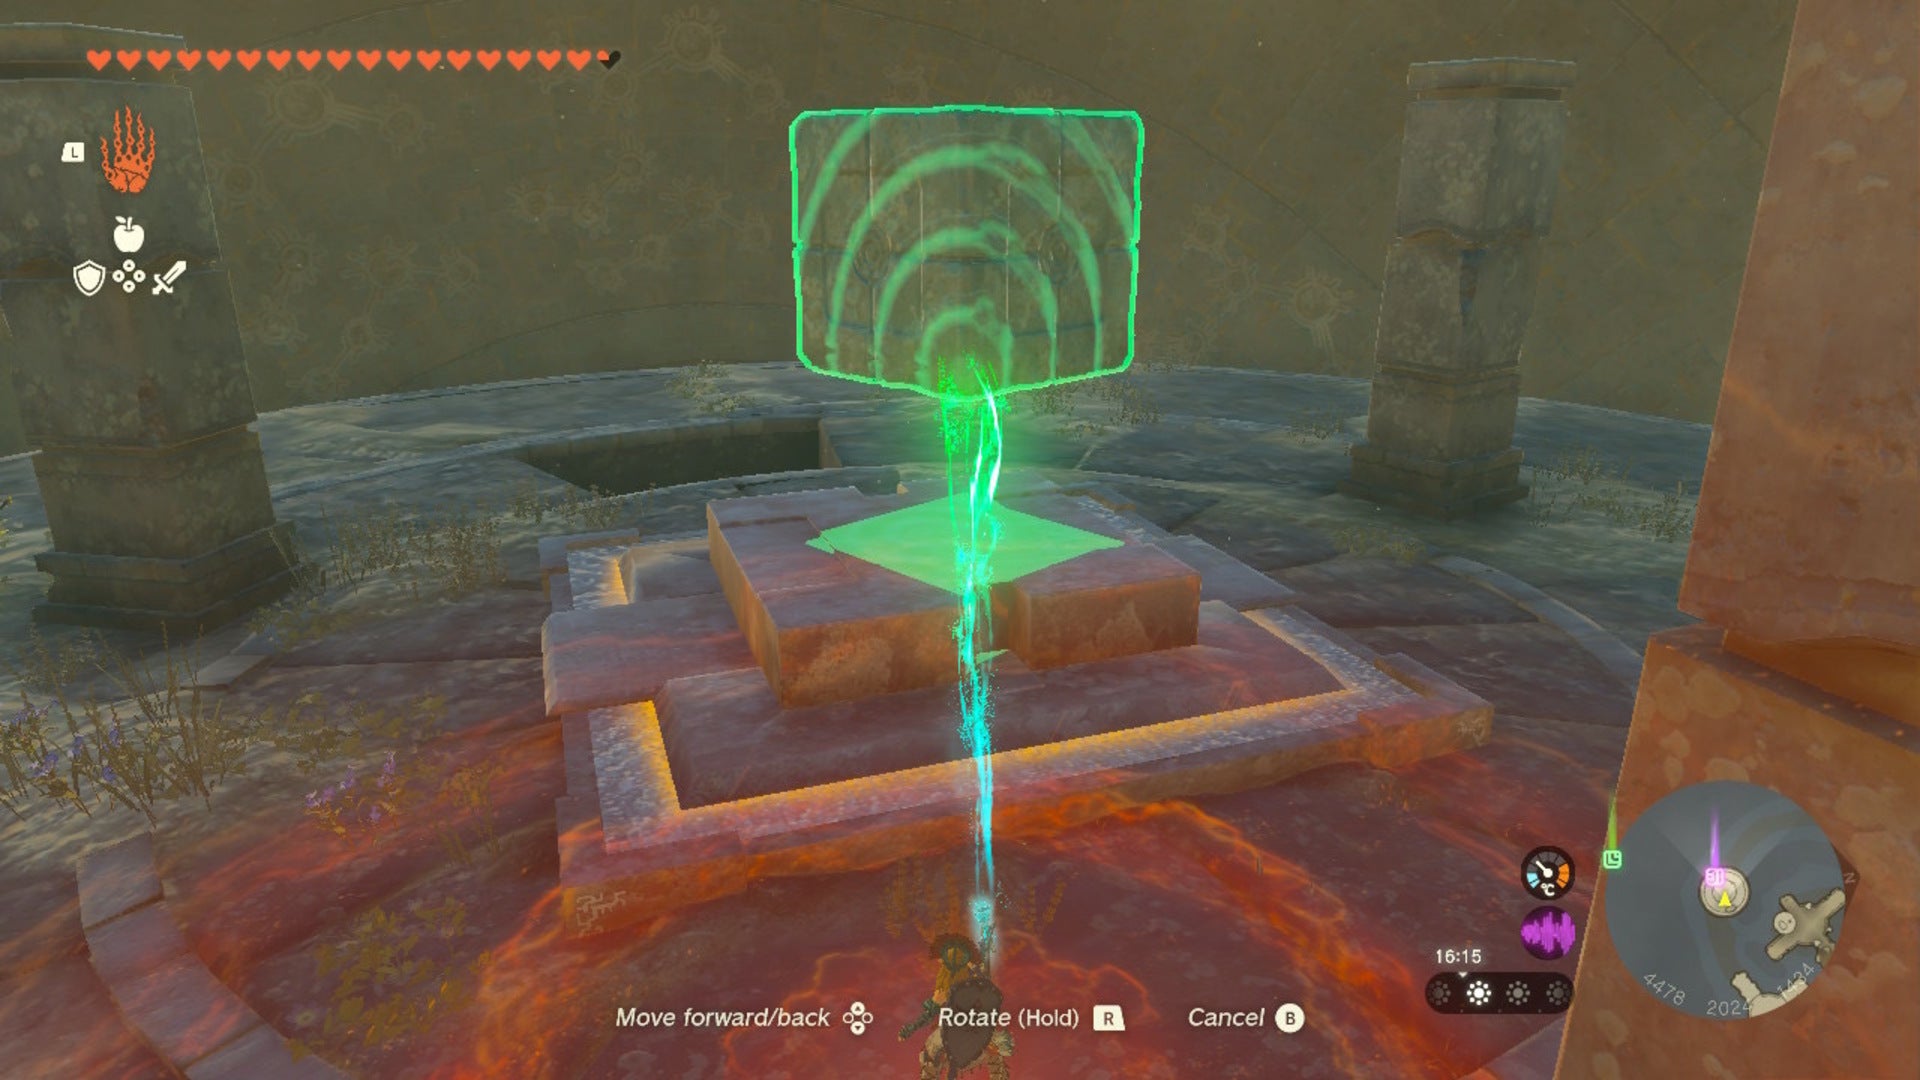
Place the stone block on this switch. |Image credit:VG247 | Nintendo
The walls of the sphere will now begin to spin, and you’ll be able to access the underneath area of it, where the chest containing the Zonaite Shin Guards are located.
Ascend to the top of the sphere to get out of here, and then glide off the edge of it carefully; you want to glide around and into the hole that’ll land you in the lower half of the sphere.
Once you land in the lower half of the sphere, the only thing to do here is open the chest in the middle of the room. This will reveal the Zonaite Shin Guards at long last, and now, the whole Zonaite armor set is finally all yours.
For more on Zelda: Tears of the Kingdom, collect the Glide armor to help with soaring the skies! There’s also the Rubber armor , which will protect Link during thunderstorms, and the Depths armor , which will save Link from having one too many Cracked Hearts .
The Legend of Zelda: Tears of the Kingdom
Nintendo Switch
Sign in and unlock a world of features

