How to solve the Gerudo red pillar and lights puzzle in Zelda: Tears of the Kingdom
Back to the desert we go.

Image credit:The Legend of Zelda: Tears of the Kingdom | Nintendo

You’ve finally made your way to Gerudo Town in The Legend of Zelda: Tears of the Kingdom , where the town is not only plagued by a sand shroud, but hordes of wandering Gibdo enemies too. This once beautiful town is now desolate and under attack.

Alas, as Link, you’re going to fix it! We’ll be used to taking on Gibdo and navigating the sand shroud by now, so it’s time for us to investigate the Gerudo Town mural with Riju. Without further ado, here’s how to solve the Gerudo mural pillar puzzle in Zelda: Tears of the Kingdom .
How to solve the Gerudo red pillar and lights puzzle in Zelda: Tears of the Kingdom
After looking at the mural with Riju, she’ll suggest that the mural must hint at a location of some kind. The mural actually shows three red pillars that can all be connected using light.
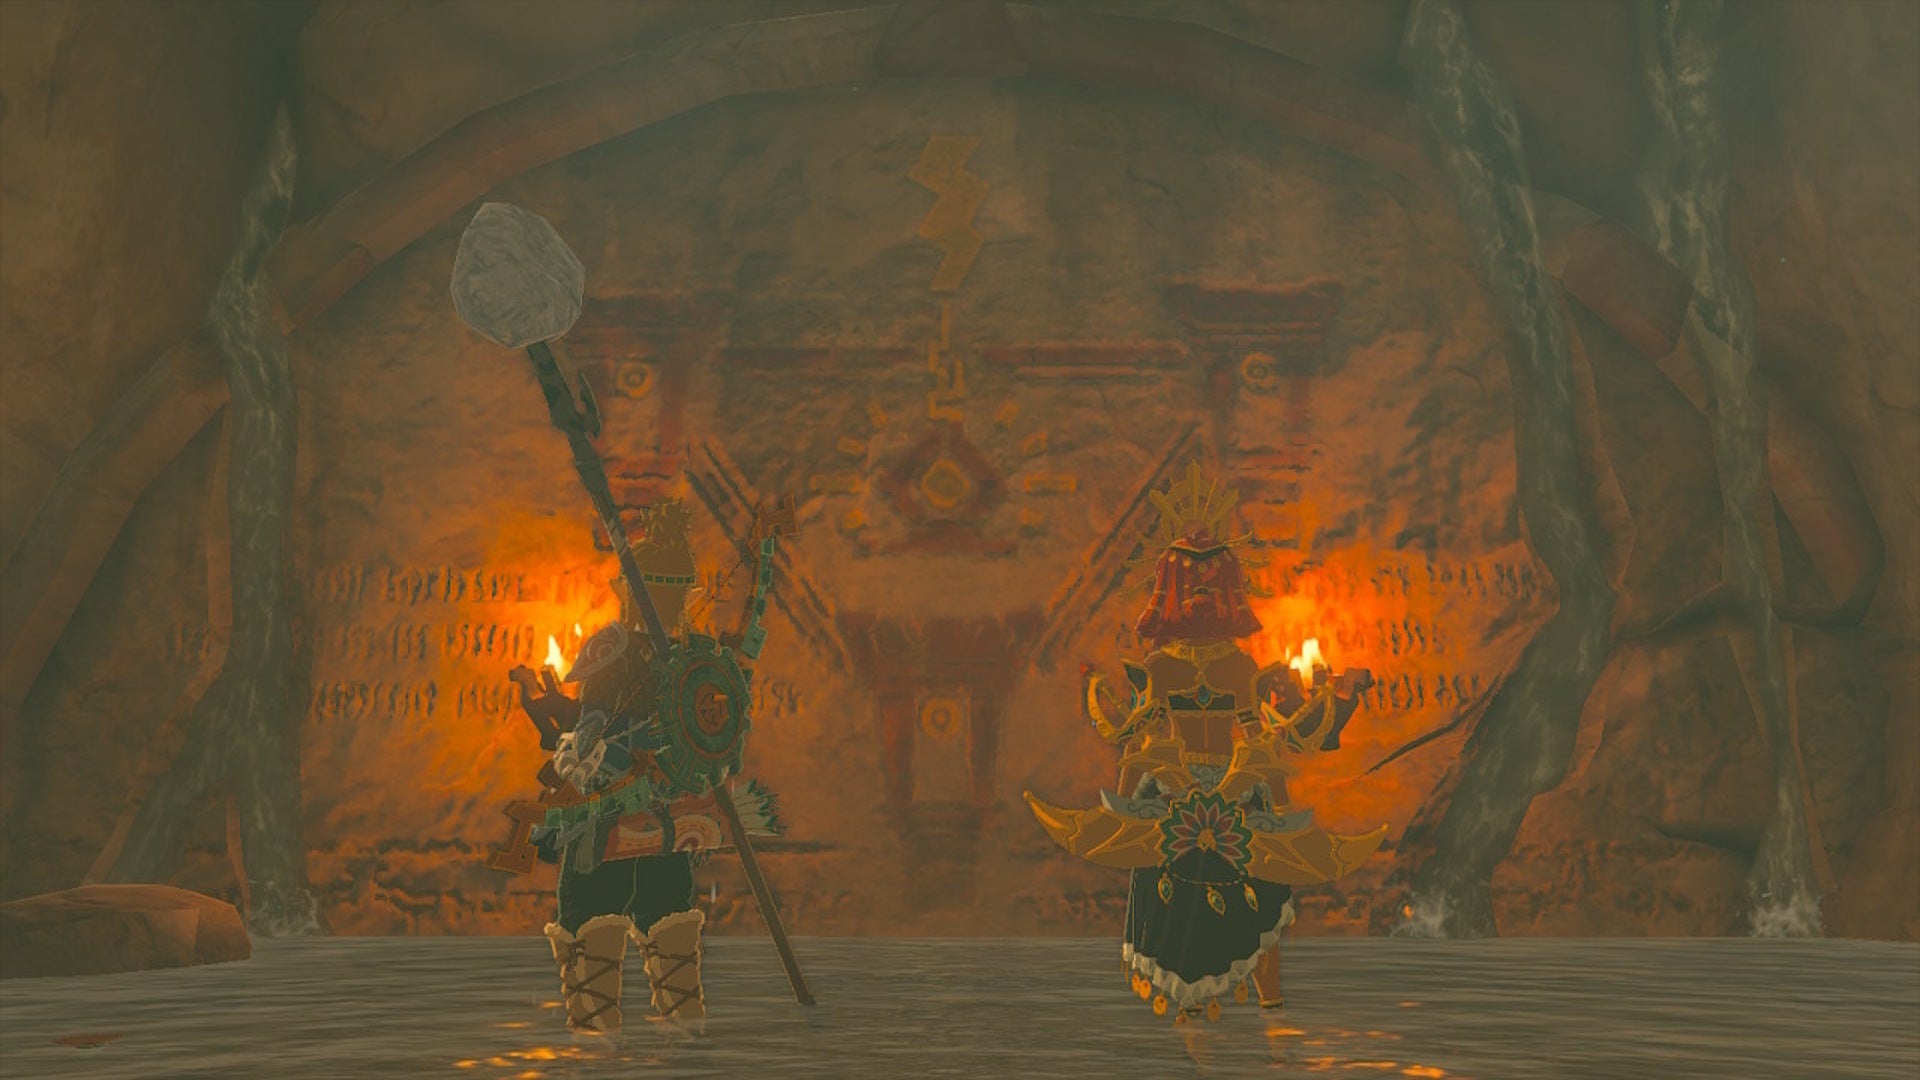
Check out the mural with Riju. |Image credit:The Legend of Zelda: Tears of the Kingdom | Nintendo
Pillar 1
Make your way back to the Throne Room and stand by the sand seal statue we moved earlier, looking out toward the desert. See that distant three-legged pillar? Doesn’t it eerily look a lot like the pillars depicted in the mural?
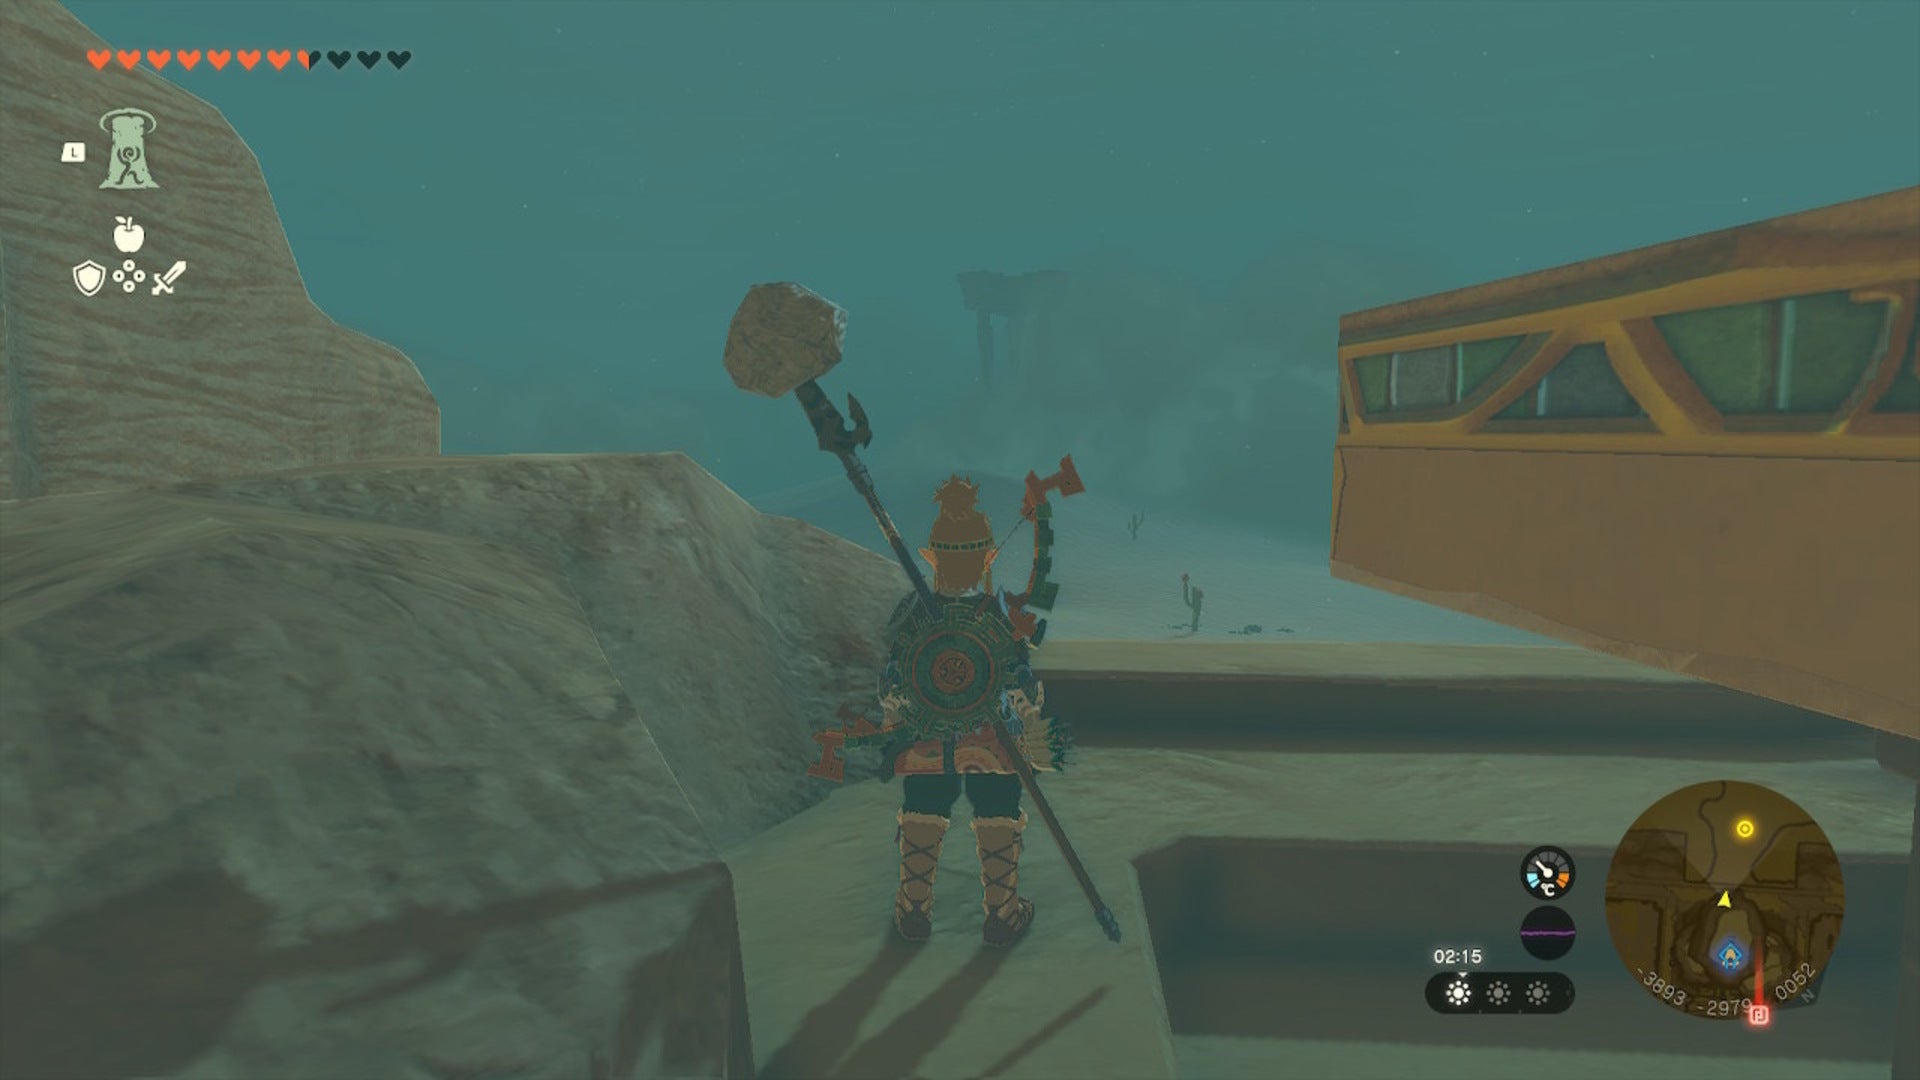
Make your way over to that three-legged pillar in the distance. |Image credit:The Legend of Zelda: Tears of the Kingdom | Nintendo
Leave Gerudo Town and make your way over to the pillar. You’ll have limited visibility, but keep going straight, and you’ll find the pillar sticking out of the sand. Climb atop the pillar and use a hammer to smash the floor in the middle, revealing a light.
Smash the base of the pillar to reveal this beam of light! |Image credit:The Legend of Zelda: Tears of the Kingdom | Nintendo
Pillar 2
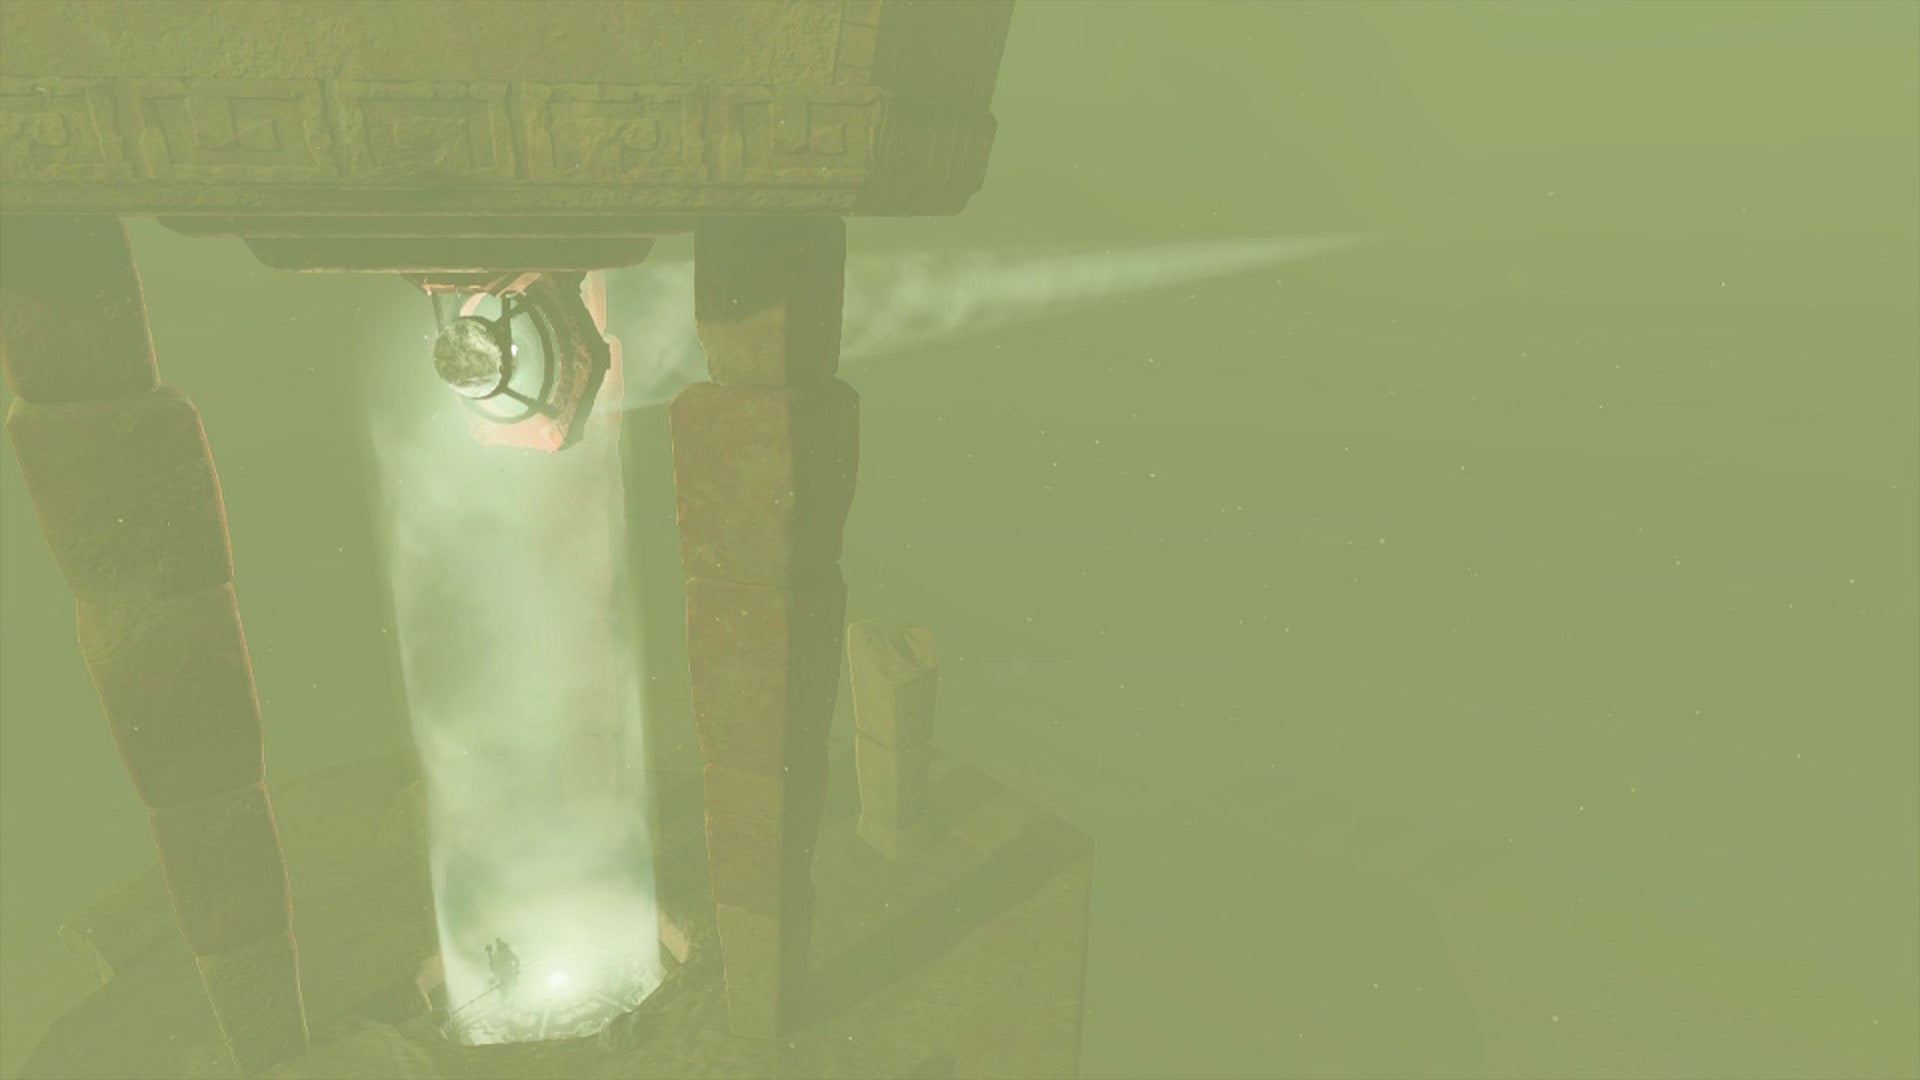
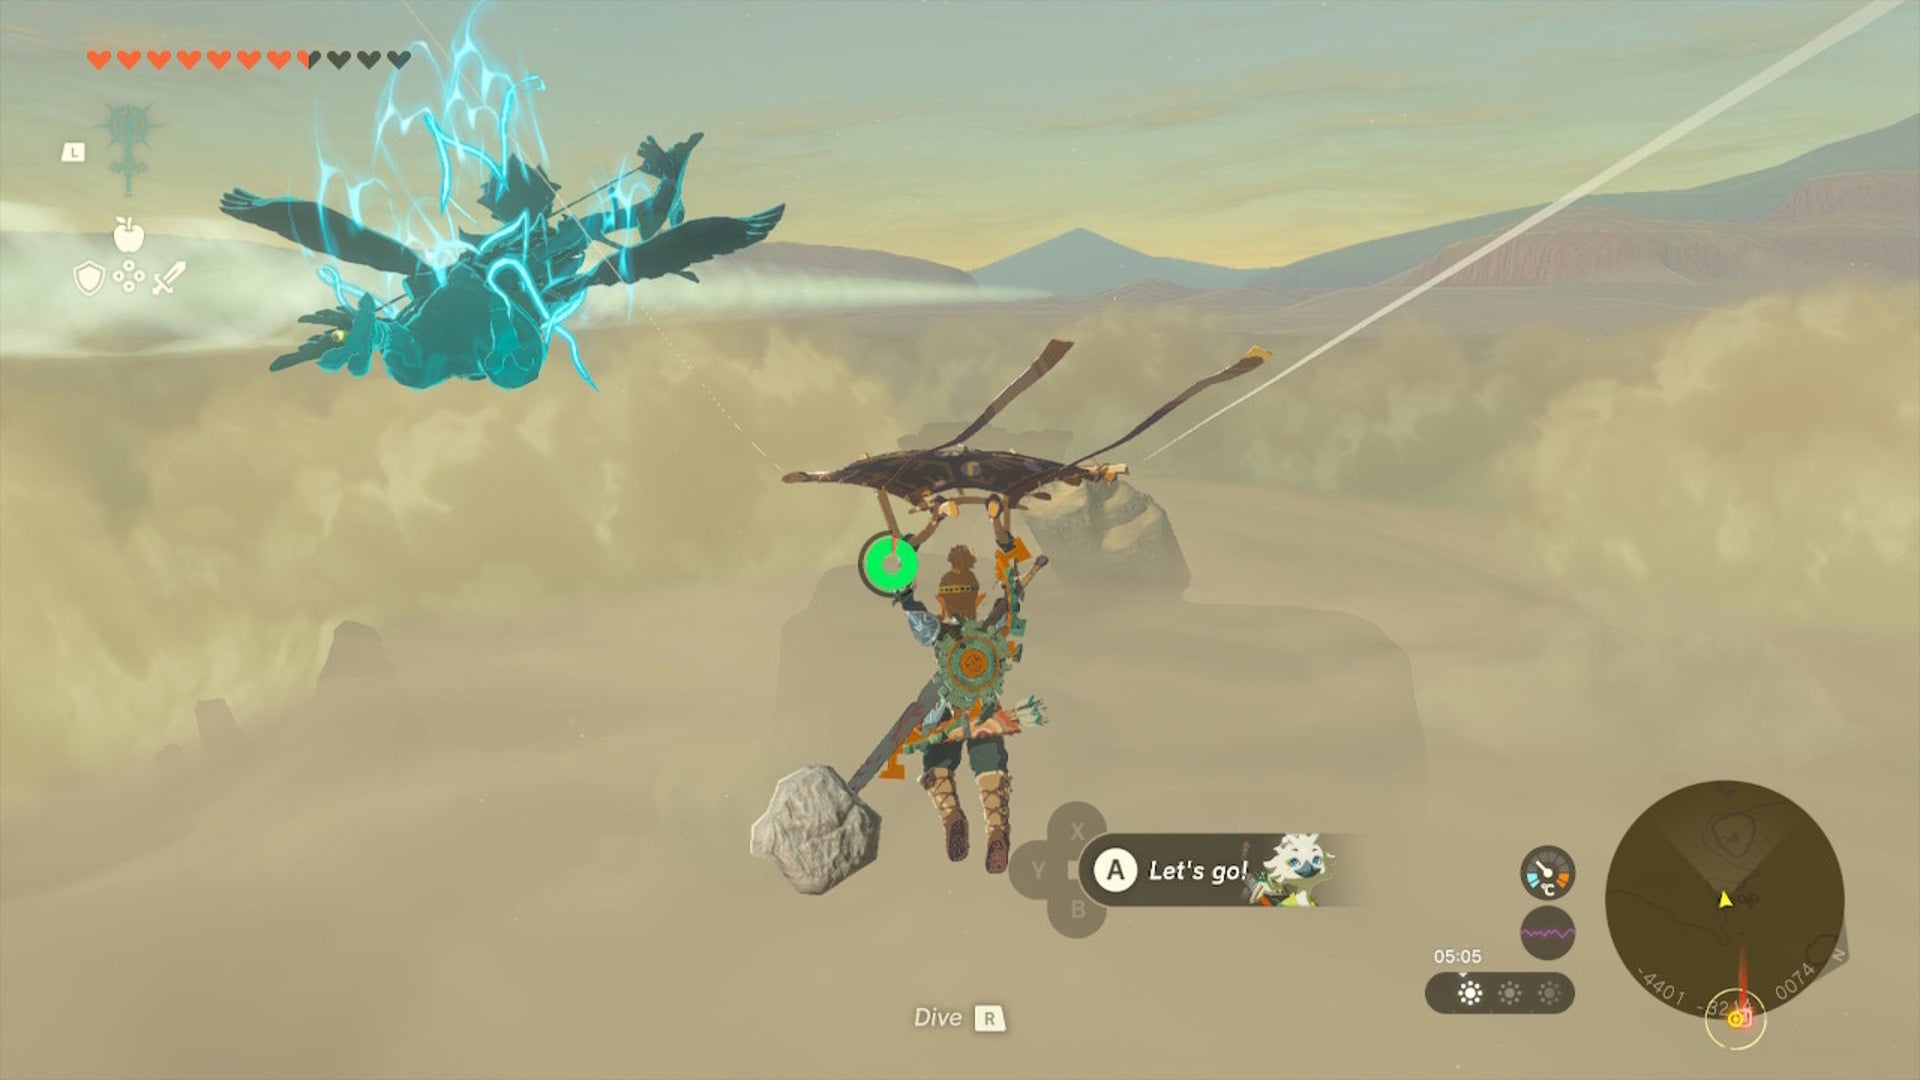
To reach the second pillar, follow the light from the first pillar. There’ll be tornadoes we can use as up drafts, so the glide over to the second pillar is relatively straightforward.
Follow the beam of light over to the next pillar. |Image credit:The Legend of Zelda: Tears of the Kingdom | Nintendo
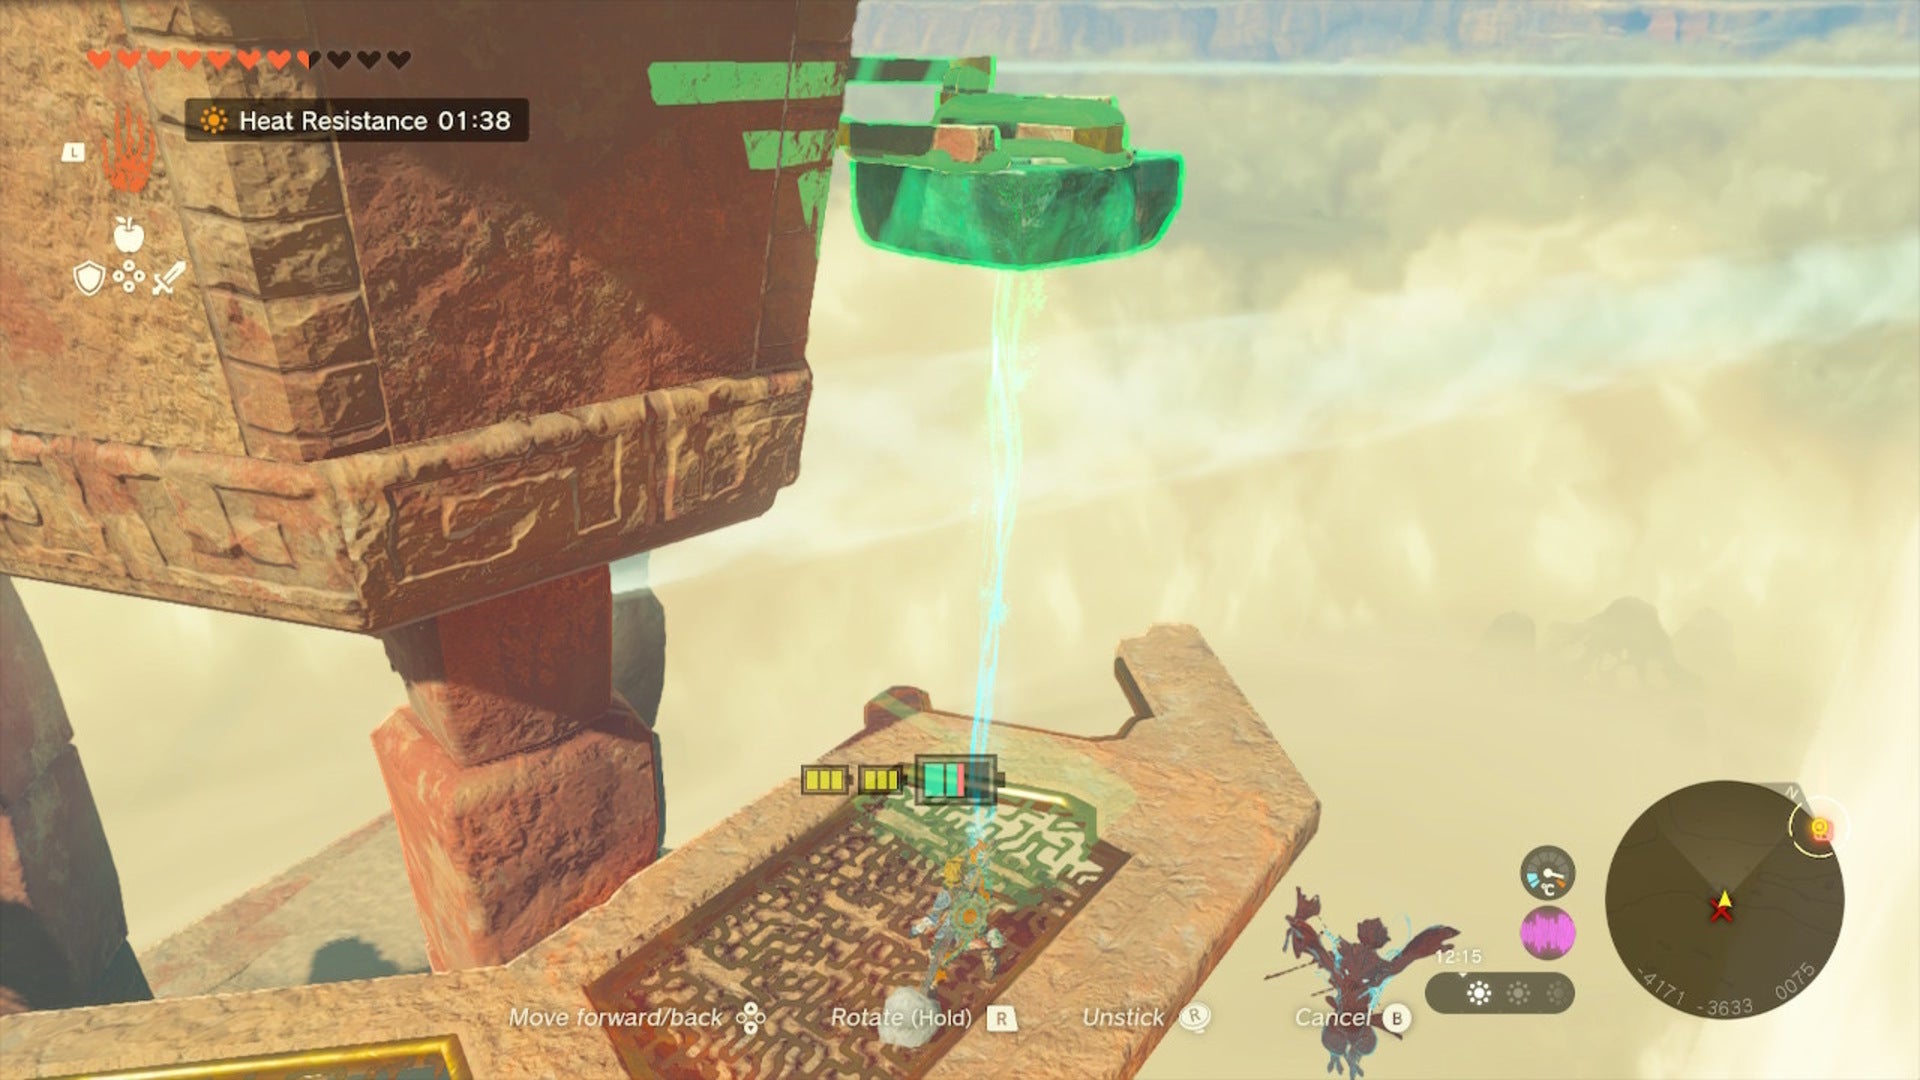
Now, this second pillar is actually submerged in the sand. Just ahead of it, however, is another platform with a wheel atop it. Spin this wheel using Ultrahand, and the pillar will slowly rise from the sand.

Atop the nearby platform, use Ultrahand to turn this wheel. |Image credit:The Legend of Zelda: Tears of the Kingdom | Nintendo
Keep raising the pillar until the beam from our first pillar finally hits the second, firing the light off in a new direction.
Pillar 3
Follow the brand-new beam of light to ultimately reach the third pillar. This third pillar will already be reflecting the light, but not in the direction that we need it to be.
Use a hammer to smash through the floor of this pillar, where you’ll find two hover tablets and four poles.

Smash through the base of this pillar to reveal hover tablets and poles. |Image credit:The Legend of Zelda: Tears of the Kingdom | Nintendo
We want to try to get all four poles to the roof of the pillar, where there is another wheel we can use to rotate the pillar.
The easiest way to do this is by attaching all four poles to one of the hover tablets, activating it, and then using Ultrahand to place it as high up as possible.
We can then Ascend up to the top of the pillar, drop down to the middle platform, and use Ultrahand to bring the hover tablet and four poles over to Link. Ascend back to the top again.
Take the hover tablet, with poles attached to it, to the very top of the pillar. |Image credit:The Legend of Zelda: Tears of the Kingdom | Nintendo
Now, attach the four poles to each point of the wheel. Then, like we did earlier, use Ultrahand to turn the wheel as quickly as possible until a small cutscene plays out.

Attach the poles to the wheel and use Ultrahand to turn it once it is fixed. |Image credit:The Legend of Zelda: Tears of the Kingdom | Nintendo
Now, we need to reach the very centre of the triangle that the three pillars have formed. Glide north from the top of the third pillar, until you find a rock formation with the structure from the cutscene in the centre of it.
Riju will meet up with us here. Talk to her, and then use her lightning ability to fire an arrow at the switch; the switch being this strange structure in front of us.

Use Riju’s ability on this switch directly in front of Link. |Image credit:The Legend of Zelda: Tears of the Kingdom | Nintendo
Once that’s done, the Lightning Temple will be revealed. Before we can enter the Lightning Temple, however, we have somebody else to deal with…
Continue our Gerudo Town quest walkthrough with how to complete the Lightning Temple !
For more on Zelda: Tears of the Kingdom , take a look at where to find all of Impa’s Geoglyphs , as well as the Lucky Clover Gazette quests . Additionally, don’t forget to unlock the Great Fairies so you can upgrade your armor!

The Legend of Zelda: Tears of the Kingdom
Nintendo Switch
Sign in and unlock a world of features

